Why settle for a boring old photo when you can have a true masterpiece? Nowadays, giving your self-portrait a unique and artistic twist with an AI portrait generator has become a trend. You can transform your original photo into a stunning piece of art with a new and exciting dimension.
Whether you’re looking to create a one-of-a-kind avatar, or simply want to experiment with new and exciting art styles, an AI portrait generator is the perfect tool for the job.
With so many options to choose from, finding the perfect app can feel like a daunting task. But don’t worry, with our list of the best AI portrait generators online, you can easily narrow down your choices and find the app that truly speaks to you. Let’s jump into it.
1. Artflow.ai: An AI Fantasy Portrait Generator
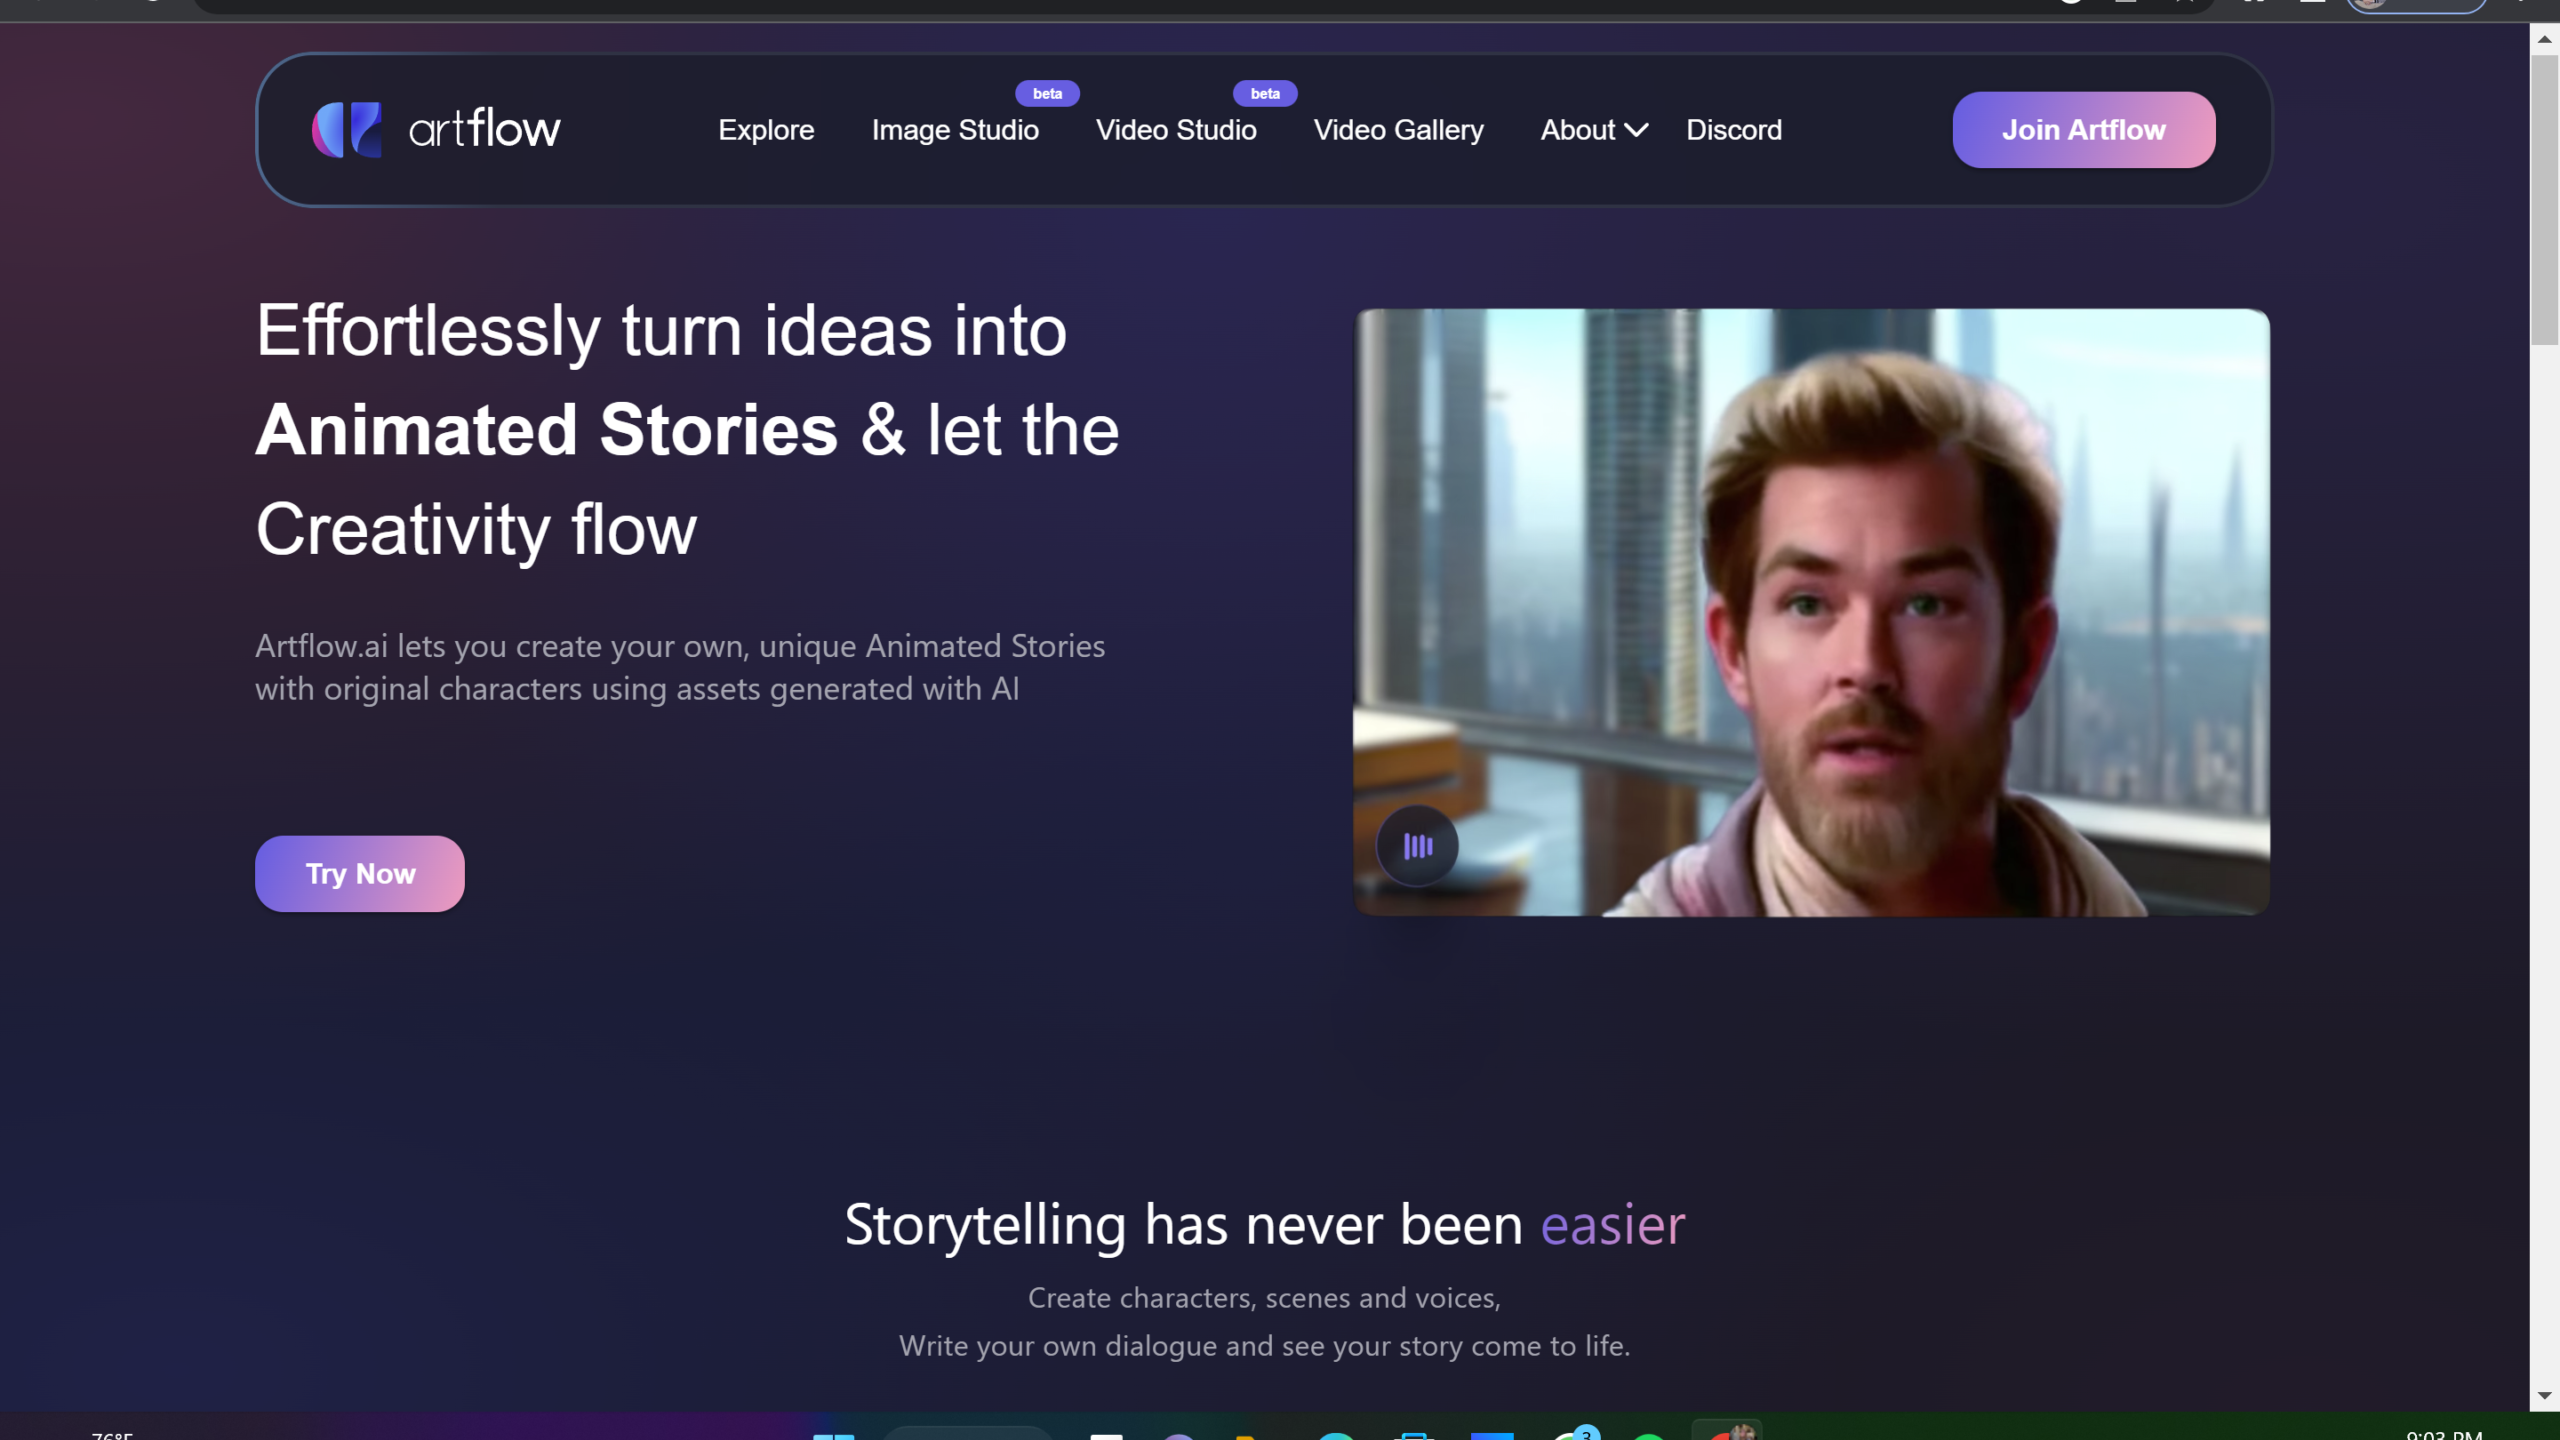
The first option goes to artflow.ai. It’s actually an AI-based software that lets you turn your head-and-shoulder portrait into an animated character. The unique feature of this software is that you can add background scenes and voices to your characters as well.
Well, this software is actually a great choice for those who want to unleash their imagination and bring the wildest stories to life. Just go to the official site, create a new account, or log in with a Google account, and now you’re ready to explore the features.
2. portraitai.app
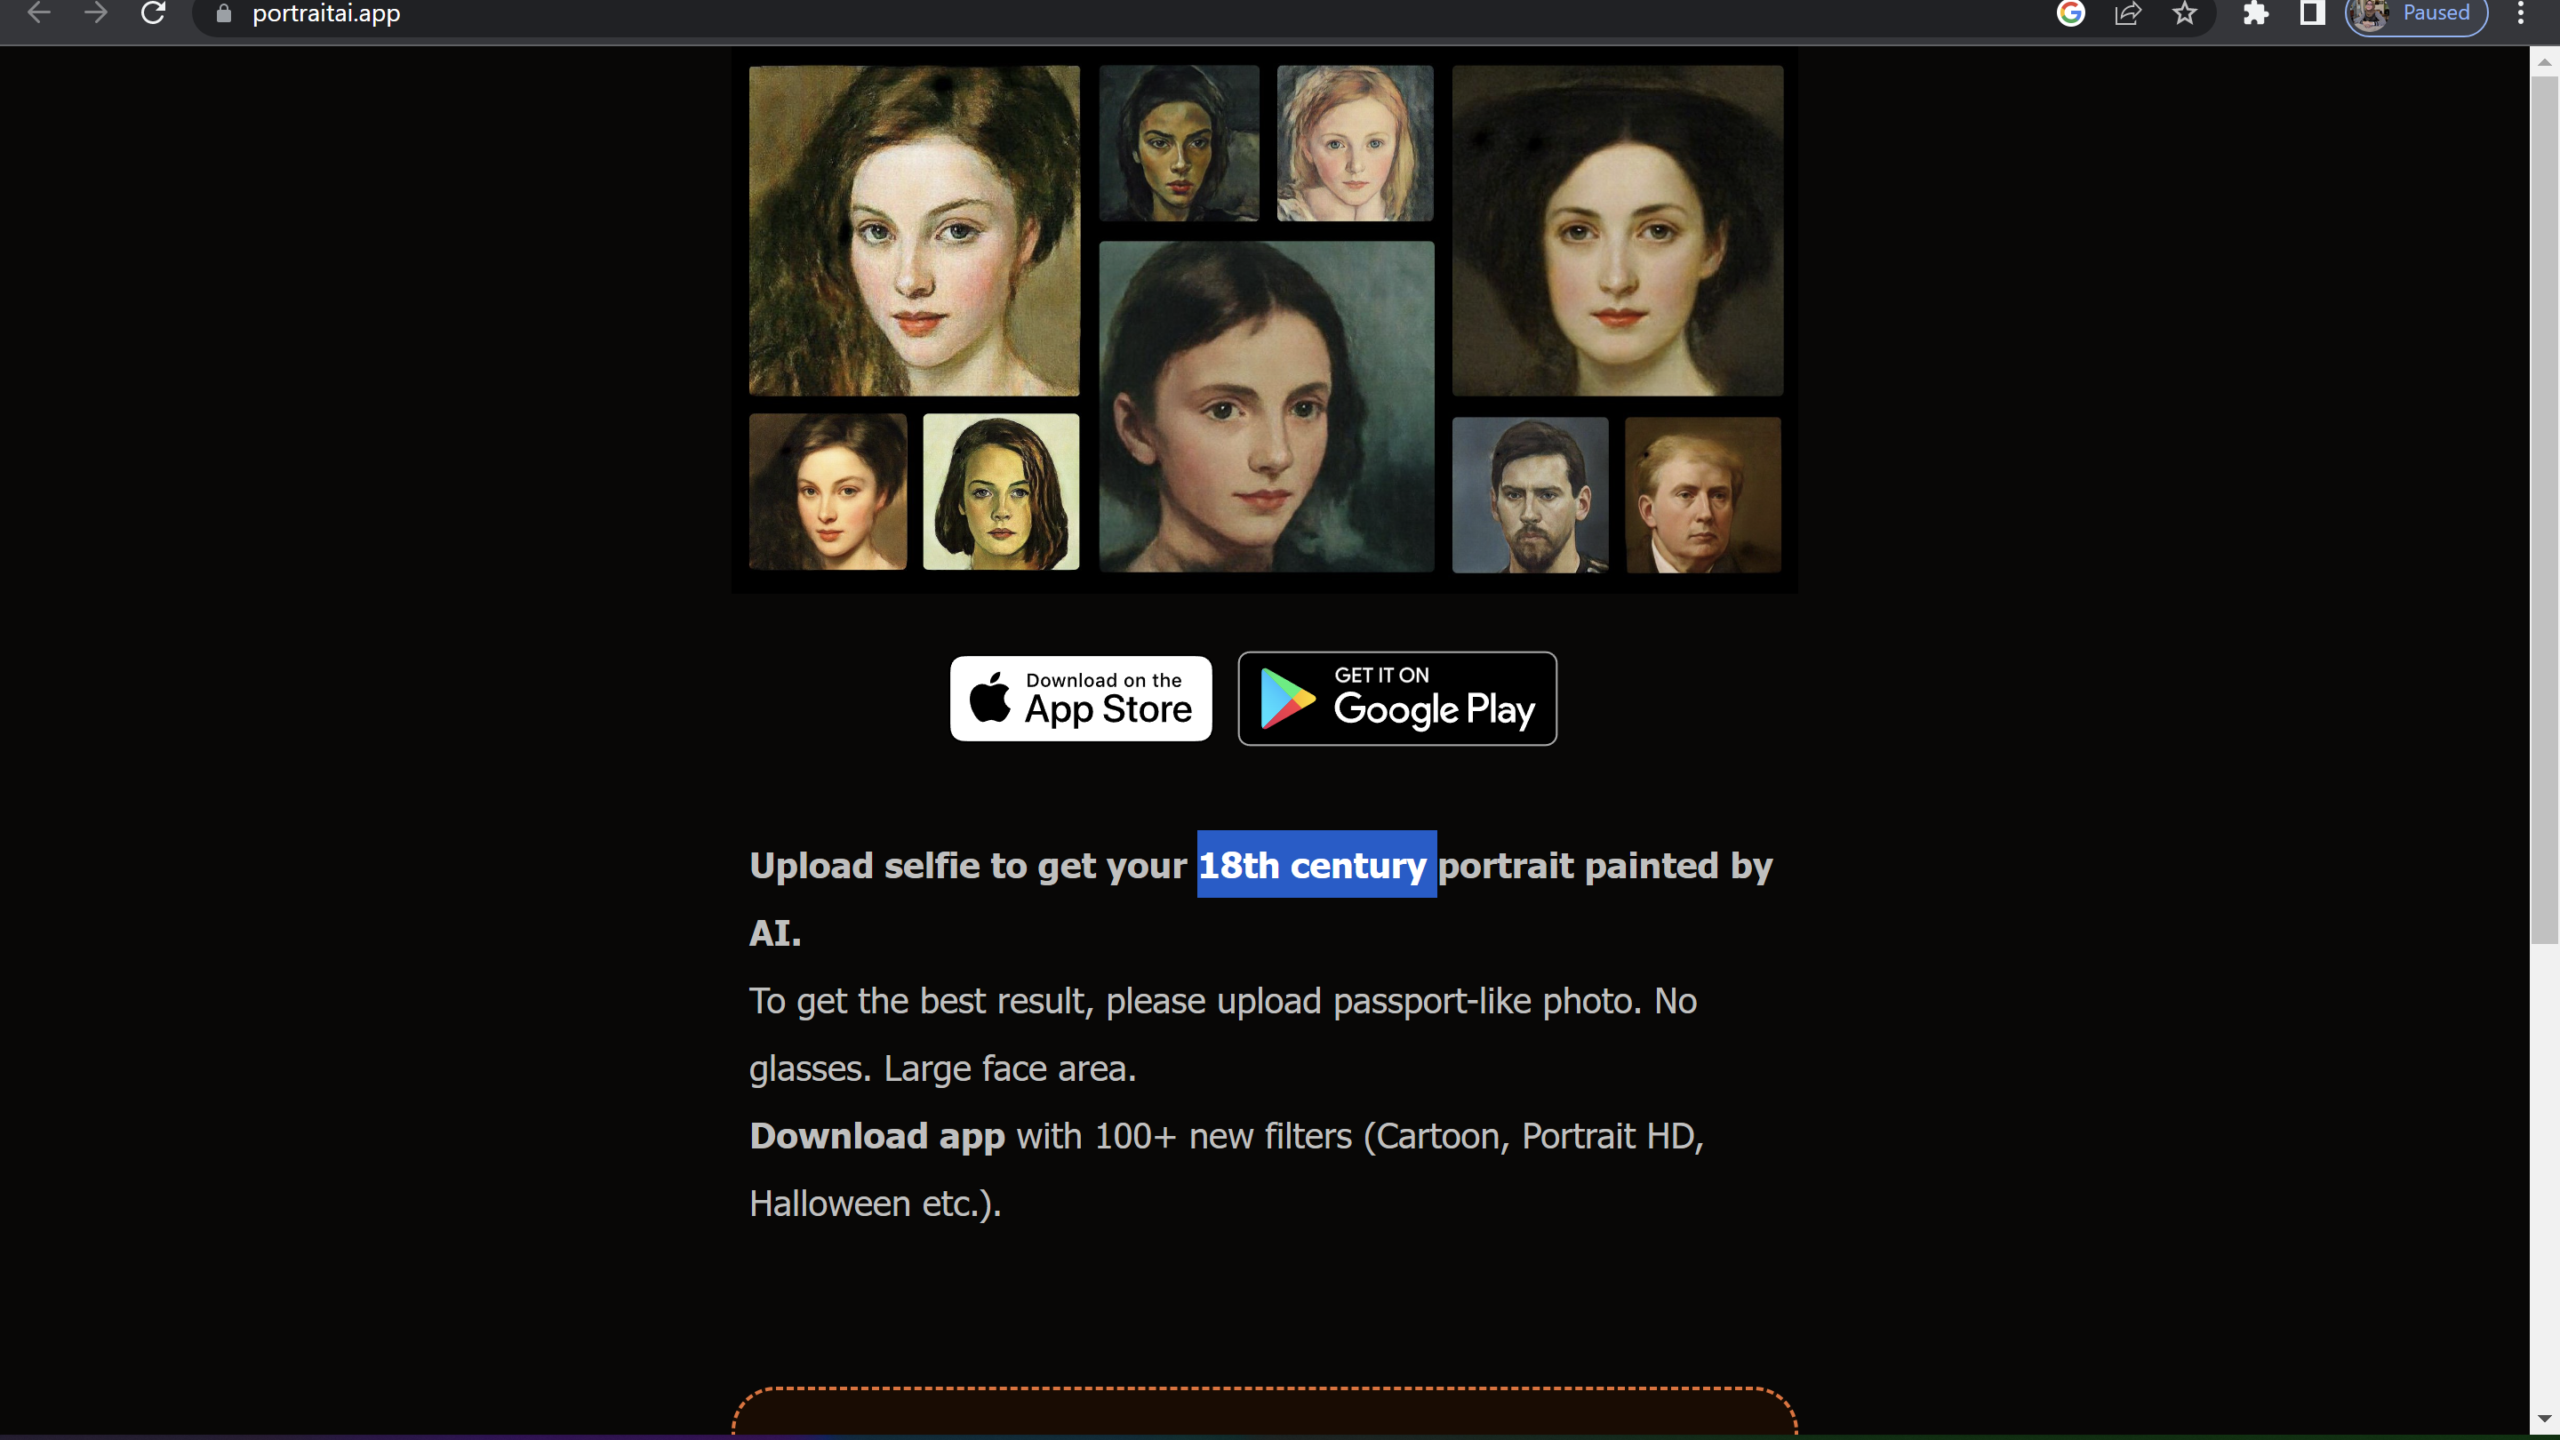
While the previous tool allows you to create an animated character and your imagined story at your fingertips, portraitai.app offers different services for you. This software is able to transform your original photo into classic painting art in seconds.
You can drag-and-dropping your photo into the portraitai.app site and the AI will automatically process it and show some results for you.
To save the photo, simply right-click on the photo you’d like to save and select the Save As option under the dropdown menu. On top of that, this software is available on Android and iPhone allowing you to do the editing process on the go.
3. Fotor
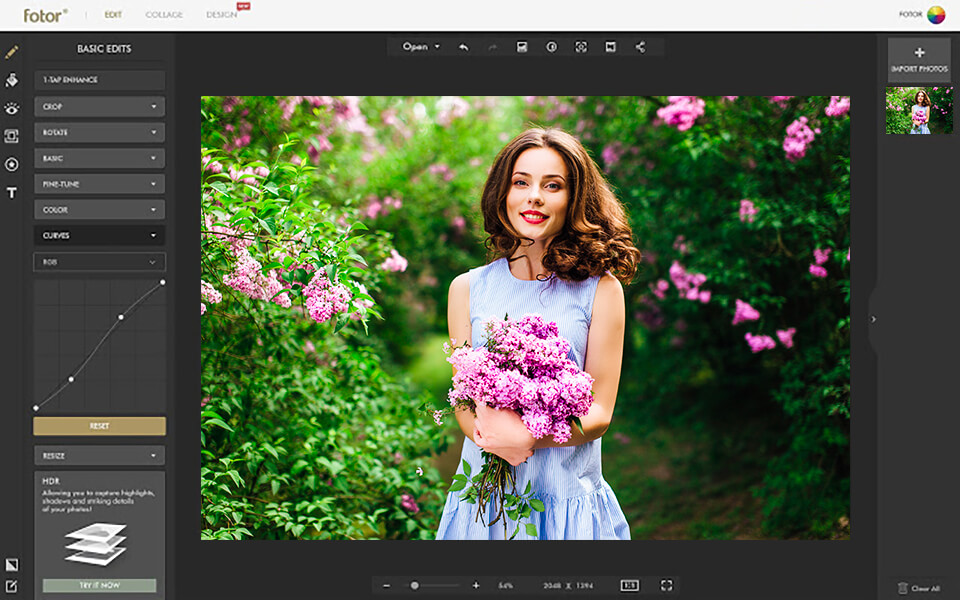
Another AI portrait generator you can try is Fotor. Fotor is an easy-to-use tool that utilizes AI technology to transform your photos into one-of-a-kind works of art, such as oil paintings, watercolors, cartoons, sketches, and more.
With a simple upload and selection process, you can unleash your inner artist and explore a variety of art styles, customizing your AI-generated artwork to make it truly unique.
Whether you want to discover your hidden artistic talents or create professional-quality art, this tool has you covered with just a single click.
4. BeFunky Photo to Art: Another AI Portrait Generator Online
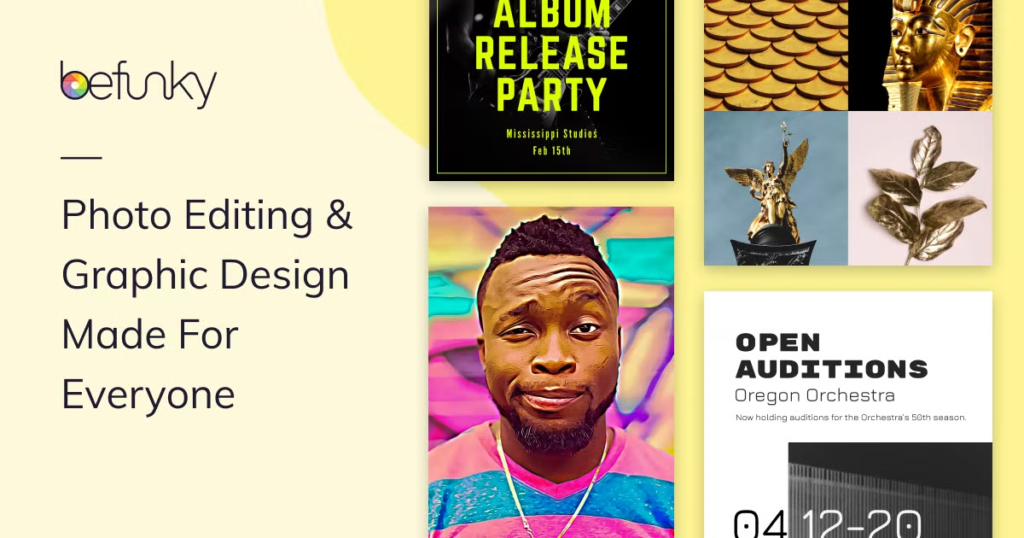
Unleash your creativity and take your photographs to the next level with BeFunky’s powerful online photo editor. With its user-friendly interface, you can easily upload your images and transform them into stunning works of art with just a few clicks.
Access the “Artsy” section to choose from a wide variety of painting styles and intensities, and fine-tune brush size, hardness, and strength to achieve the perfect look.
Additionally, BeFunky also comes with a range of editing tools to enhance your images even further, making it the ultimate destination for all your painterly needs. Don’t settle for ordinary photographs, try BeFunky now and elevate your images to the next level of artistry.
5. Adobe Photoshop
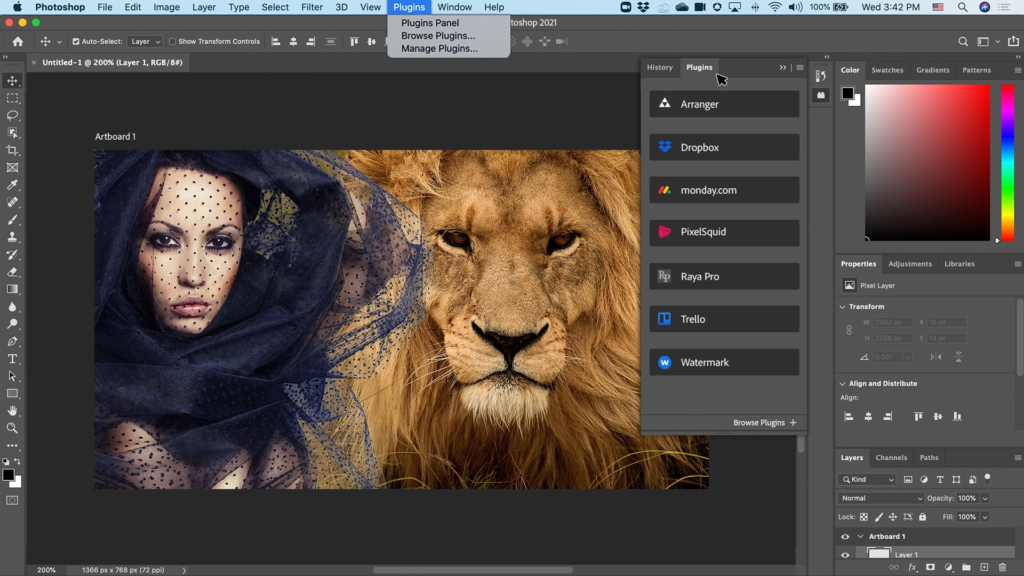
Having full control of your project is undeniably important. You can explore your idea and play with all the software features. And if you’re more into manual editing in transforming your photo, Adobe Photoshop is the best pick for you.
It provides an endless range of advanced editing tools that are perfect for all types of design. However, this software is not really friendly for beginners. Mastering the program’s vast array of editing tools does require an investment of time and effort. But if you are really eager to learn about this tool, just don’t miss out on this.
Conclusion
That’s the list of some of the best ai portrait generator options you can try. Each software has its own uniqueness and specialty. Just pick the right tool that suits your needs most and showcase your masterpiece!