Are you tired of struggling to download your Twitch VODs with no editing options?
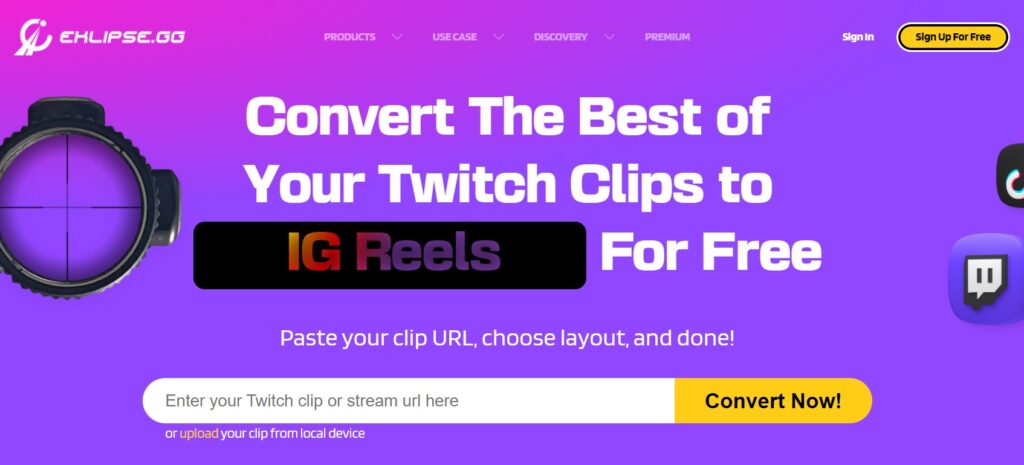
Introducing Eklipse, the ultimate solution for capturing and editing your gaming highlights with ease.
With advanced AI technology, Eklipse allows you to effortlessly load, edit and save your streaming videos to your device, without the need for any additional software.
Say goodbye to the hassle of editing and hello to a more streamlined process with Eklipse, and with our guide, you’ll have no trouble downloading and editing your Twitch VODs in no time.
Also, if you only need to download the plain Twitch VOD, no worries, we got you! Keep scrolling, read on, we also provide you some tutorials on that!
1. Downloading Twitch VODs Using Eklipse
You might want to download the Twitch VOD to re-watch it anytime, or even to share it on other platforms. If that’s the case, you might also need more steps to edit your video. No worries, because Eklipse will definitely let you do that in a single action. Here’s the step-by-step on how to download Twitch VODs on mobile or computer.
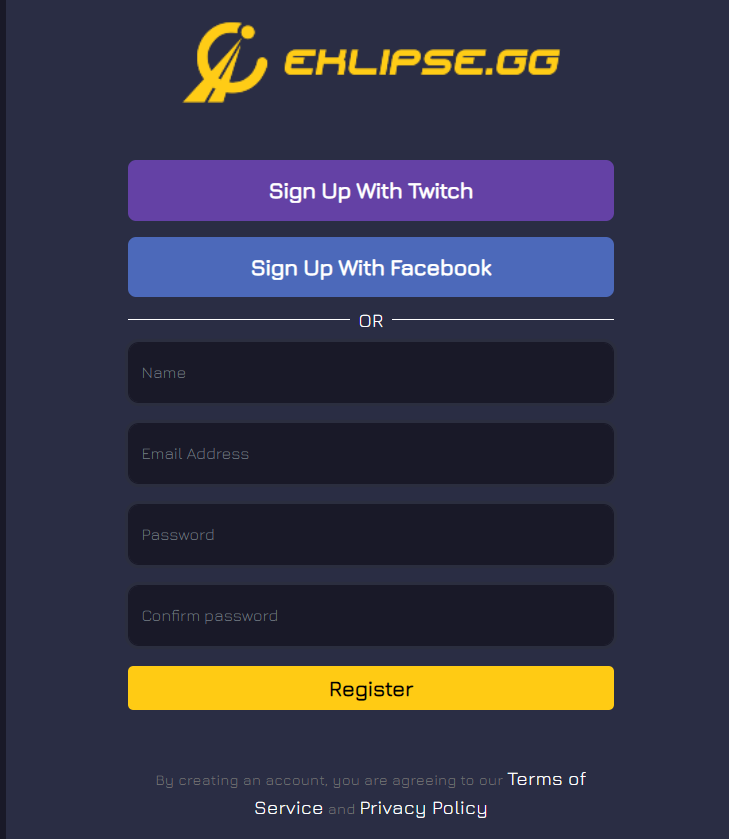
Step 1. Create your Eklipse Account
First thing first, go to Eklipse.gg, then sign up with Twitch, Facebook, or your Email address.
Set a password, and you’re done. Don’t worry about its pricing, Eklipse is free to use!
Maximize your Black Ops 6 rewards—Create highlights from your best gameplay with with Eklipse
Eklipse help streamer improve their social media presence with AI highlights that clip your Twitch / Kick streams automatically & converts them to TikTok / Reels / Shorts
Step 2. Connect your account
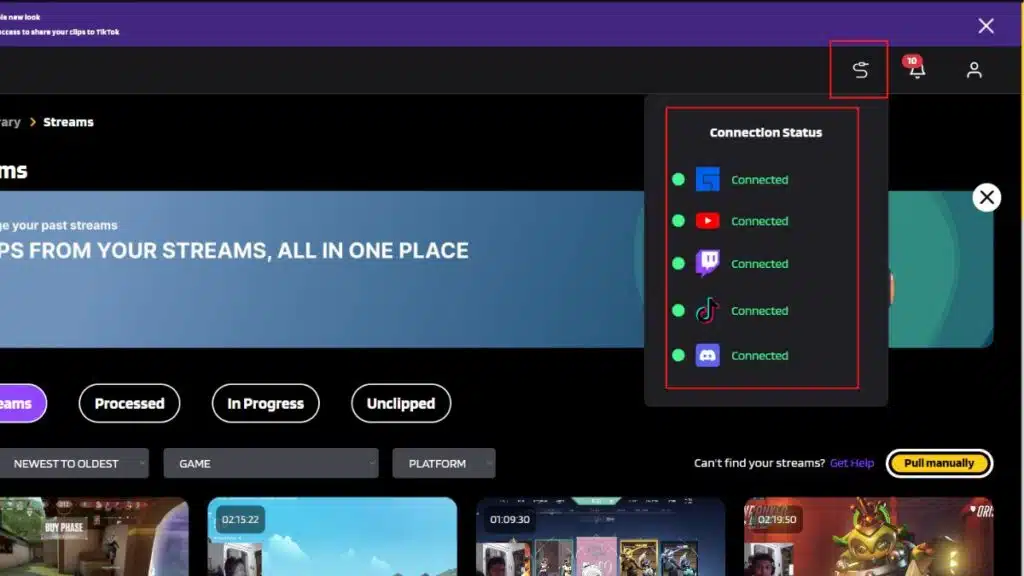
Once you’ve got your account, now connect your Eklipse account to your Twitch. Find the cable icon at the top-right corner of the page, and click that. You’ll see three platform options including YouTube, Facebook, Twitch, and more. Click on the Twitch option.
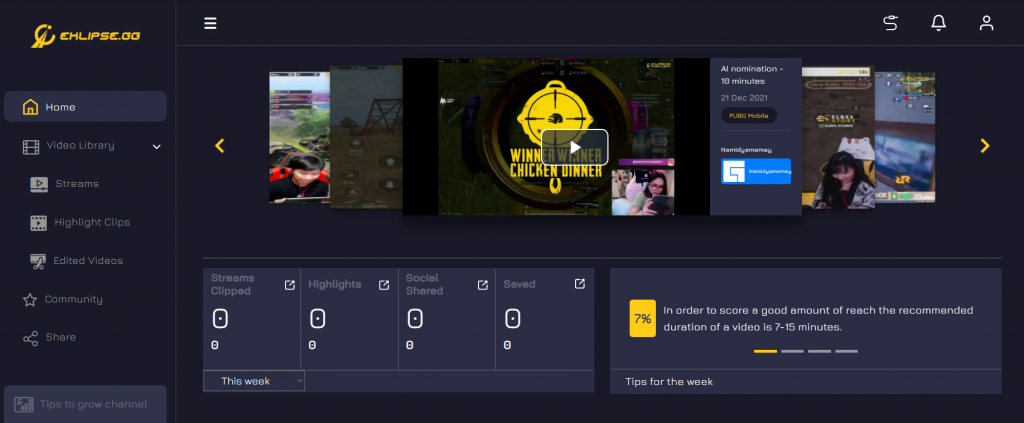
Step 3. Load and choose your Twitch VODs
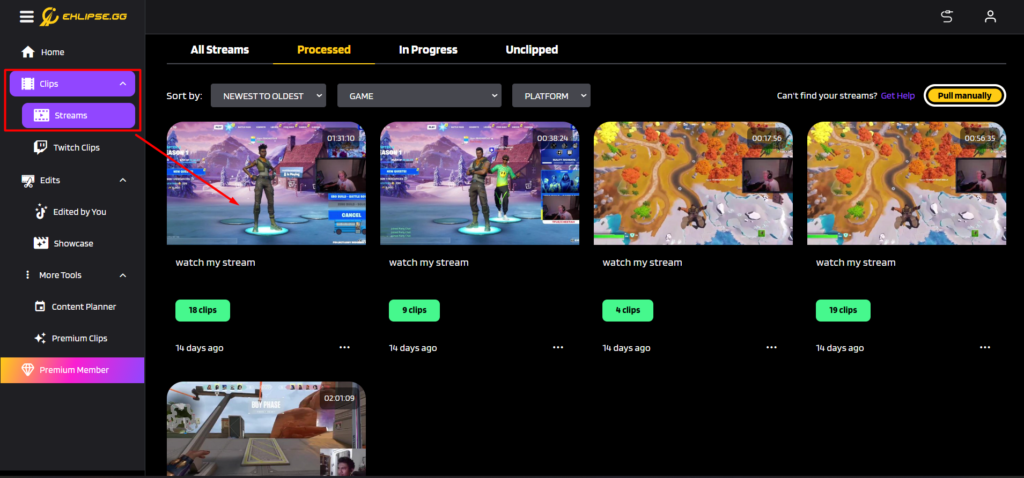
After you linked your Eklipse account with your Twitch, our powerful A.I will automatically load your VODs. You can see them through the Streams tab and under the Streams tab, click All Streams. Then, you can select a VOD you’d like to download.

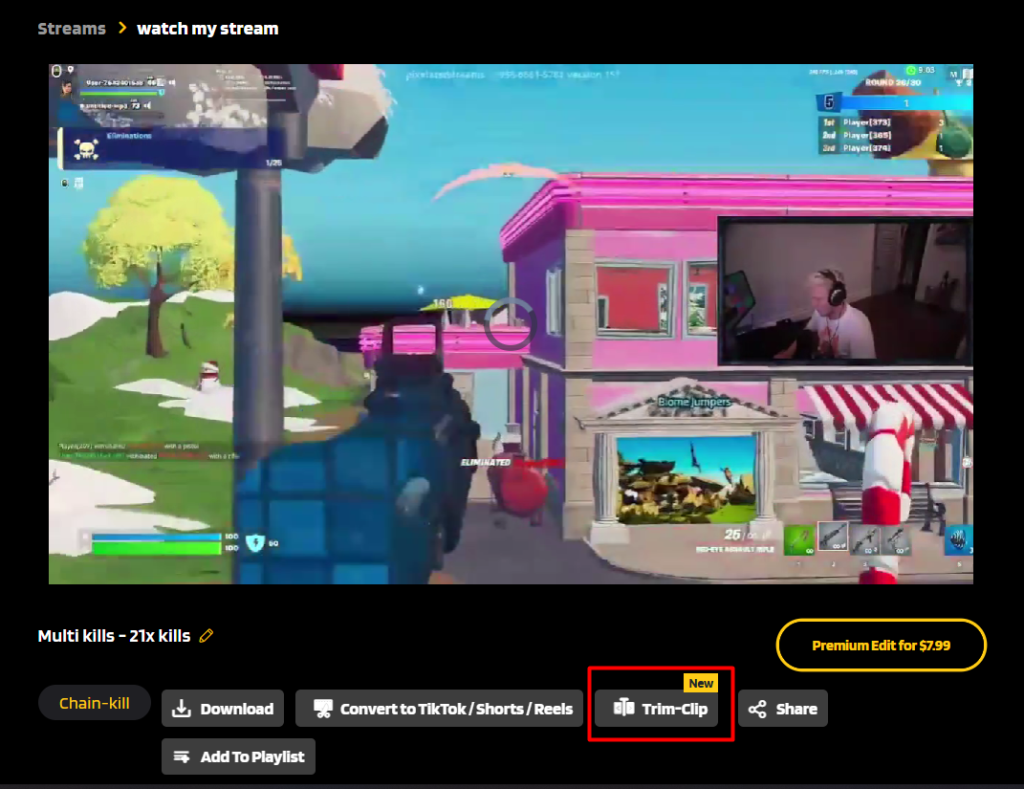
Step 4. Make some changes to your VOD
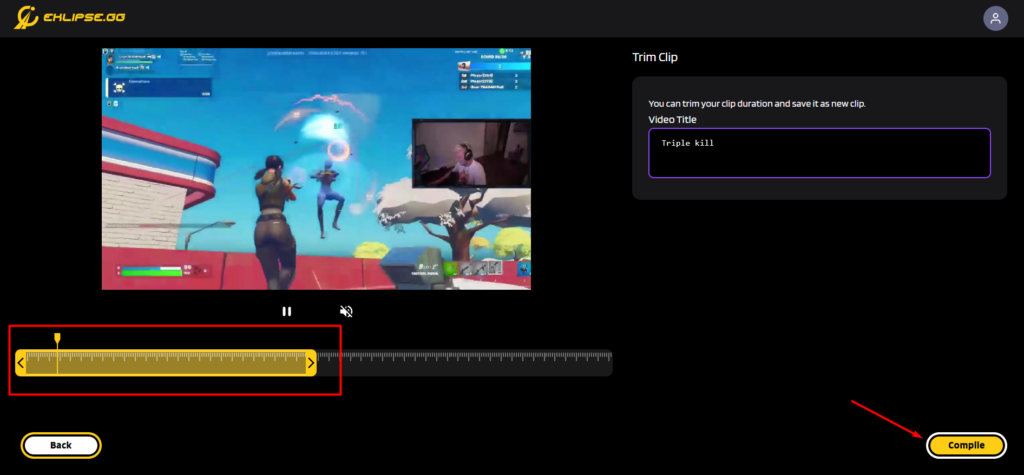
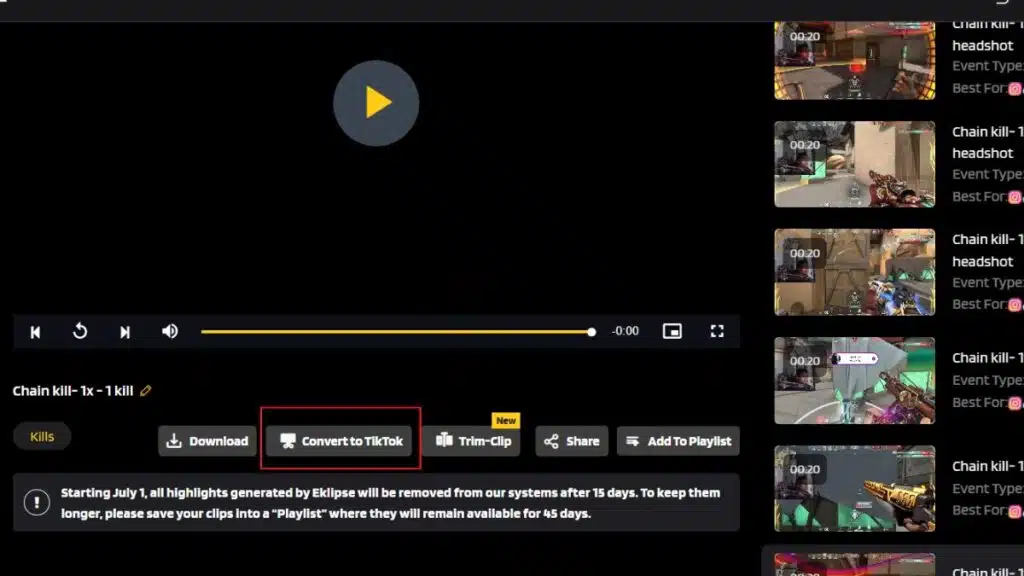
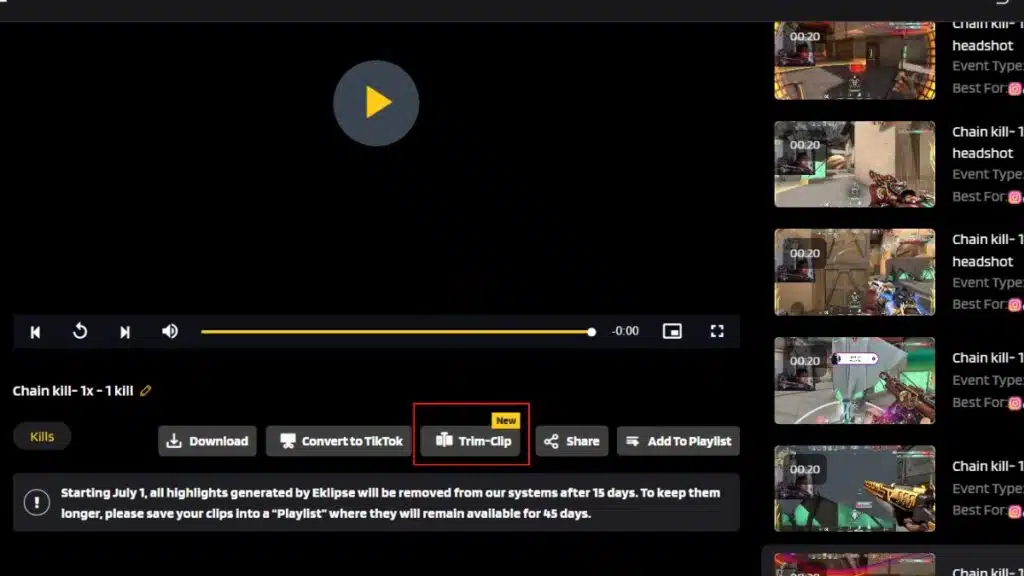
What makes Eklipse special is that it allows you to trim, clip, or even add background music to your video easily. No need for fancy skills, everything will be covered up by the A.I. If you’ve chosen a VOD, now you can hit the Trim-Clip button underneath the video if you’d like to trim your video duration.

Other than that, you can also click the Convert to TikTok/Reels button next to the Trim-Cut button to change your Twitch VOD into TikToks/Reels. You’ll be able to add cool background music in this option.
Step 5. Download Twitch VOD
Once you’ve edited your video, now you can download your video. Find them in the Convert to Tiktok / Reels tab or Trim-clip tab under the Edited Clip tab on the left-side menu. Click the video, and hit the Download button underneath the video.
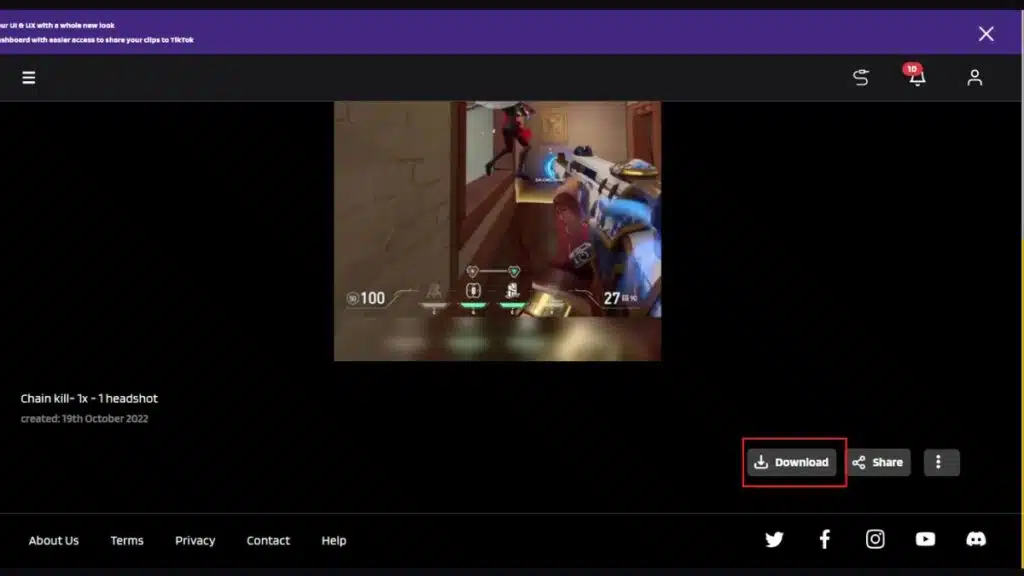
Additionally, if you just want to download your Twitch VOD immediately without editing it, you can skip Step 4. So, after you selected the video from the All Streams tab, you can instantly hit the Download button underneath the video next to the Trim-Clip button. Voila! You have succeeded to save your video on your devices.
More on Eklipse Blog >> How to Download Twitch Clips on Mobile: A Guide
2. Downloading Twitch VODs Through Video Producer
The most default way to download Twitch VOD is by going through the Video Producer section on your Twitch account.
Whether you on a Windows PC or Mac, you can just easily to that menu to download the VOD
To do that, you can follow this instruction
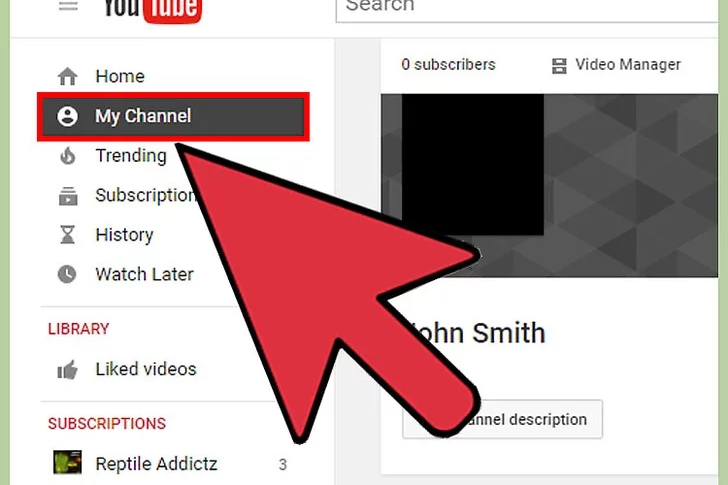
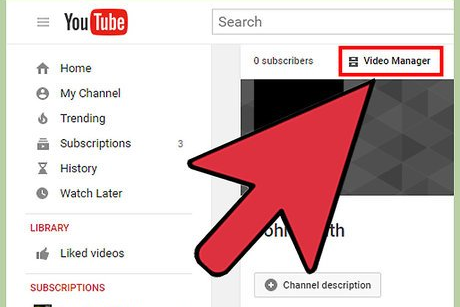
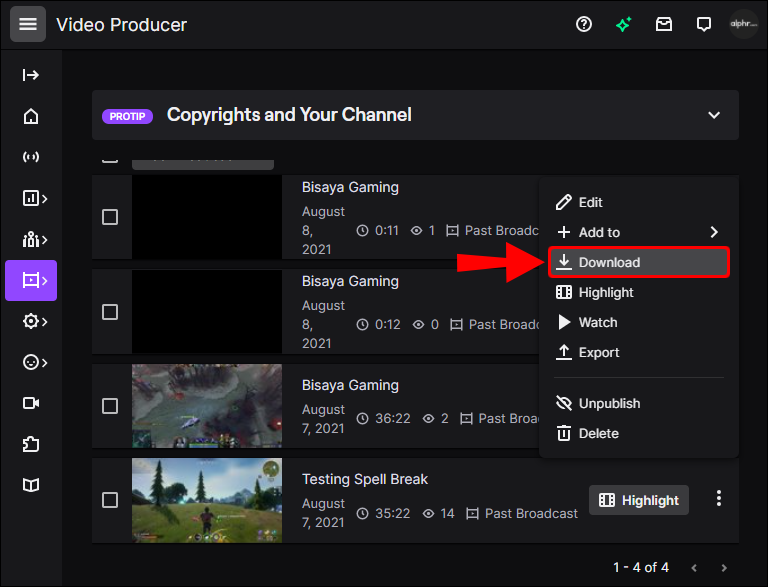
- Go to Twitch, Click Profile Icon, select Video Producer
- Select Past Broadcast on the dropdown menu
- Find the VOD you want to download
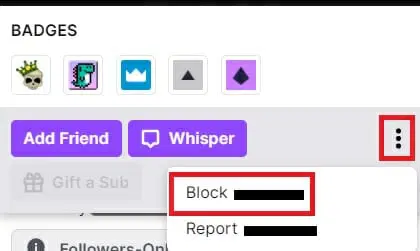
- Click on three dots, select Download
More on Eklipse Blog >> How to Watch Old Twitch Streams? 4 Options You Can Try
3. Downloading Twitch VOD on iPhone
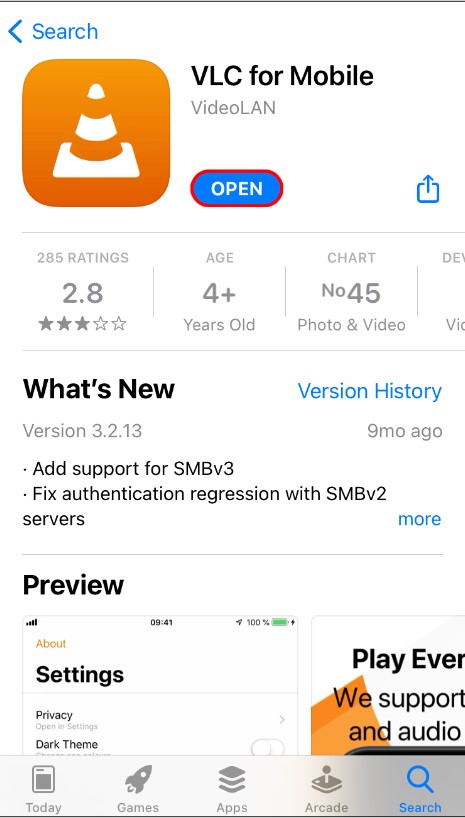
Downloading Twitch VOD on iPhone requires you to download a 3rd party-app, VLC.
Most of the instructions are almost the same, which are going to the Video Producer, then choose the VOD you want to download.
The detailed instructions are as follows
- Go to Twitch, tap “aA” icon
- Choose Request Desktop Website
- Click Profile Icon, select Video Producer
- Select Past Broadcast on the dropdown menu
- Find the VOD you want to download
- Copy Video URL
- On the VLC app, tap Network menu, select Downloads
- Paste the URL, tap Download
More on Eklipse Blog >> 7 Best Twitch Video Editors To Make Highlights in 2022
4. Downloading Twitch VOD on Android
For all of you who are using Android smartphones to download Twitch VOD, you also need to download a 3rd party app first.
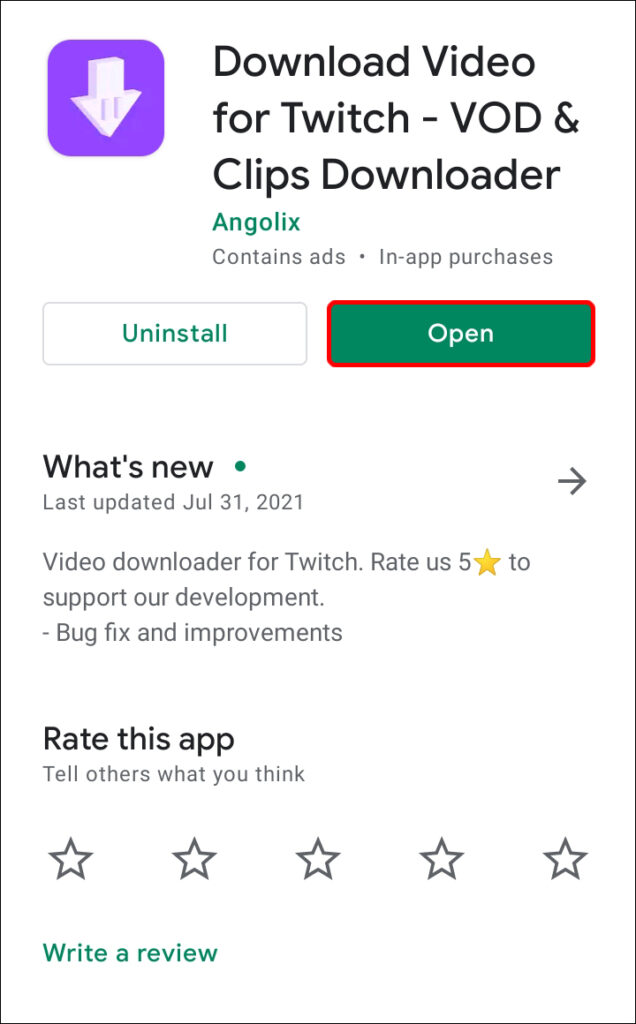
The app name is Download Video for Twitch. The app is pretty simple and has a straightforward user experience.
So to start downloading your Twitch VOD on android phone, here are the instructions you need to follow:
- Go to Twitch, tap three dots on the upper-right side,
- Tick the Desktop Site option
- Click Profile Icon, select Video Producer
- Select Past Broadcast on the dropdown menu
- Find the VOD you want to download
- Copy Video URL
- On video downloader app, Paste the URL, tap Download
5. Downloading Twitch VOD as a Viewer
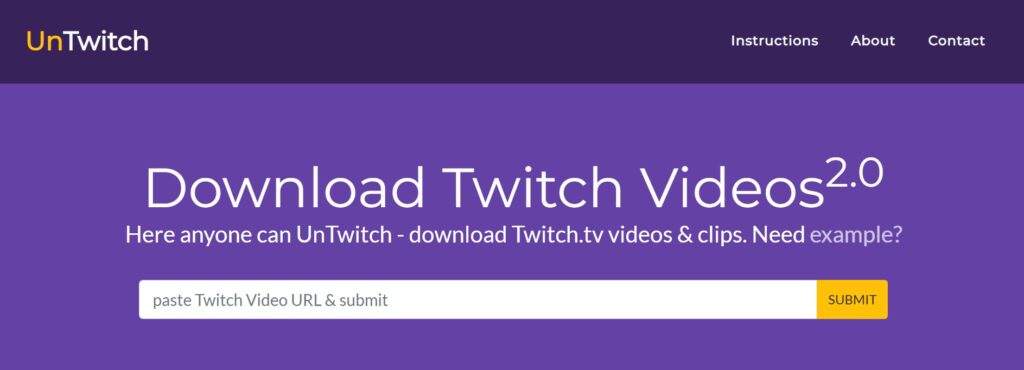
The easiest way to download Twitch VOD as a viewer is by using a web-based app like untwitch.com
But, there is a limitation when using untwitch, which is you can only download 1 hour of the VOD. Even though it has duration limit, untwitch still allows their users to select a segment of the stream.
To download Twitch VOD with untwitch, you can follow this instruction
- Go to Twitch, go to some channel, choose Videos tab
- Select one of the VOD you want to download
- Copy the URL to the video
- Open untwitch.com, paste the URL
- No you can customize the video such as the video resolution on the part of duration you want to download
- When you are done, click Download Video
More on Eklipse Blog >> How to Rewind Twitch Streams: 4 Things to Try
Conclusion
Eklipse provides you with many amazing features for fulfilling your streaming needs. You can do more than just download a video from other platforms. But, apart from that, you now know how to download twitch vods on iPhone, Android, or even computer using Eklipse.
For those who are still curious about Eklipse, we wholeheartedly encourage you to try our tool now! Happy streaming!