How to succeed on Twitch? Well, those who are new to this platform and starting their career may wonder about it. The journey to be a successful streamer on Twitch is indeed long and rocky. But don’t fret, as we already covered some strategy to make your dream comes to life.
But before we discuss the tactics, make sure that you are ready for all consequences you may face in the future. Now, let’s see what steps you will need to do.
1. How To Succeed On Twitch: Pick The Right Niche
The first step before you think about being a successful streamer is determining the right topic and niche for you. Like building a house, you’ll need to have a solid foundation to make a strong building. Take your chosen niche as your foundation.
If you choose a topic that doesn’t fit your personality and skills, you couldn’t optimally create content and live your Twitch journey. That will only burden your shoulder anyway.
You can choose a game, cooking, or just chat. But if you don’t have any idea what kind of streamer you want to be, read our article to find the best-streaming ideas on Twitch and the variety of streamers.
2. Prepare the Right Streaming Equipment and Software
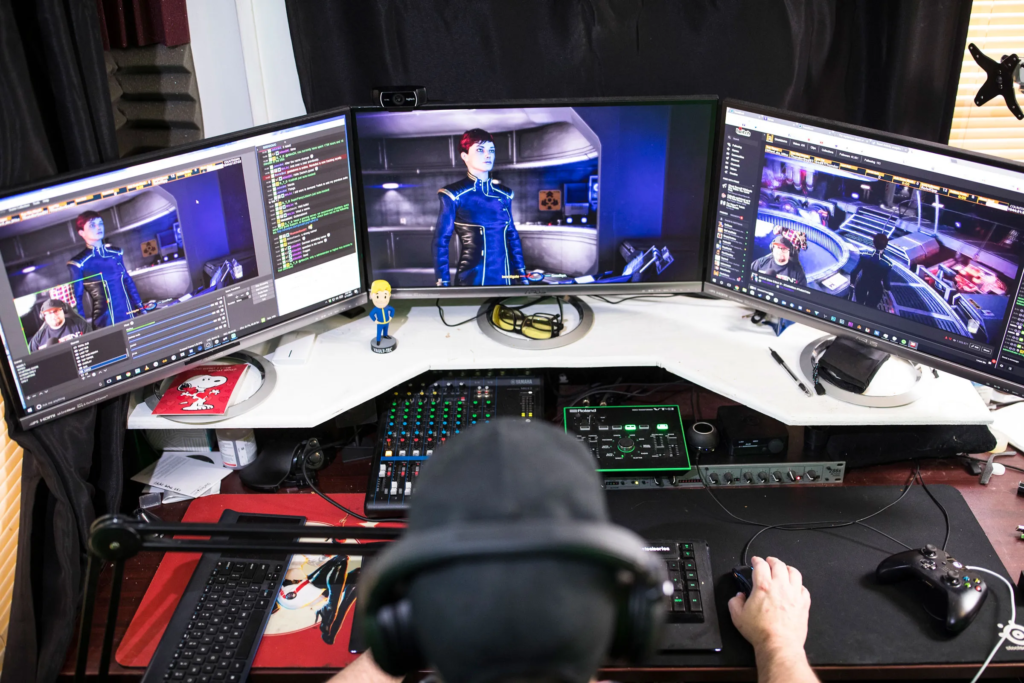
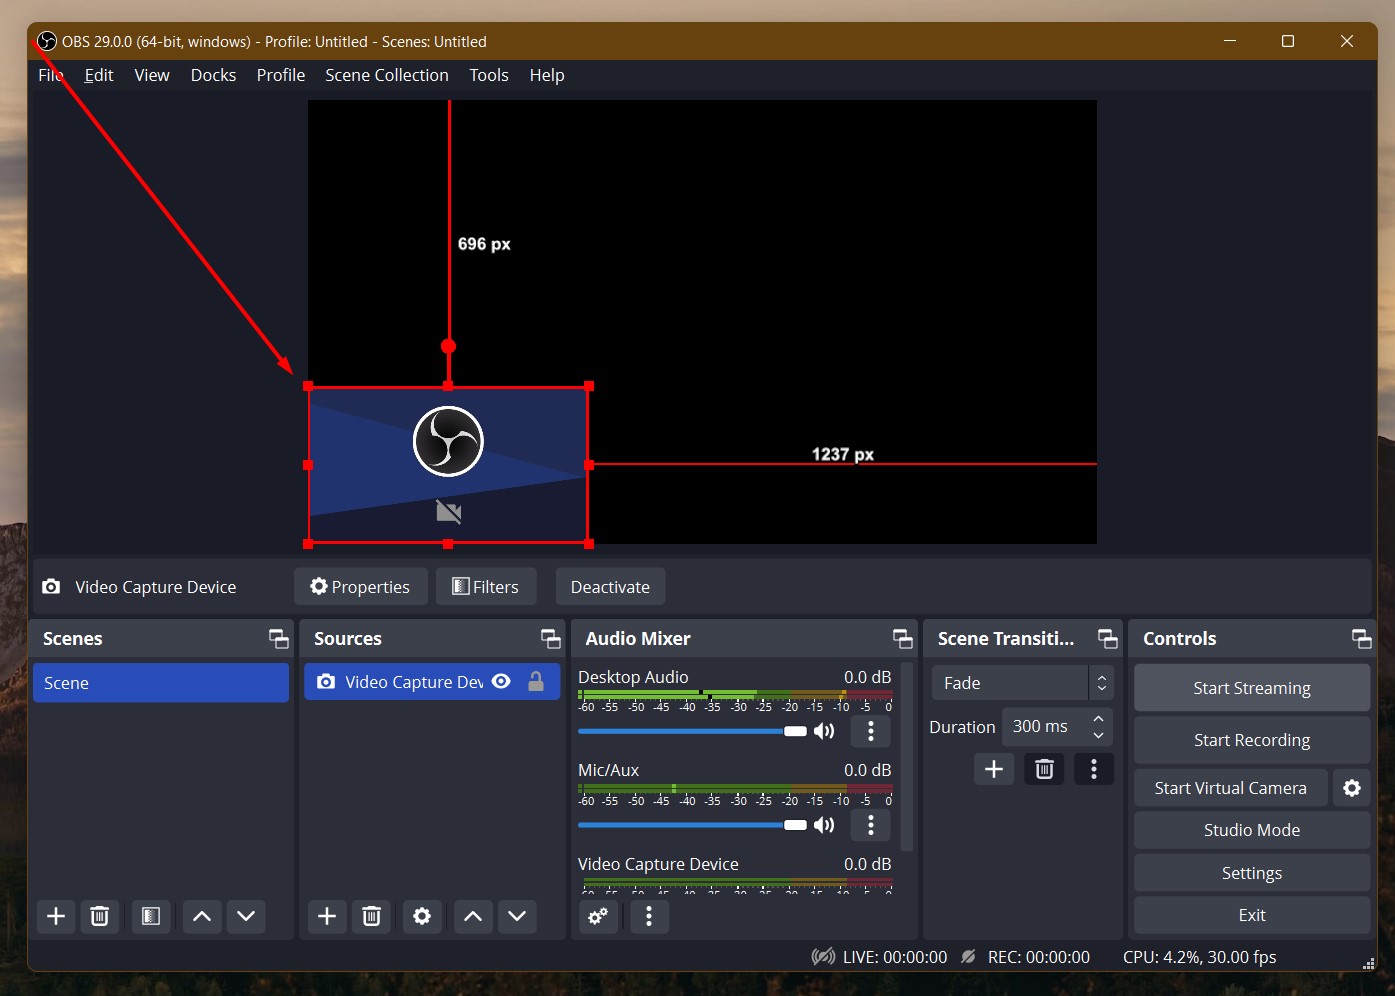
Now that you are sure about what niche you’re going to start from, you can prepare the equipment for live streaming. Well, basically to start broadcasting on a certain platform, you’ll need some basic tools. Those are a PC (or laptop), a headset, a microphone, and a webcam or camera.
Keep in mind that you don’t need to spend much in beginning. As long as the tool suit your streaming need, you’re good to go. See the best headset, microphone, and PC through our previous articles. Don’t forget about the streaming software too!
3. Produce Great Content To Succeed on Twitch
After determining the streaming idea and preparing the essential stuff, now you’re good to go! Woo hoo! Are you excited? Content is an important thing to attract viewers and fans, and make them stay longer on your channel.
Therefore, it’s vital to always produce high-quality content. How to make good content on Twitch, then? That’s a smart question. Well, it’s tricky to get this done. But it’s worth highlighting that having the right settings on your tools and software is a must because it determines the quality of your image and audio.
In addition, you can also try some editing software to make your content look more appealing.
4. How To Be A Successful Streamer on Twitch: Grow Your Channel
How’s your first stream? Are you having fun? If you have succeeded to create your first content, you can do it continuously. The key to growing your channel is to be consistent.
Try to make content regularly at a perfect time and don’t make your fans wait or even miss out on your show.

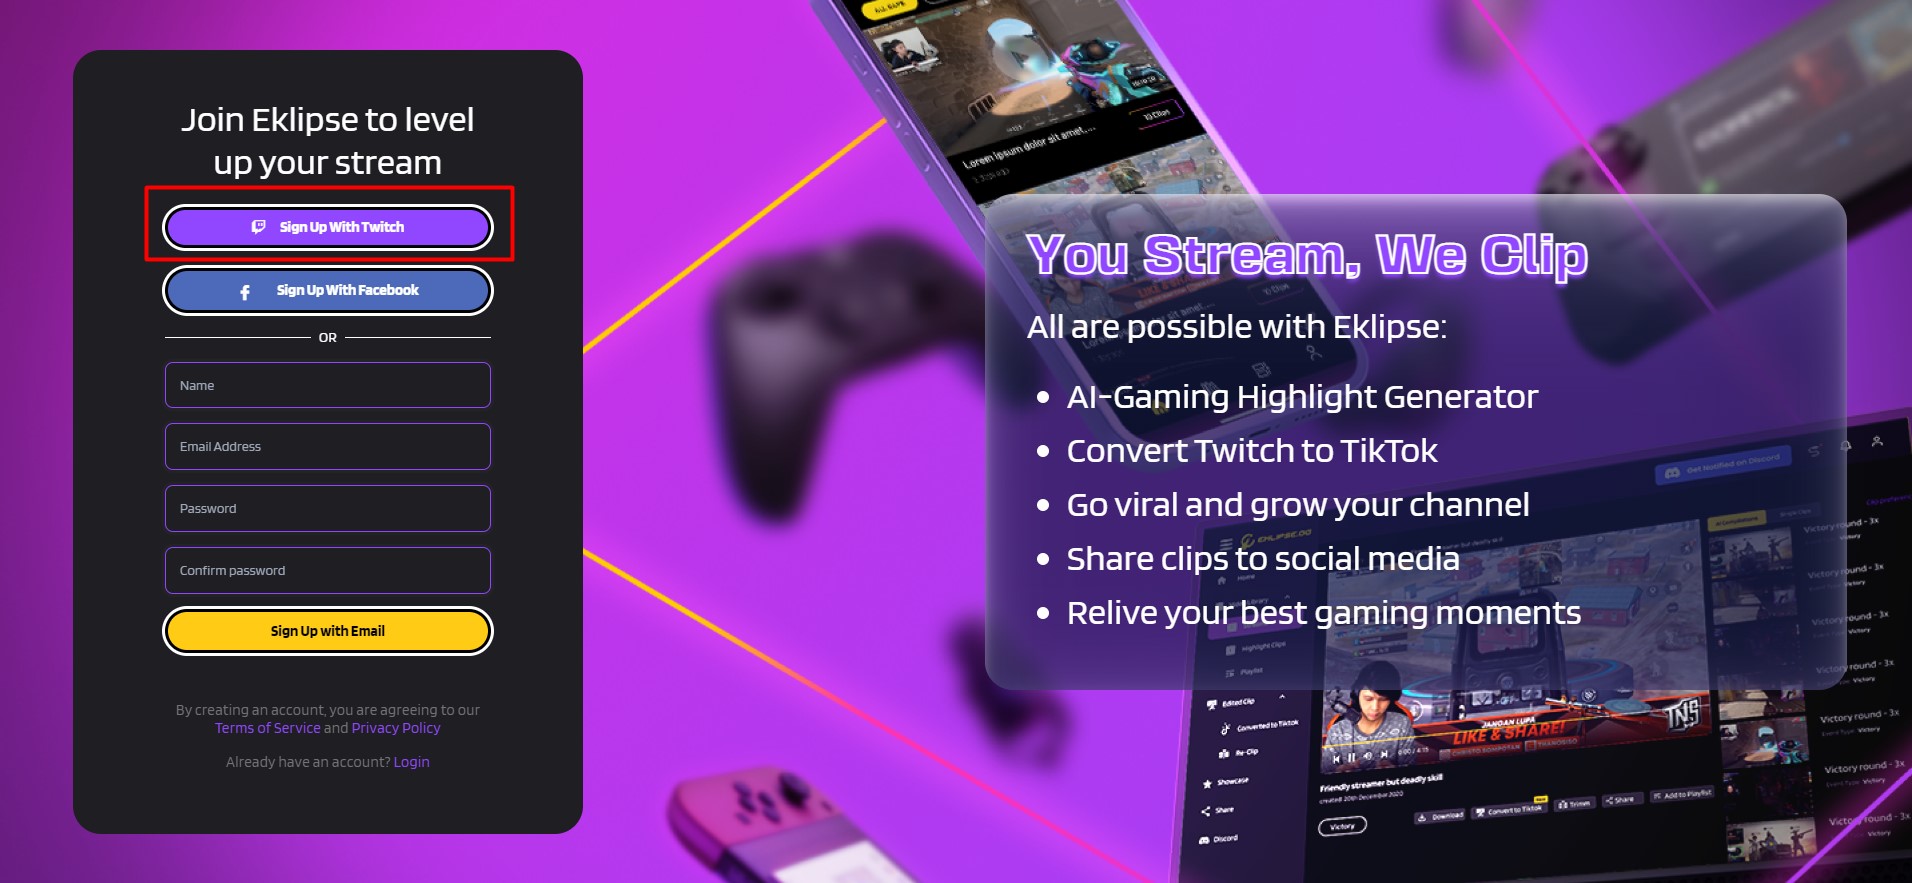
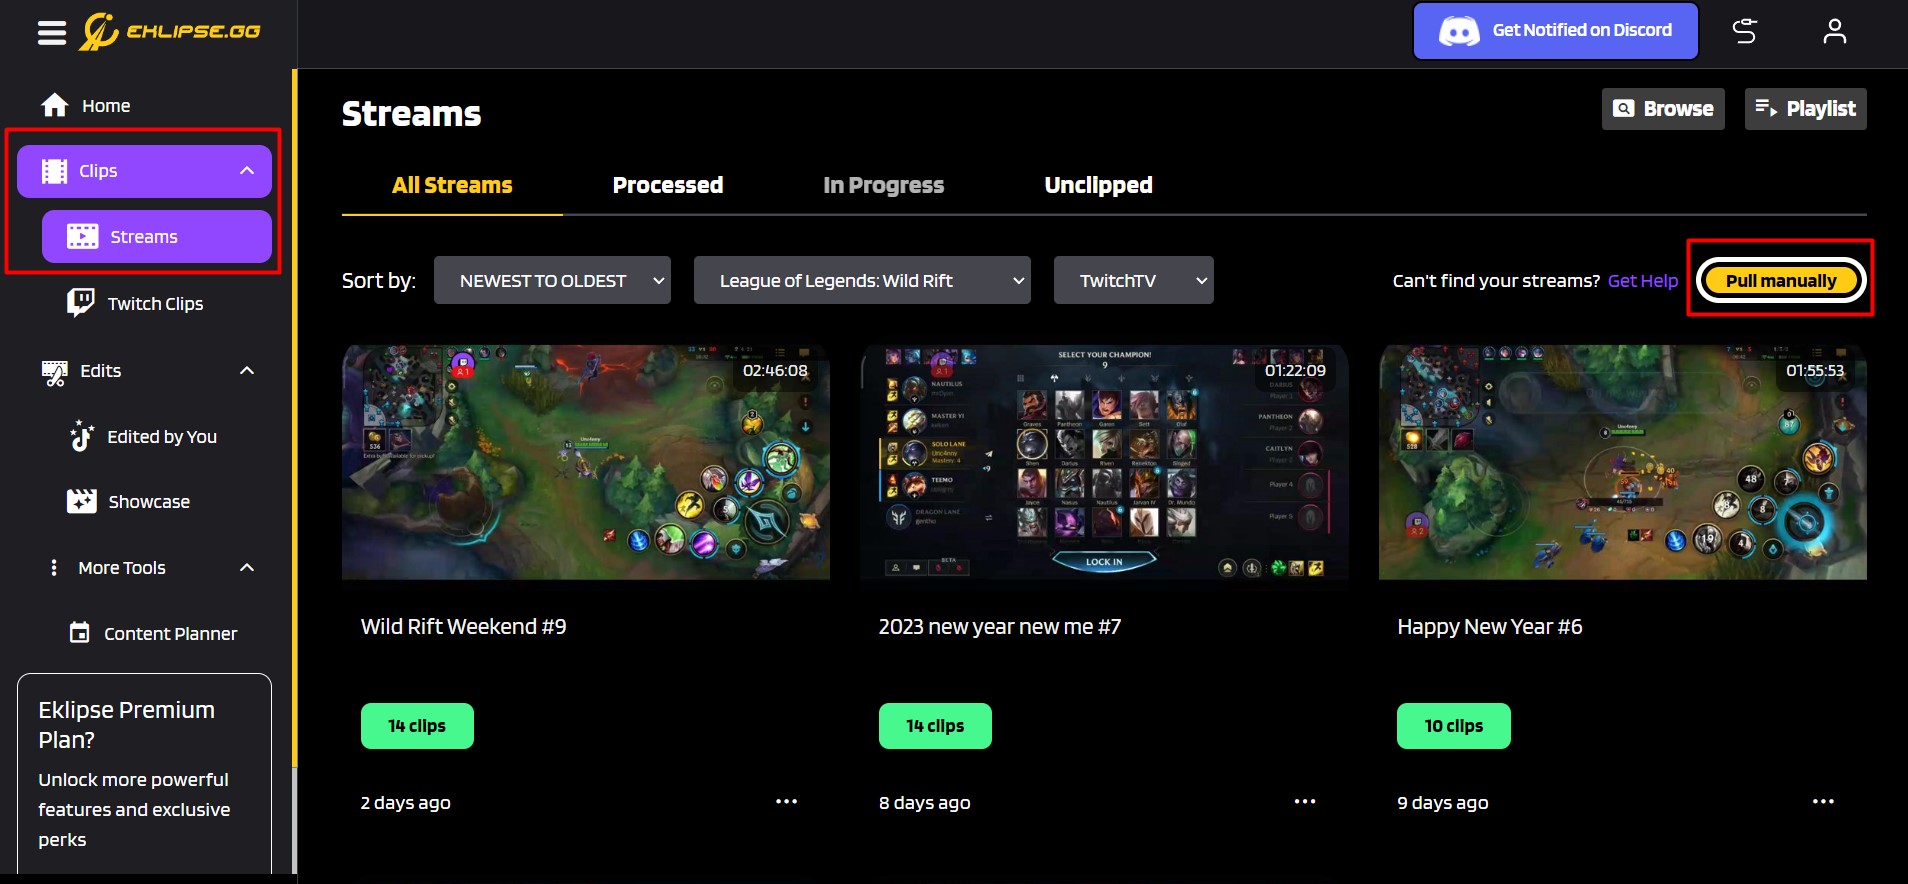
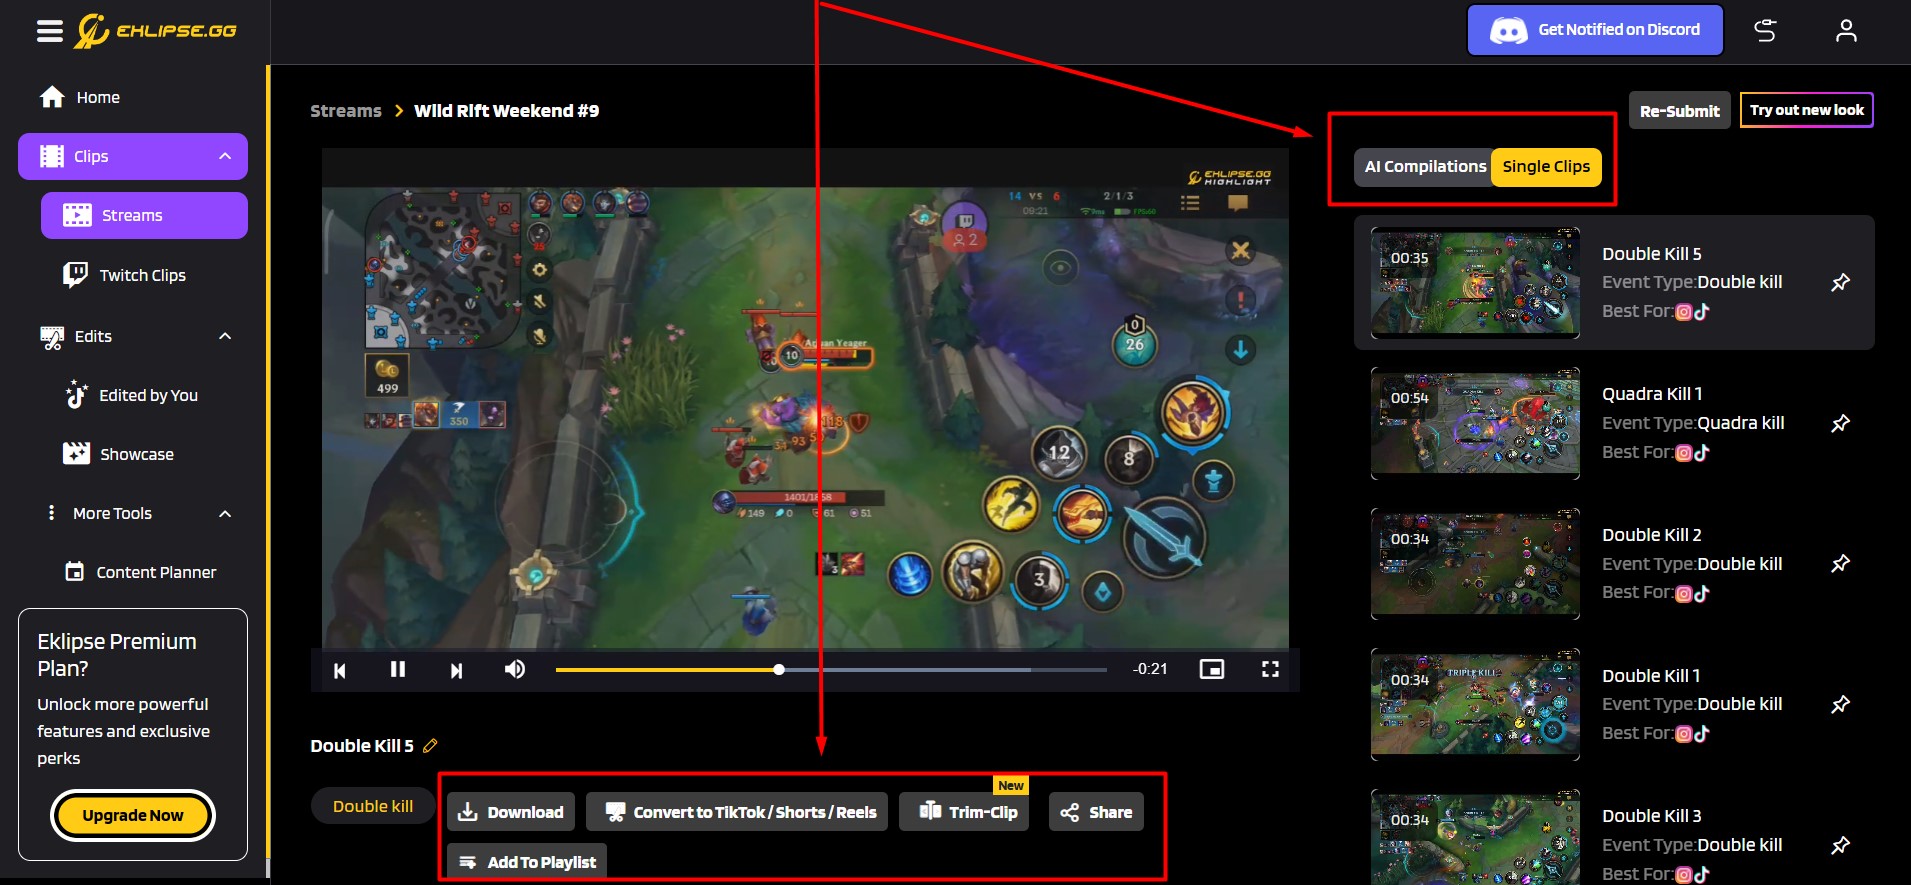
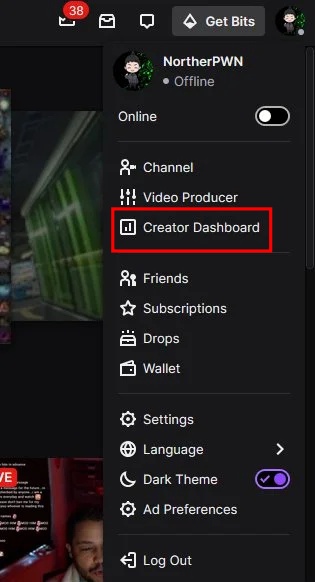
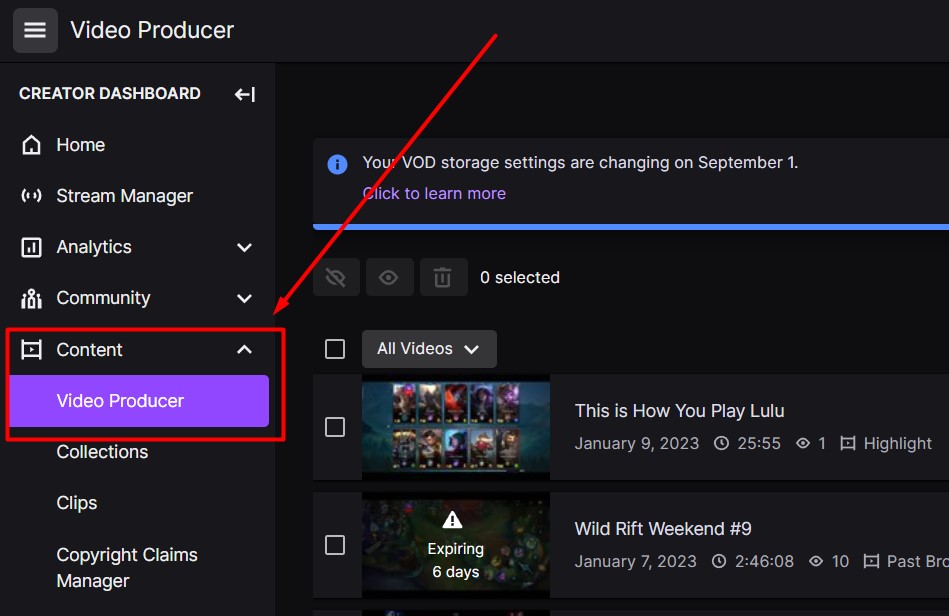
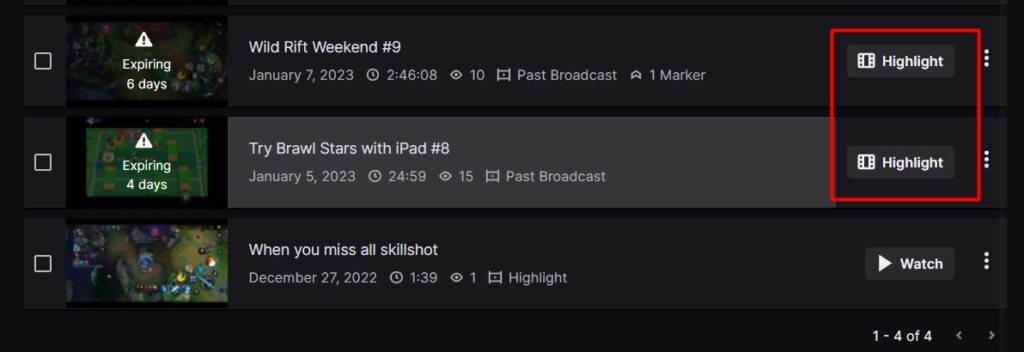
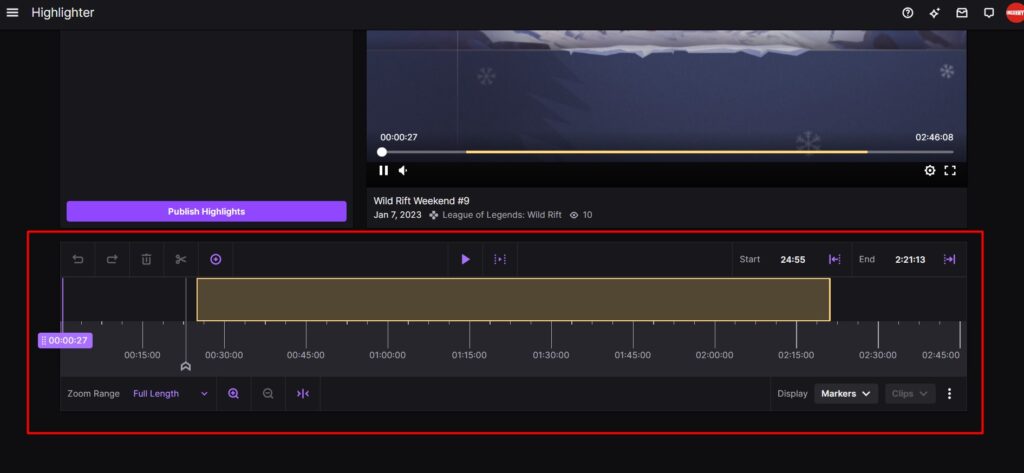
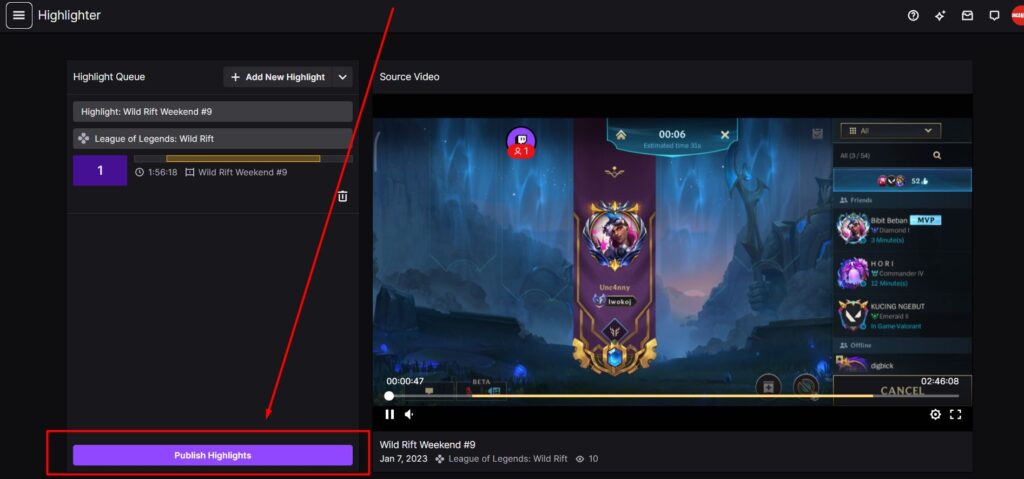
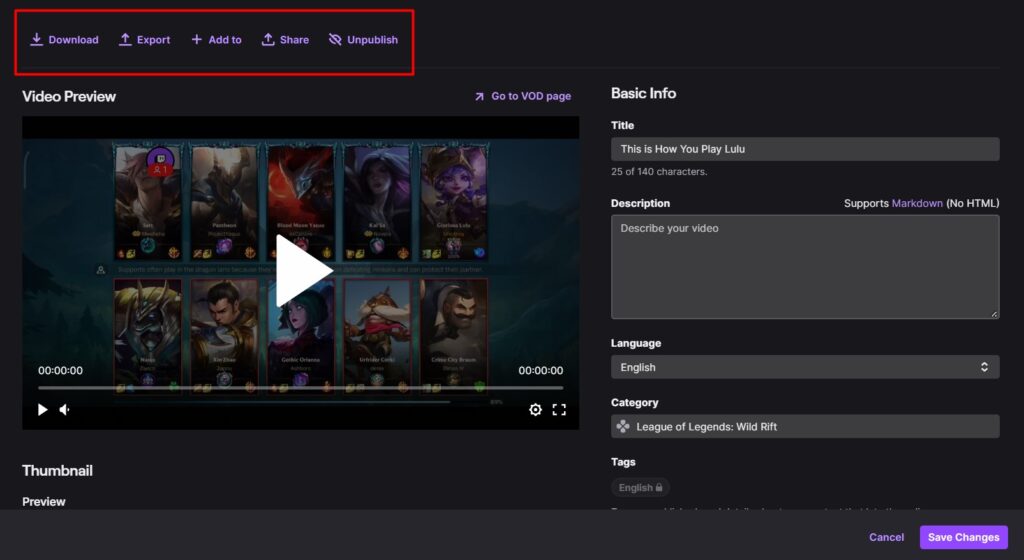
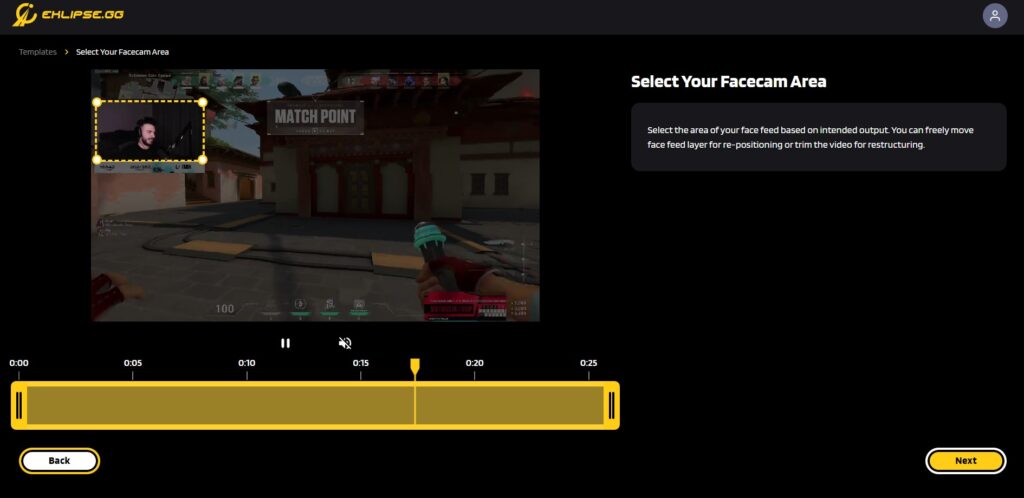
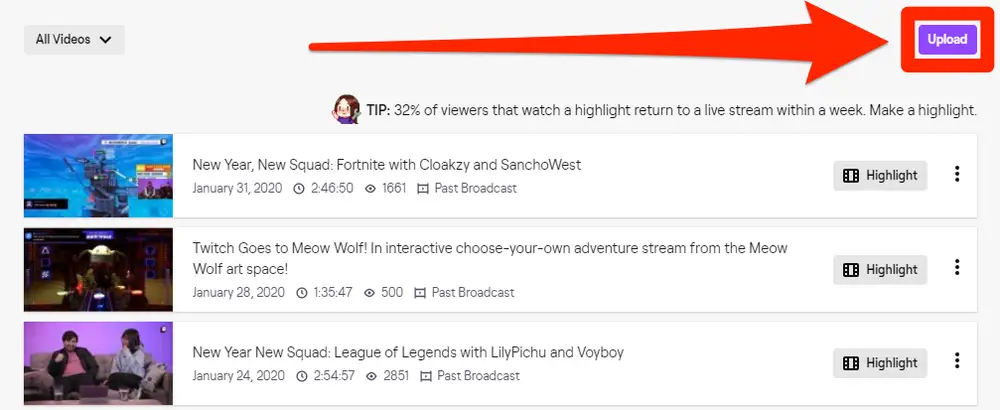
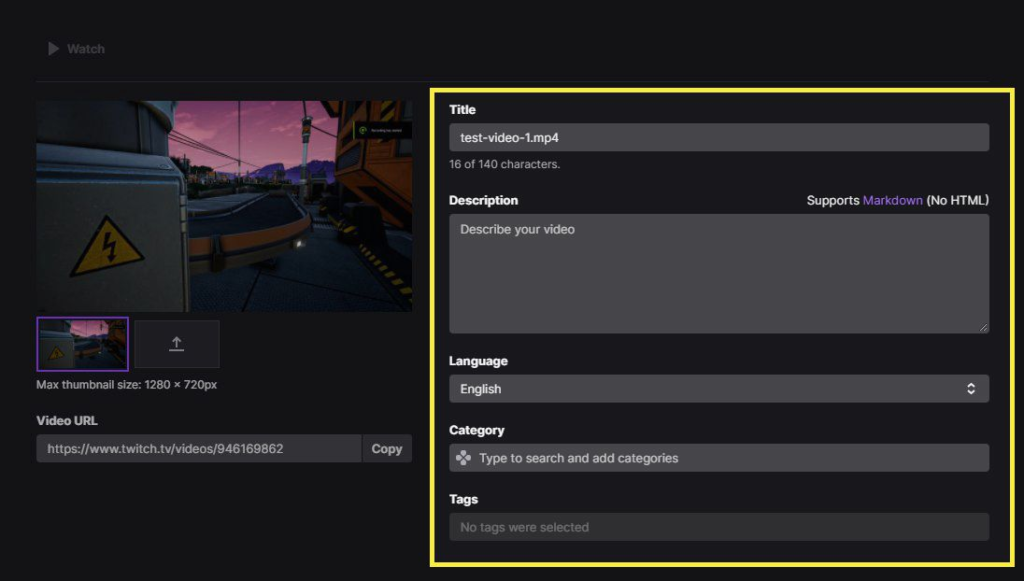
Other than that, post your content on other social media. This is essential to reach a wider audience and increase your traffic. To make it happens, you can turn your stream into highlight clips. Thankfully, Eklipse can handle it all for you.
Eklipse is an AI-powered tool that will help you capture the important scene of your video automatically. Not stopping there, it’s also capable of converting the clip into a short-form format, which is best for TikTok, Reels, or YouTube Short.
Maximize your Black Ops 6 rewards—Create highlights from your best gameplay with with Eklipse
Eklipse help streamer improve their social media presence with AI highlights that clip your Twitch / Kick streams automatically & converts them to TikTok / Reels / Shorts
Learn more about how to use Eklipse through our articles here:
5. Engage With the Audience
Being successful on Twitch is not only about creating content. Communicating with your fans is also essential. Listening to the audience’s voice is vital to understand them. You can know what things they like and what they don’t which can help you to determine your action.
Besides, this action is also important to build chemistry between you and them. The closer you get to them, the more they like to stay on your channel.
One way to increase audience engagement is by using Channel Points. Find out more about it in our article here: How to Get Channel Points on Twitch?
6. Another Way To Succeed On Twitch: Monetize Your Channel
A successful streamer will not only be determined by how many viewers, subscribers, and followers they got, but it’s about how much money they can earn.
To be able to achieve that, make sure you monetize your channel. There are many alternatives to collect money from Twitch, including through paid ads, subs, affiliate partners, and Twitch sponsors.

Instead of rushing into things, take a step back and carefully consider what strategies will be most effective for you and your unique situation. Look to successful streamers in your niche as inspiration and try incorporating similar techniques into your channel. Experiment with different approaches to see what resonates with your audience.
7. Build a Network With Other Streamers
Forming connections with other streamers can be a powerful tool for expanding your reach and building your channel. By teaming up with like-minded creators who share a similar audience, you can tap into new networks and gain exposure to new viewers.
Consider guest appearances, cross-promotions, and even co-streaming sessions to build a strong partnership. Not only will you be able to tap into a wider audience, but you can also share tips and gain valuable insights from other experienced streamers.
A smart move would be to network with streamers who have a different streaming schedule than you, as this can open the door to a wider range of viewers who can catch both of your streams at different times.
Conclusion
So that’s the way how to become successful on Twitch. It’s indeed not easy to consistently do all those things. But if you are really dreaming of being successful on this platform, you’ve no choice but wholeheartedly do all tips above. In case you’ve reached a certain level of regular viewers and want to be a better streamer, you can head to our posts for more tips and guides. See you, and good luck!