Hey there game streamer! Want to take your streams to the next level?
Look no further than Facebook Gaming! With its huge user base and fewer oversaturated streams than other platforms, it’s a great option for building your streaming empire.
Facebook Gaming itself is a platform for live and on-demand video game streaming. It is a part of the larger Meta Platforms, Inc like Facebook and Instagram
It is available as both a website and a mobile app and allows users to watch streams or create and broadcast their own streams that can be watched by Facebook users.
So, ready to get started? Let’s check up our guide on how to stream on Facebook gaming!
How to Start Streaming on Facebook Gaming?
The first thing to do is to set up all your equipment. Now, you can start streaming by following these steps:
- Create a Facebook gaming page.
Choose a catchy name and choose the Gaming Video Creator category.
- Then, go to the Creator Portal.
Hit Create live stream to start broadcast your gameplay to Facebook gaming
- Choose your Facebook gaming page.
This is going to be the place your live streaming broadcasted
:max_bytes(150000):strip_icc():format(webp)/002-how-to-stream-games-on-facebook-a8a40780c5ea4e4b8e0ea5b596dc4218.jpg)
- Click Go live or Create live video event.
Choose whichever your purpose for going live, then click Get Started.
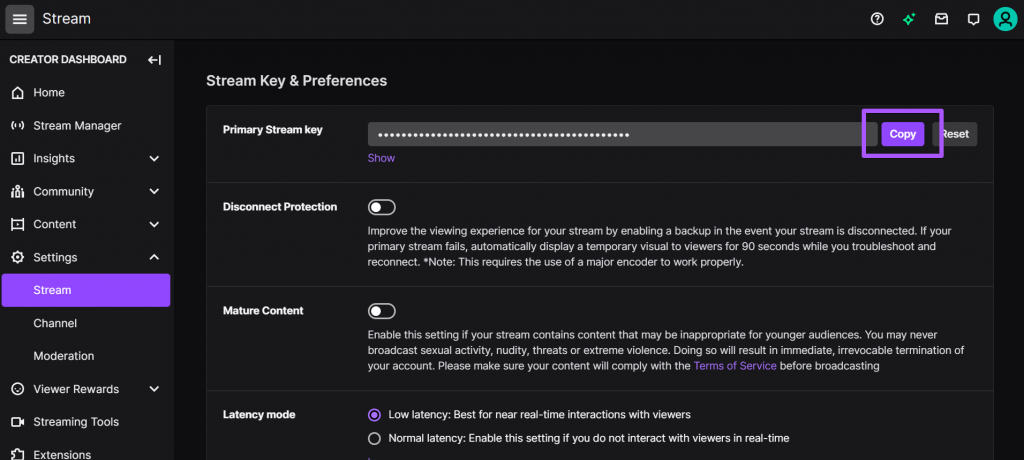
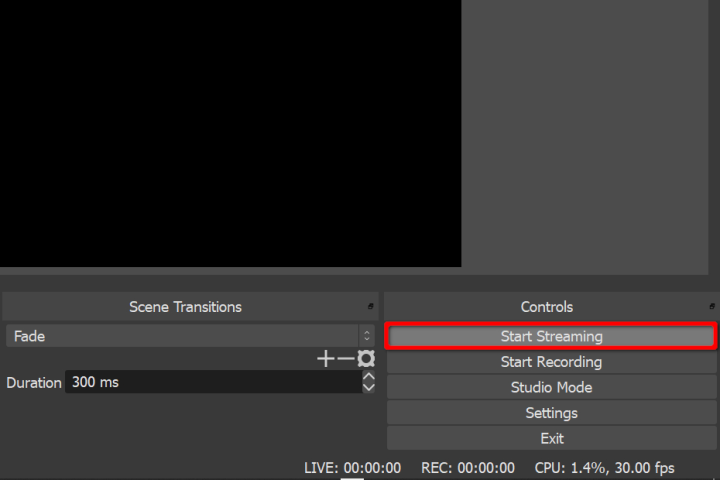
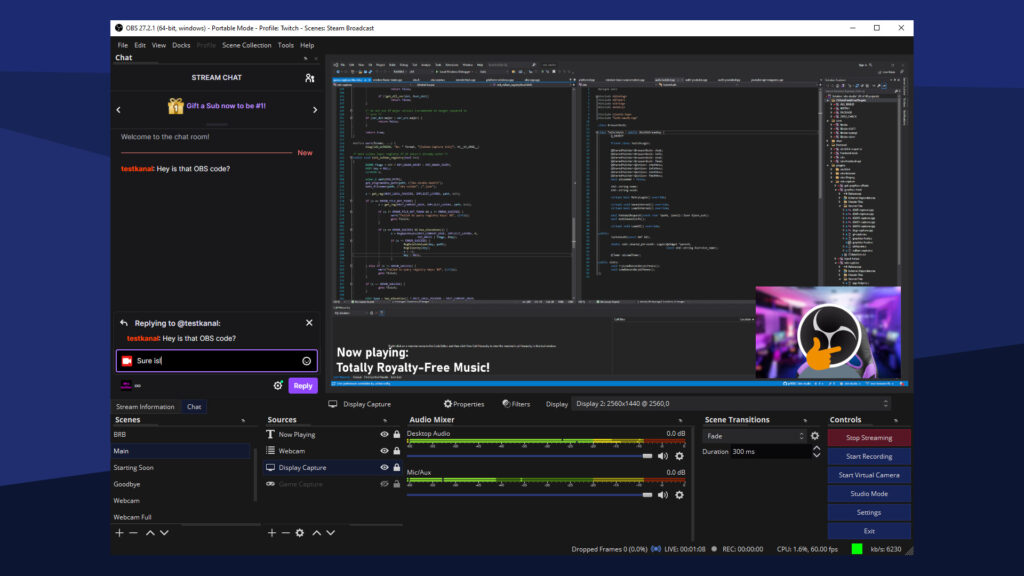
- Select your streaming software
Under your streaming Software Setup, click Copy to copy your stream key.
- In the broadcast software section, select Facebook Live for the streaming.
Enter your stream key and server URL into the software settings. Now you can start streaming using your broadcast software. You can enlarge the preview if you prefer.
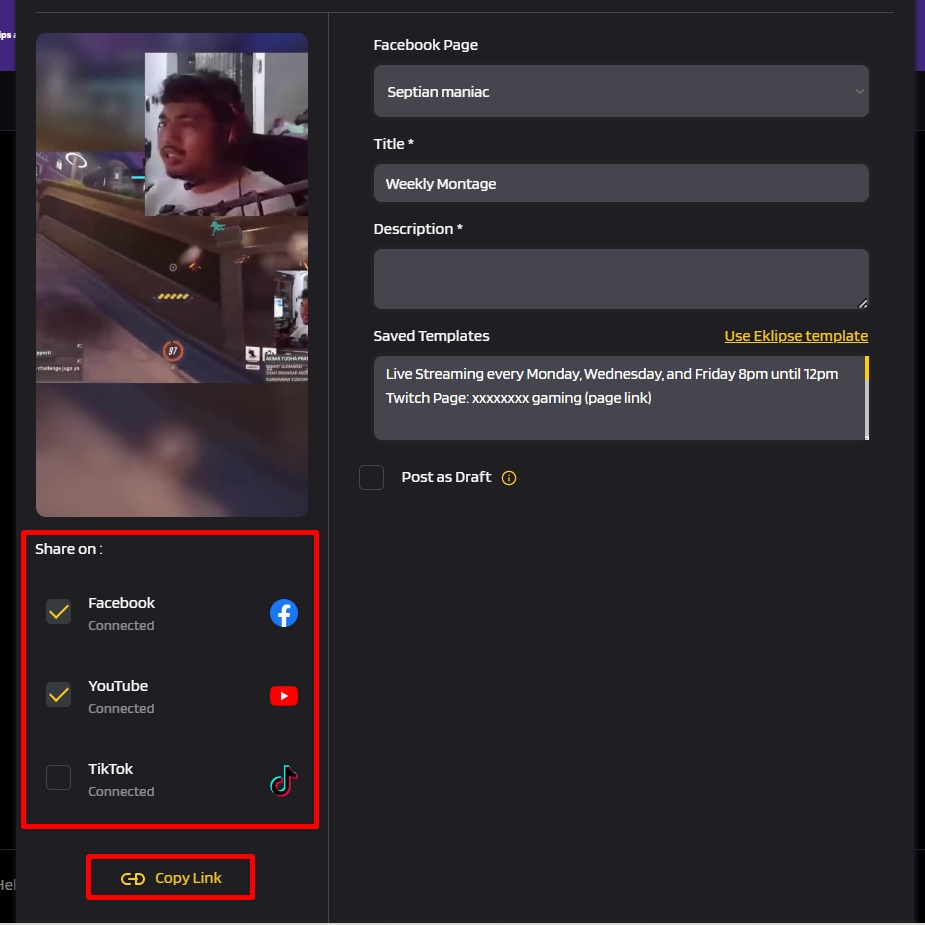
- Write your Title and Description.
Write it in catchy ways to get viewers attention! You can also write some tags, to help Facebook algorithm suggest your content to the right audience
:max_bytes(150000):strip_icc():format(webp)/008-how-to-stream-games-on-facebook-585531f1739b471786295f991cb1621e.jpg)
- You can now go live or test the stream by clicking Start Test.
:max_bytes(150000):strip_icc():format(webp)/009-how-to-stream-games-on-facebook-7f5465b548c848bdabb6c6b74508594c.jpg)
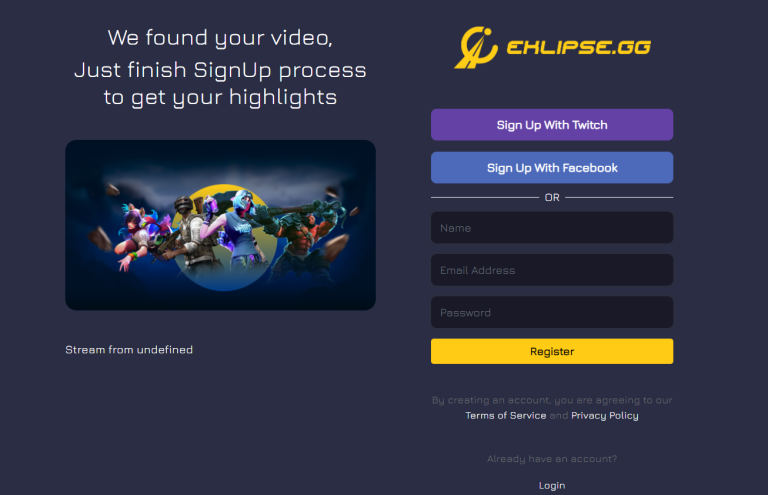
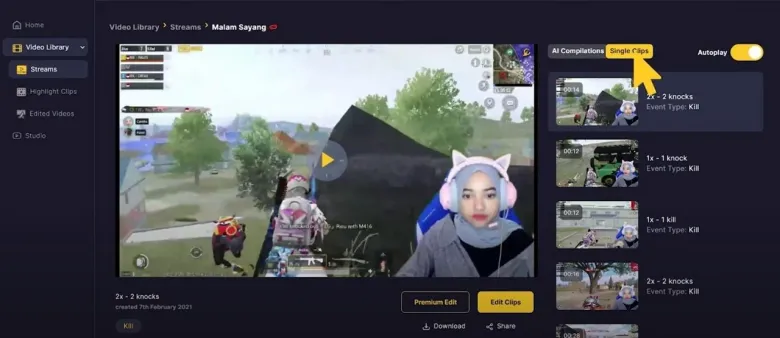
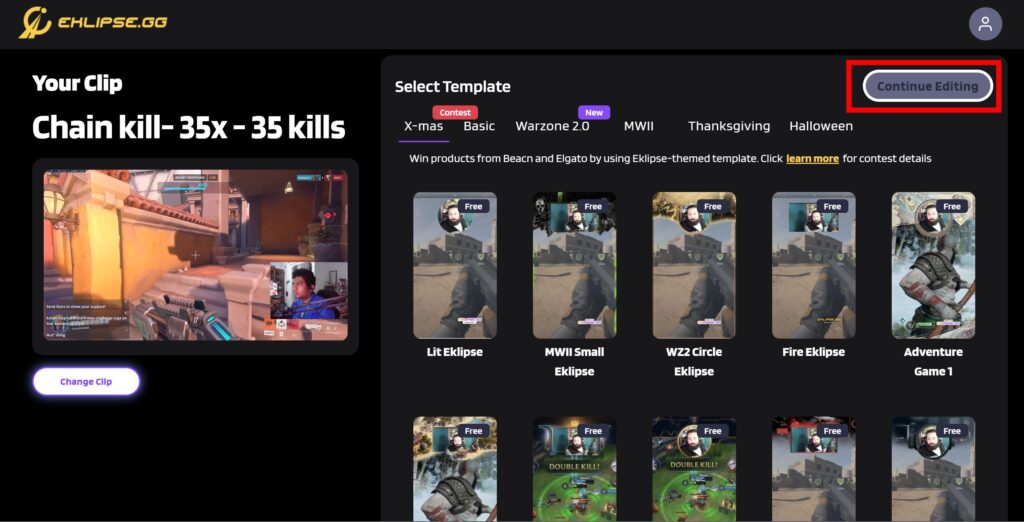
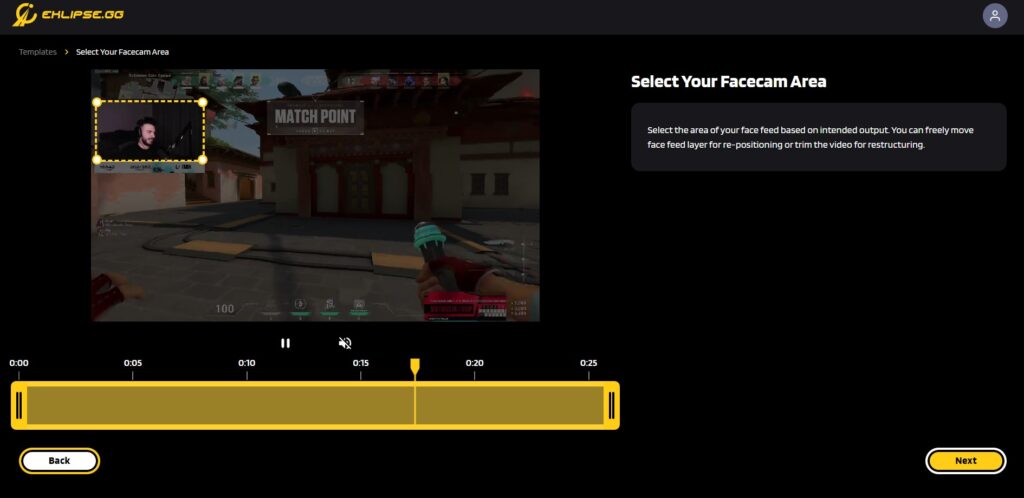
Maximize your Black Ops 6 rewards—Create highlights from your best gameplay with with Eklipse
Eklipse help streamer improve their social media presence with AI highlights that clip your Twitch / Kick streams automatically & converts them to TikTok / Reels / Shorts
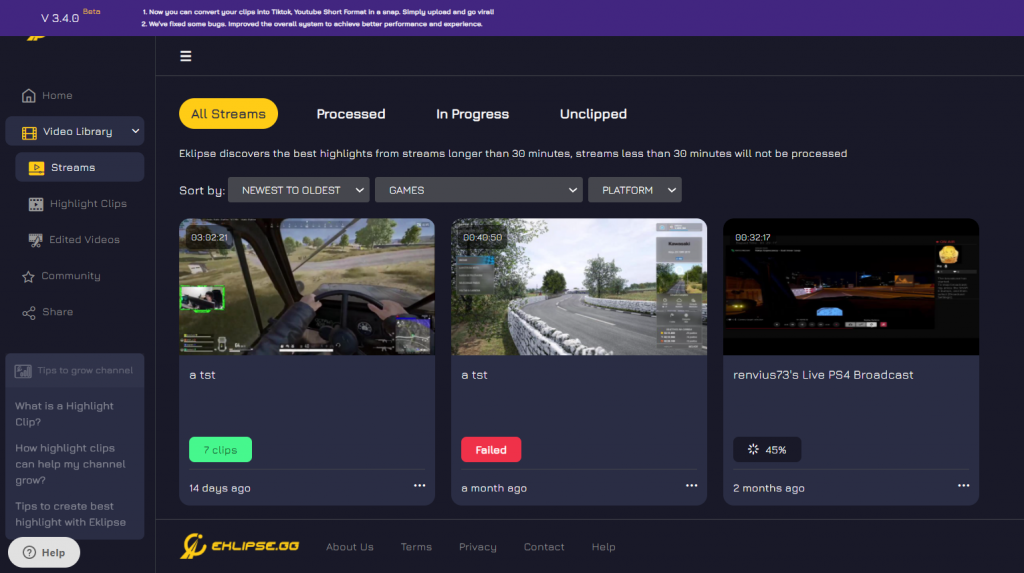
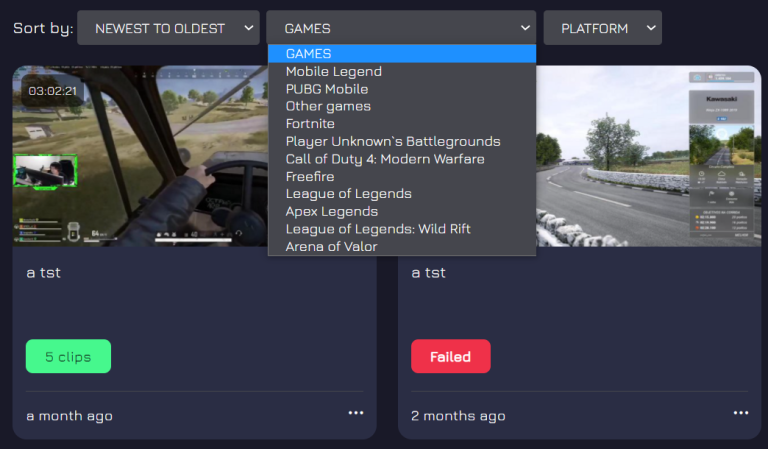
Tips on Streaming to Facebook Gaming
Facebook gaming itself is a versatile tool for you to broadcast your gameplay to attract an audience. There are many things to do so you can grow your Facebook gaming channel.
Eklipse blog provides you with resources to help you achieve that! Starting from tips to choose the best broadcast software, a way to stream from PS4, or some strategy to grow your channel.
You can check all that content on the link below
- Learn How To Stream On Facebook From PS4
- How to Grow on Facebook Gaming Easily
- Best Streaming Software for Facebook Gaming
- How to Clip on Facebook Gaming: A Guide
How to Monitor Your Live Stream on Facebook?
In the Facebook Creator Studio, you can monitor your gaming stream. Once you go live, use the Creator Studio to view relevant information such as views, comments, and stream health.
You can use the Insights tool to view your earnings and viewer metrics. During your gaming live stream, you can come back to view your viewer information and stream health. You can also upload videos in the Creator Studio.
What Are the Requirements for Streaming on Facebook Gaming?
As long as you have an HDMI port, you can stream from your PC or console.
If you want to stream from your console, you have to first connect it to your PC using a video capture card. You will also have to install third-party streaming software such as OBS Studio.
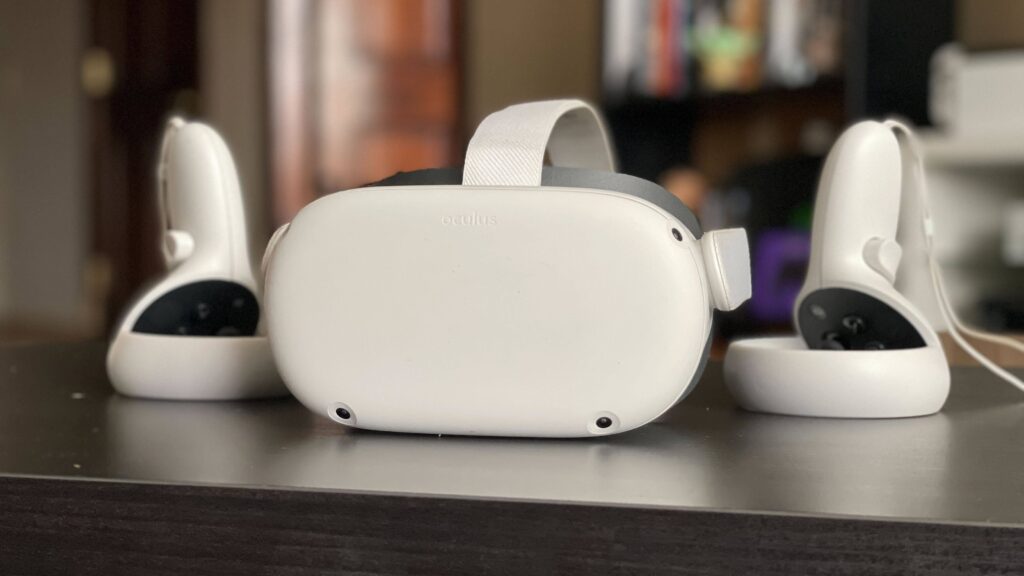
For better-quality streaming, you might also want to invest in a quality mic and webcam. Investing in a good streaming setup is necessary for high-quality game streaming.
How to Set Up Your Stream?
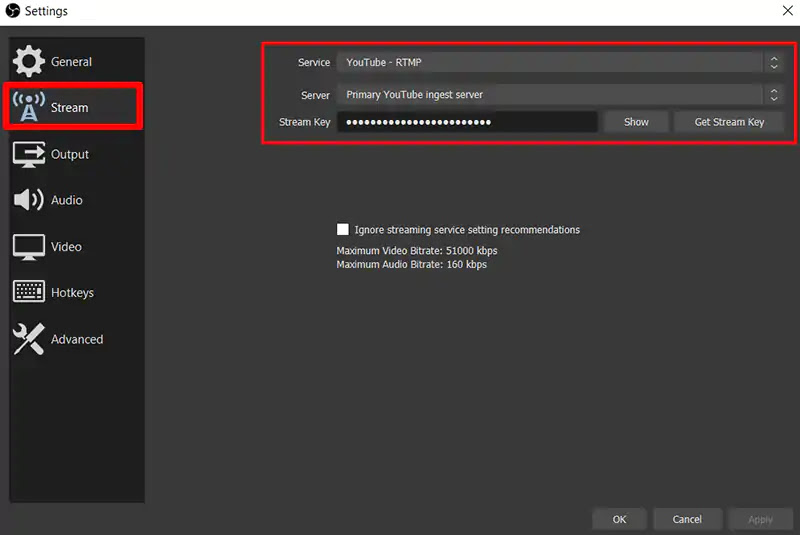
Before game streaming on Facebook gaming, you have to set up your broadcasting software. The process will look different depending on what broadcasting software you are using for game streaming. For live streaming on Facebook gaming, we recommend you the following settings:
- 4,000Kbps bitrate
- 2 keyframe interval
- Video output of 720p at 30 frames-per-second
Other than that, you also need a visually pleasing streaming layout. It will help you present yourself to your viewers. It is recommended that you at least put a nice background image for your live streaming.
How to Create a Streaming Layout for Facebook Gaming Using OBS Studio?
Here’s how you can create a streaming layout for Facebook gaming using the OBS studio:
- First, go to video settings and change the output and base resolutions to 1920×1080. This will provide the best aspect ratio.
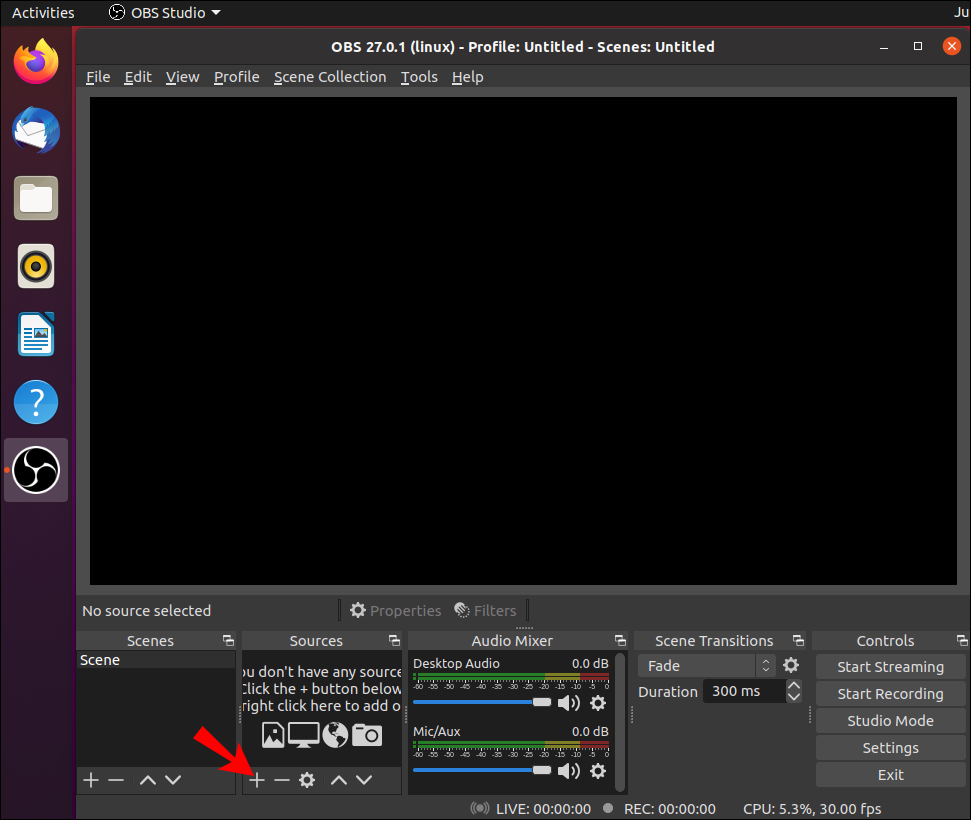
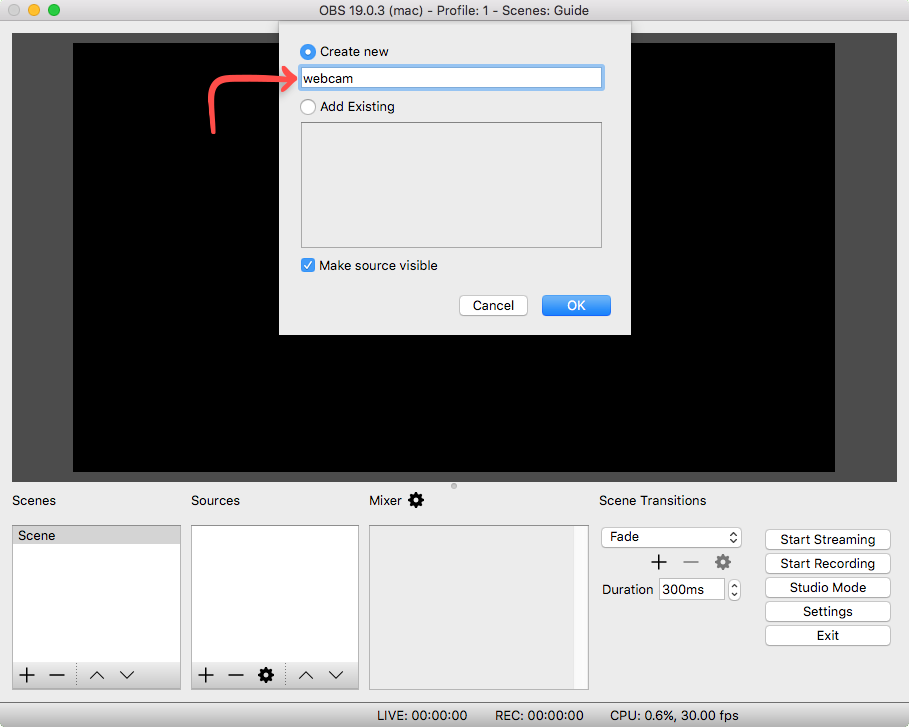
- Second, right-click the black portion and select the add image option.
- Use the add option to add your webcam.
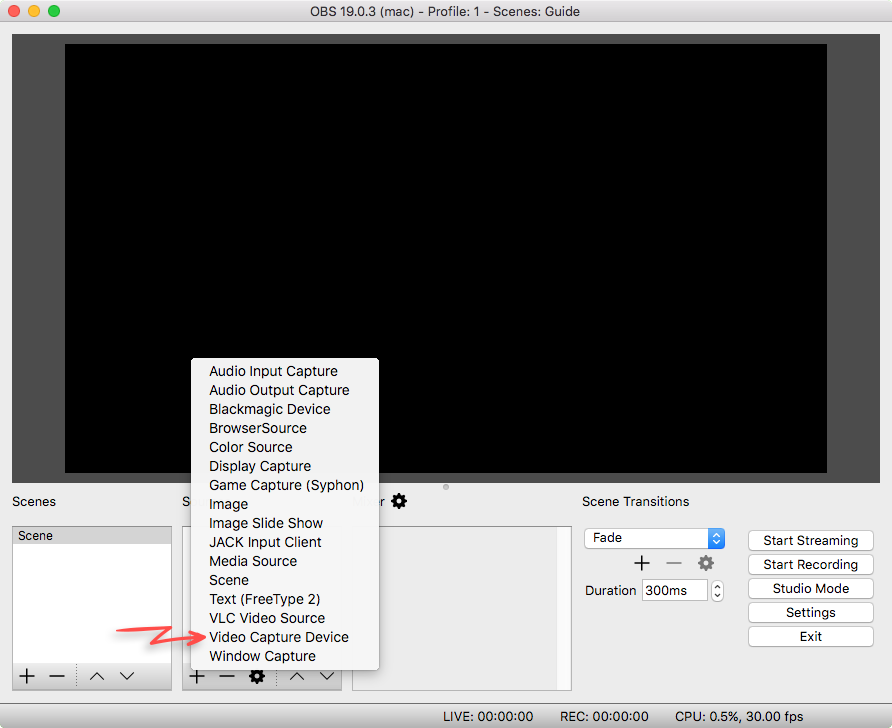
- Then, you can stream gameplay from your pc by right-clicking and selecting the add game capture option.
- Select the “capture specific window” mode and choose your game screen.
- To stream gameplay from your console, use the capture card to connect it to your PC.
Conclusion
So, that’s everything you need to know on how to stream on Facebook Gaming. Make sure to set up a good layout before you begin your game stream. Also, ensure that you have the right specs so you can do a top-quality live stream.
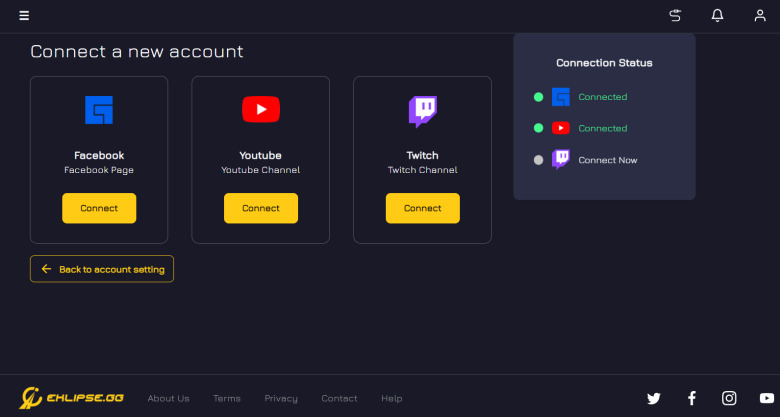
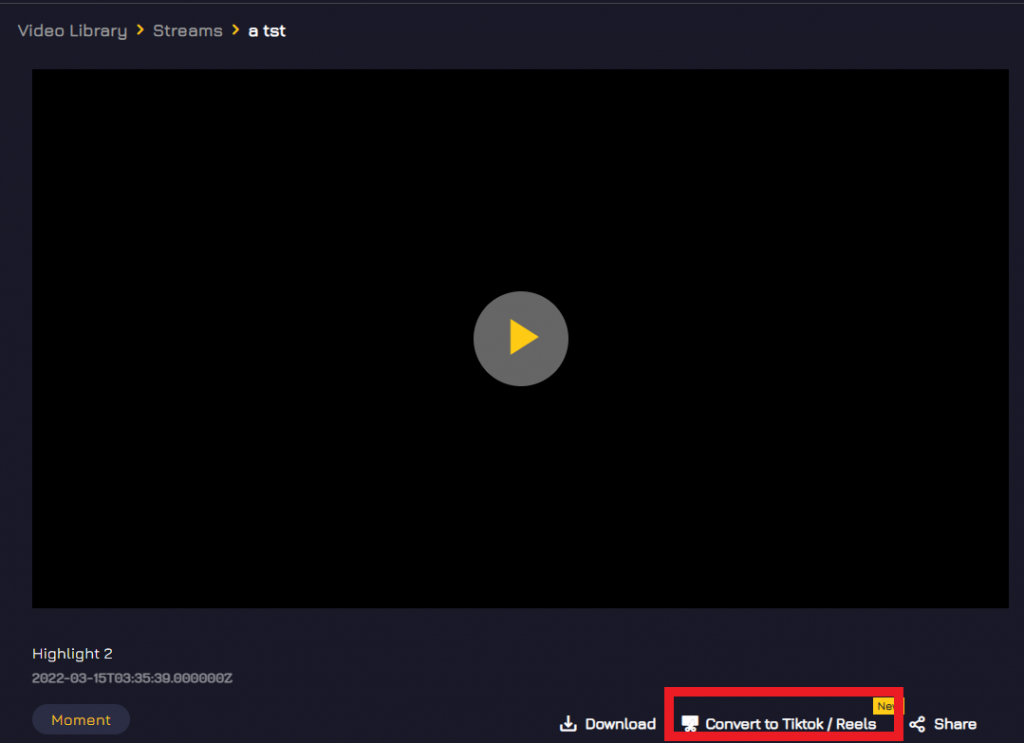
Don’t forget to press the record button while streaming, and share it to other social media like YouTube, TikTok, or Instagram. Have no idea to create short clips for Instagram Reel or TikTok? No worries, Eklipse can definitely help you to do that.
With its powerful AI, you can capture the best gaming moment from your streaming videos in a snap. No need great skills on editing, and we promise you it’ll not be so time-consuming. Interested? Read more about Eklipse highlights here. Happy streaming!


:max_bytes(150000):strip_icc():format(webp)/2Twitchaccounticon-33183d508379411ca83eb6fe46961f50.jpg)
:max_bytes(150000):strip_icc():format(webp)/2VideoProducerannotated-82be29b0d79542a892c74ee50df2d07e.jpg)
:max_bytes(150000):strip_icc():format(webp)/3Uploadannotated-a680b18d5a924ea3b6a0bb227b8e6df0.jpg)
:max_bytes(150000):strip_icc():format(webp)/7Enterdetails-c593fd1f0a384413bd23f3fa3f92c203.jpg)
:max_bytes(150000):strip_icc():format(webp)/8publish-f8fdd087236c45ea8aca4ad593d3f761.jpg)