Trimming a TikTok video means selecting part of the video you want to keep and removing the rest. It’s usually done when there’s irrelevant footage that could ruin the value of your TikTok video. Luckily in this article, you can learn how to make a clip shorter on TikTok easily.
Well, trimming TikTok videos is actually easy. You can do it using the in-built feature on the native app, or trying any third-party app to edit it. Whichever you want to choose, we’ll give you the step-by-step to get it done. Here we go.
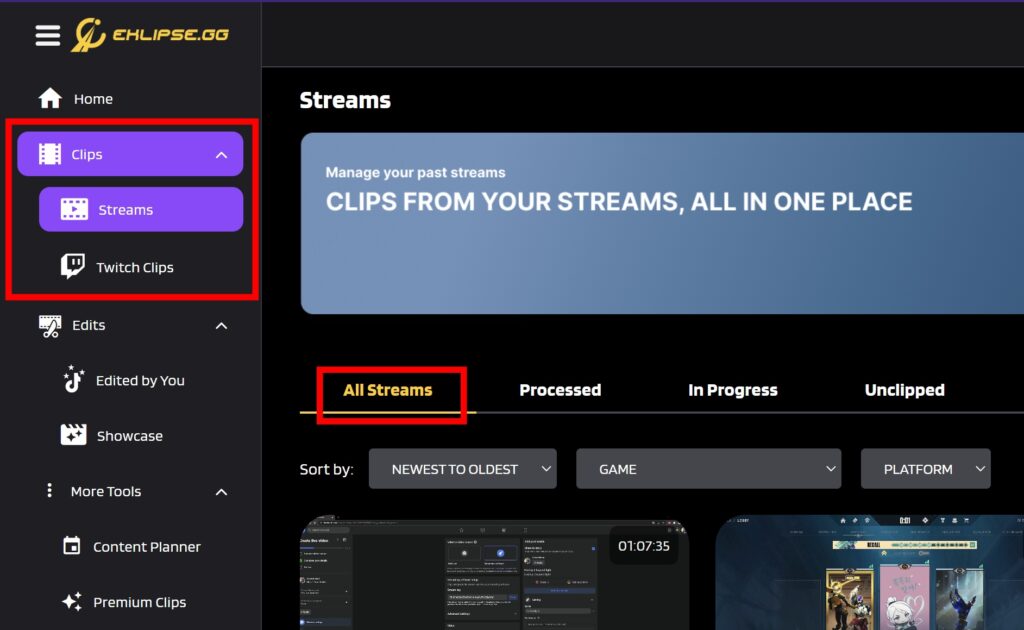
How To Shorten a Clip On TikTok Using Eklipse
Eklipse is basically an AI-powered clip maker that is not only able to capture the epic moment of a video but can also turn the clip into a TikTok video automatically. You can even edit your TikTok clip and spice it up with a wide scoop of templates. Here’s how to use it.
- Start over by heading to the Eklipse Studio website and signing in to your account (or create a new one).
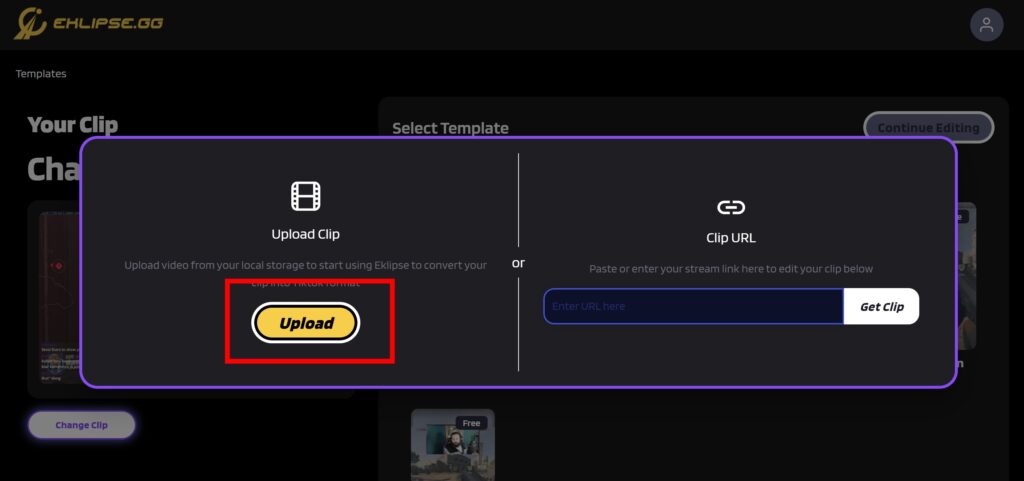
- Click on the Upload button at the beginning to import your existing videos from the local device.
- Alternatively, you can also copy-paste the TikTok URL link.
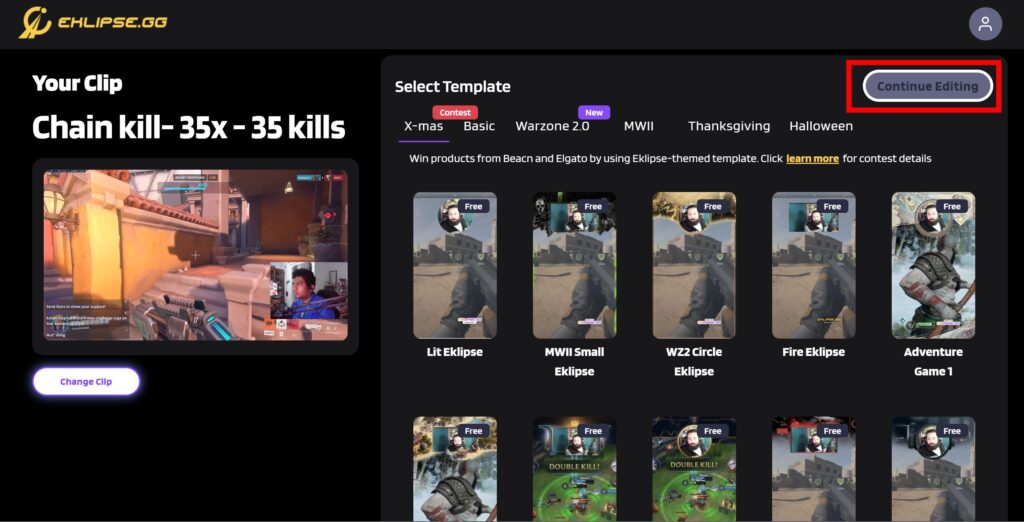
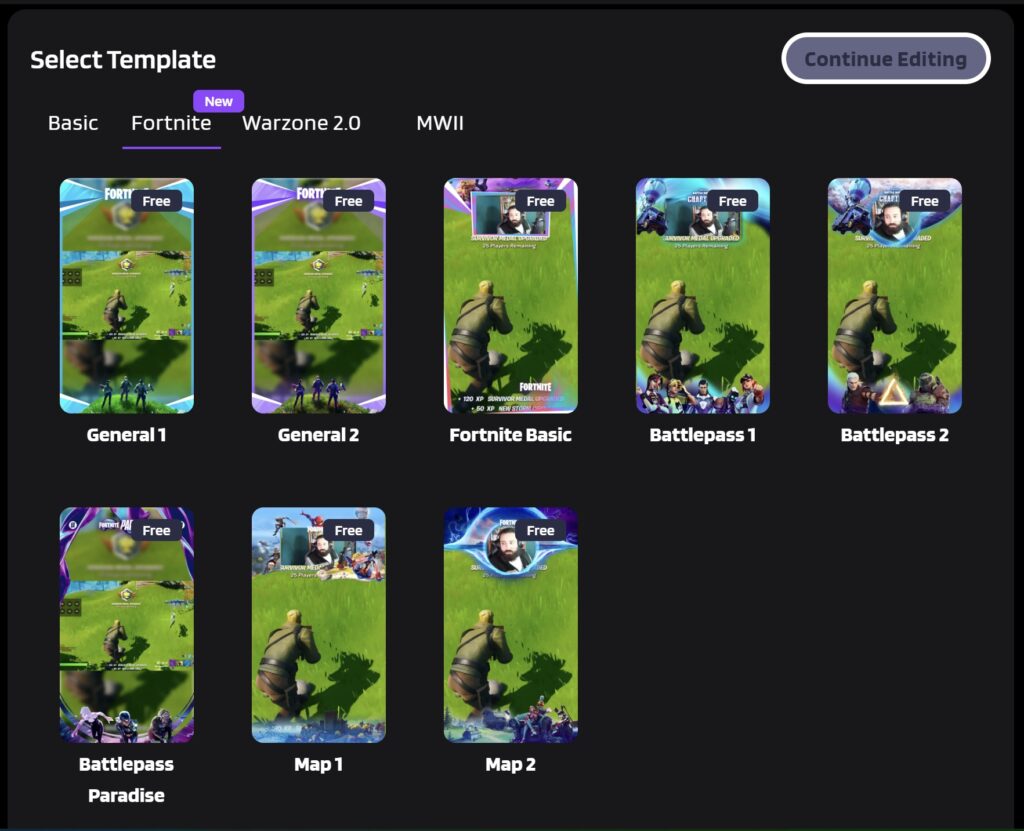
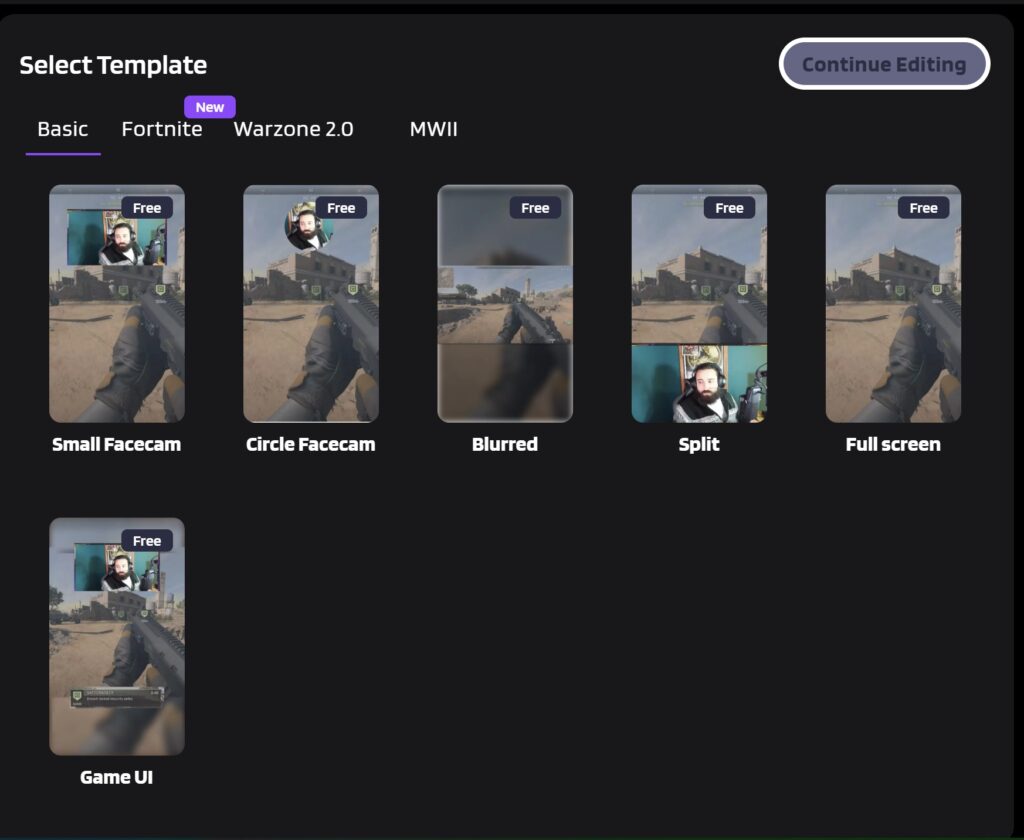
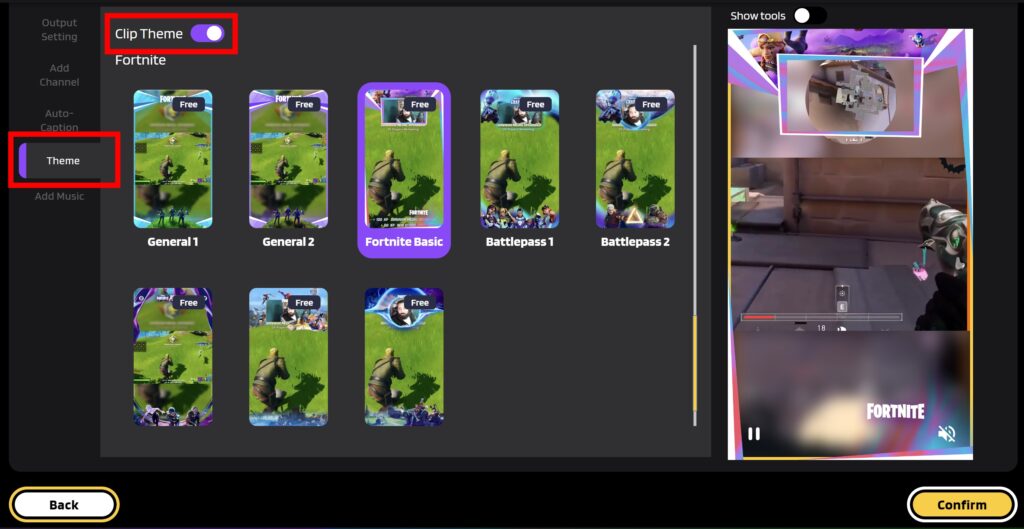
- Next up, choose your favorite template and hit Continue Editing.
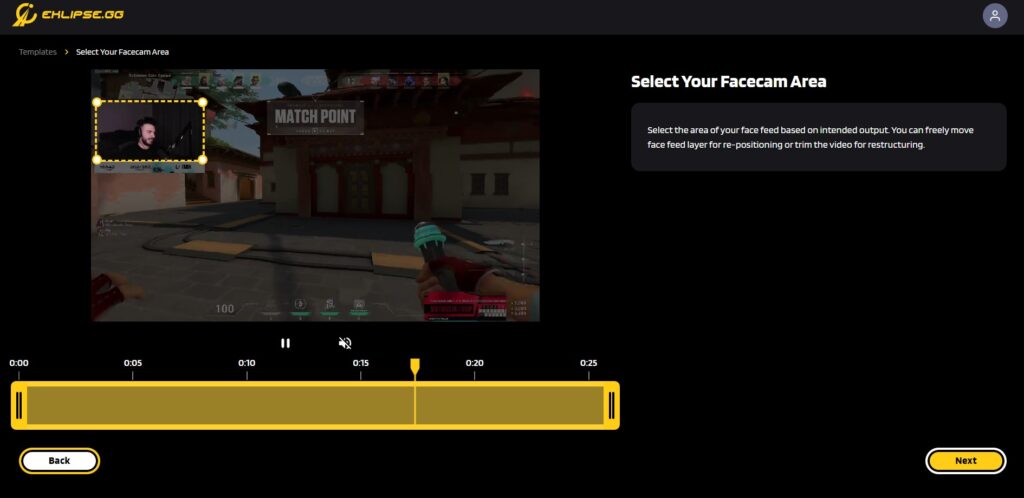
- Drag the handles of the video timeline to select the specific duration, and customize the facecam area > Next.
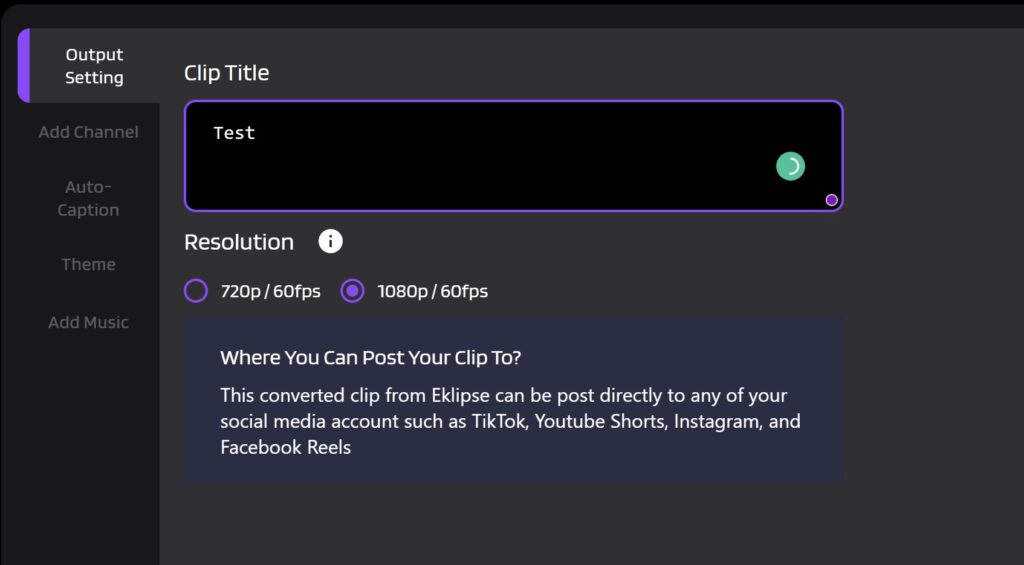
- Then, write a title and select the output resolution.
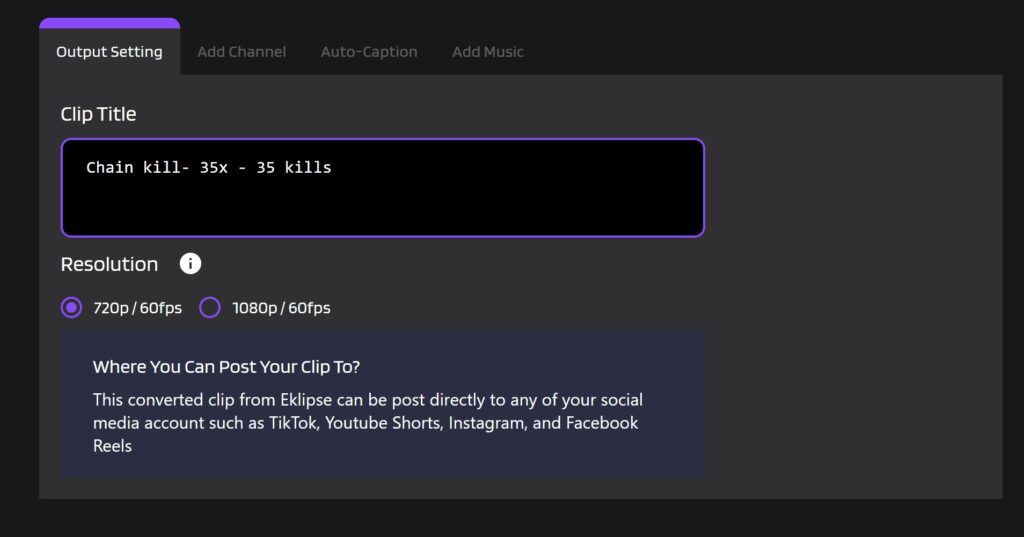
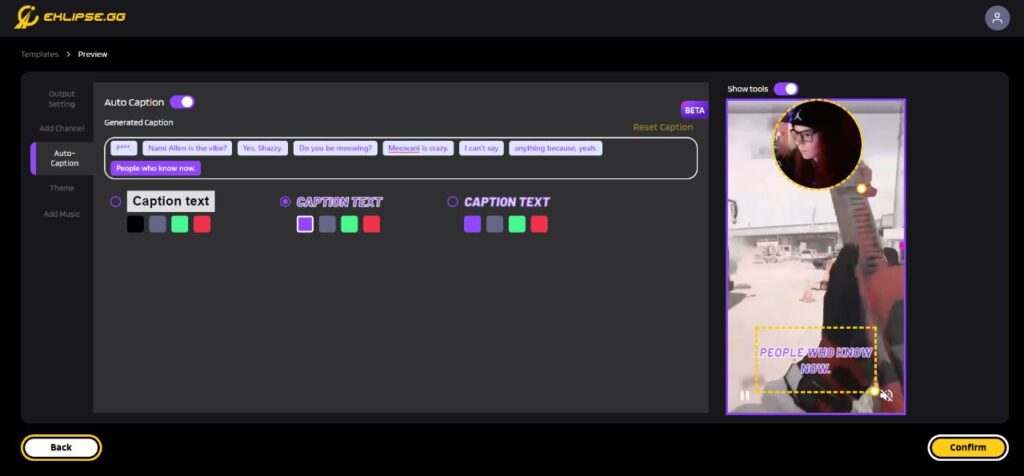
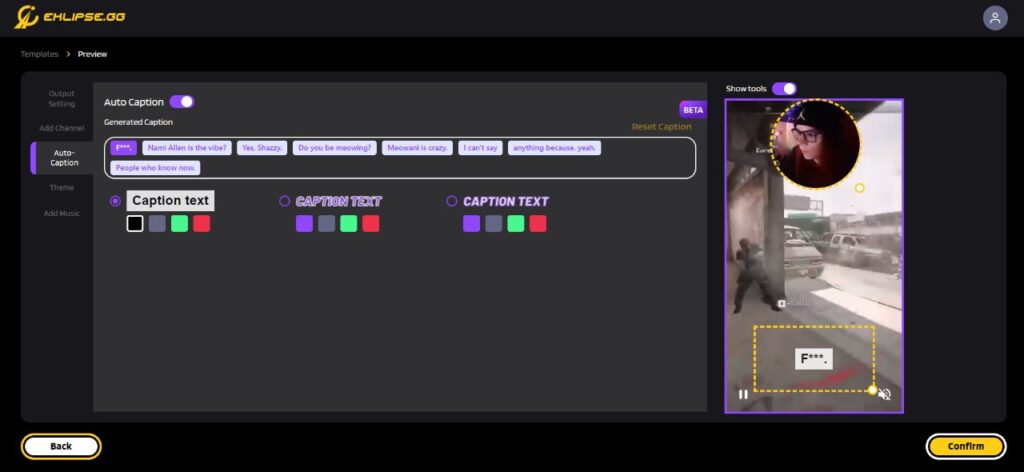
- Afterward, add a channel name and auto-caption to make your clip cooler.

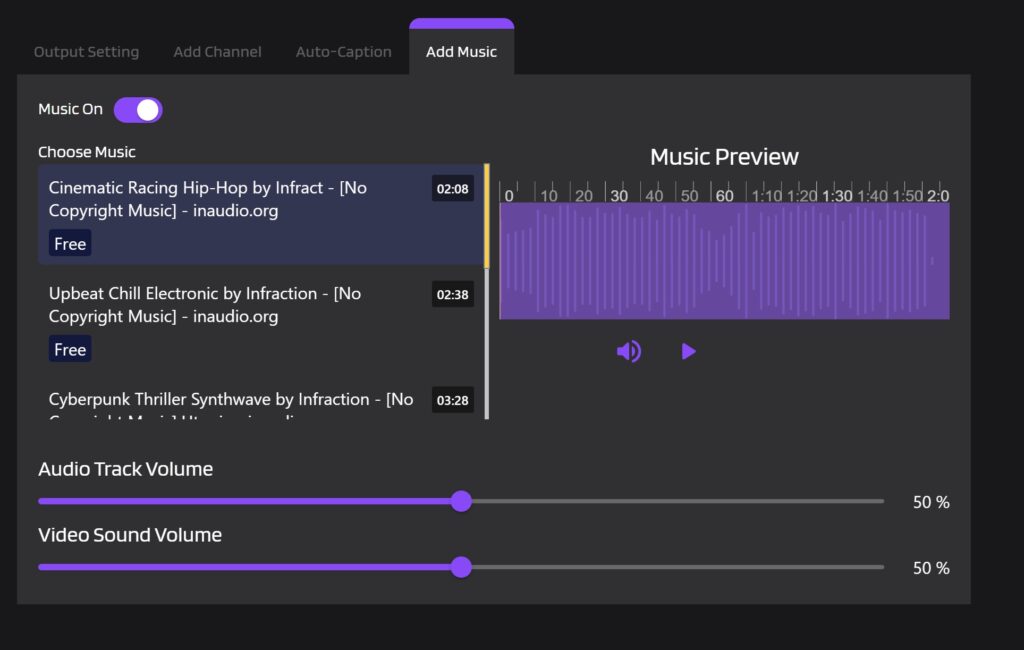
- Now, add a catchy soundtrack, adjust the volume, and hit Confirm once you’ve done.
- Afterward, find your edited clip by heading to the Edits tab > Edited by You.
- Sort by the Converted option and there your clips are.
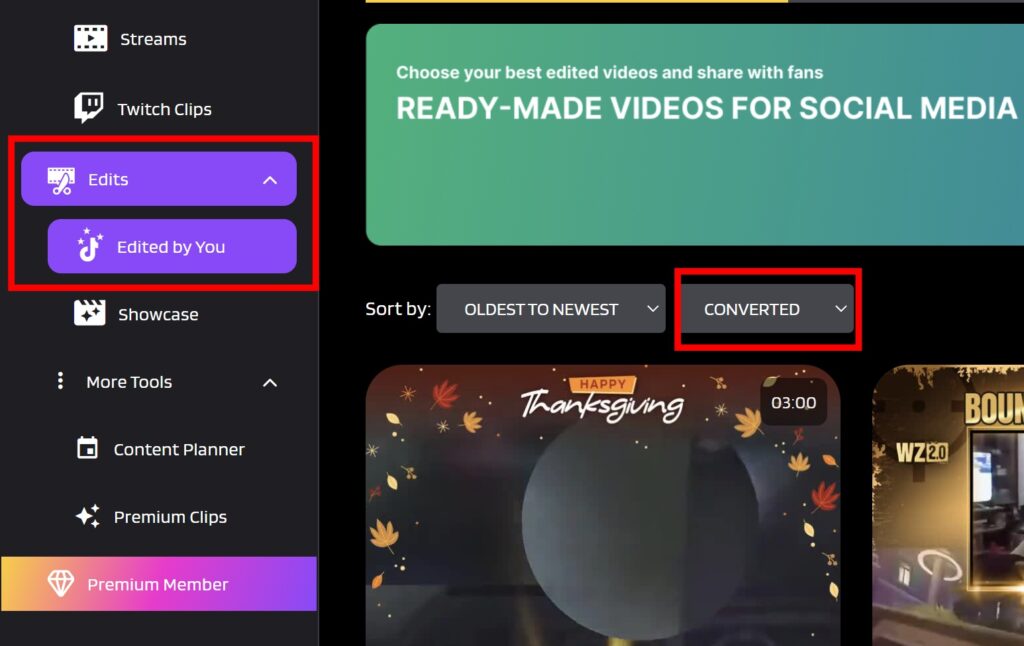
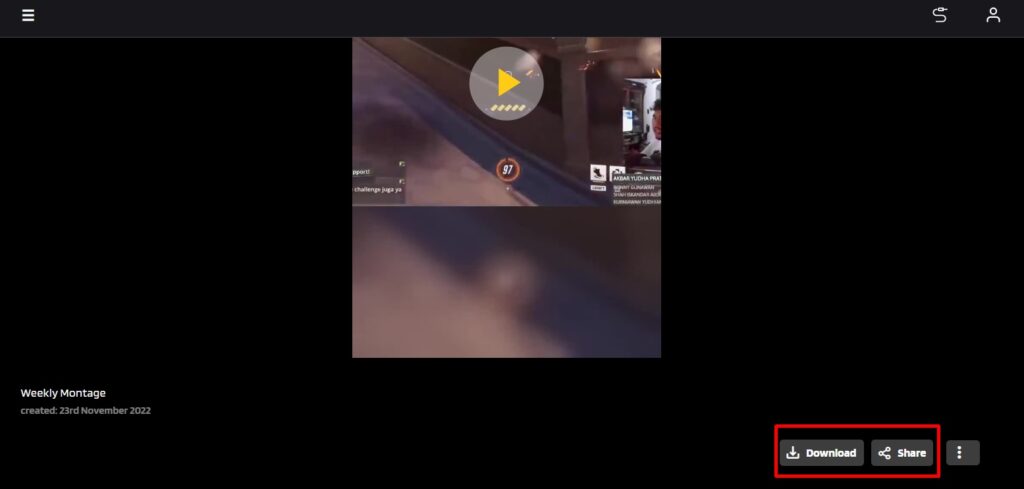
- Hit the Share option under the selected clip.
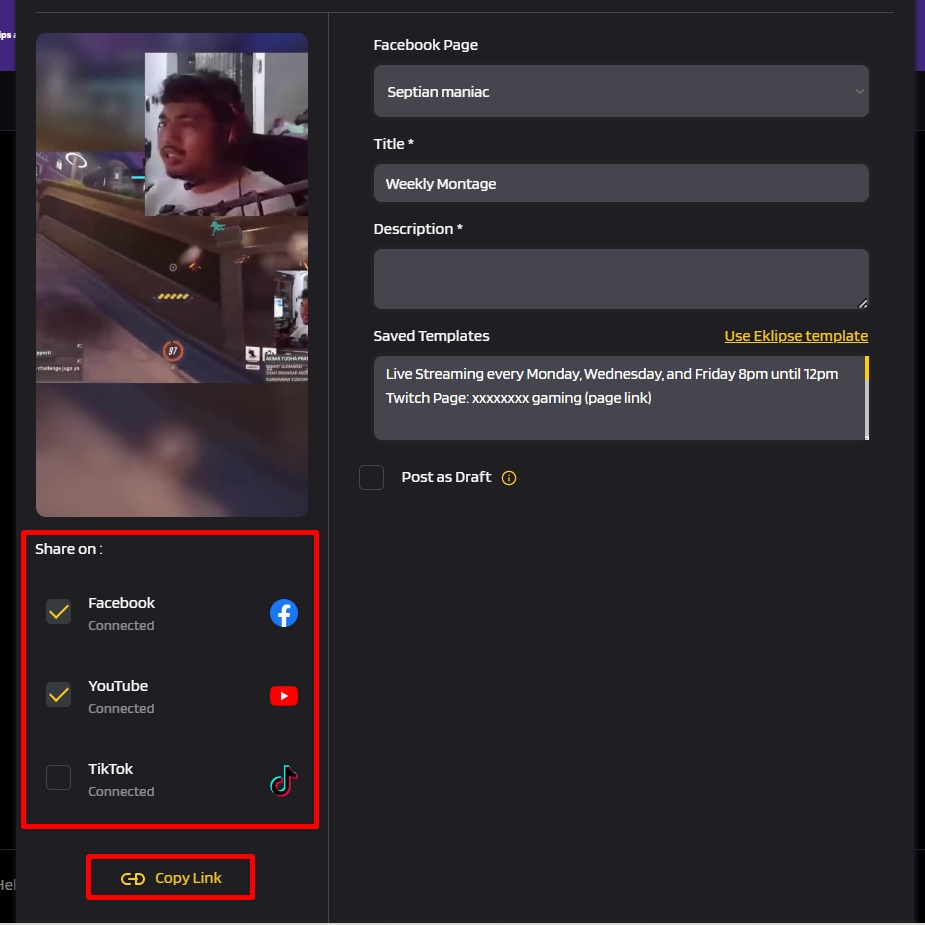
- Write a description, and tick the small box next to the TikTok option to share your clip.
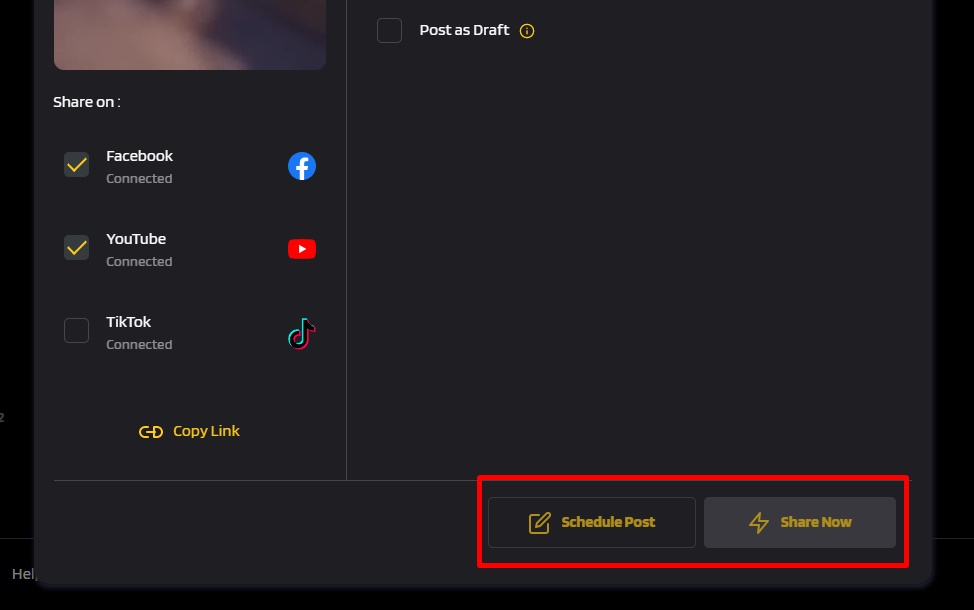
- Then, hit Share Now.
- In addition, click the Schedule Posts button to schedule your post.
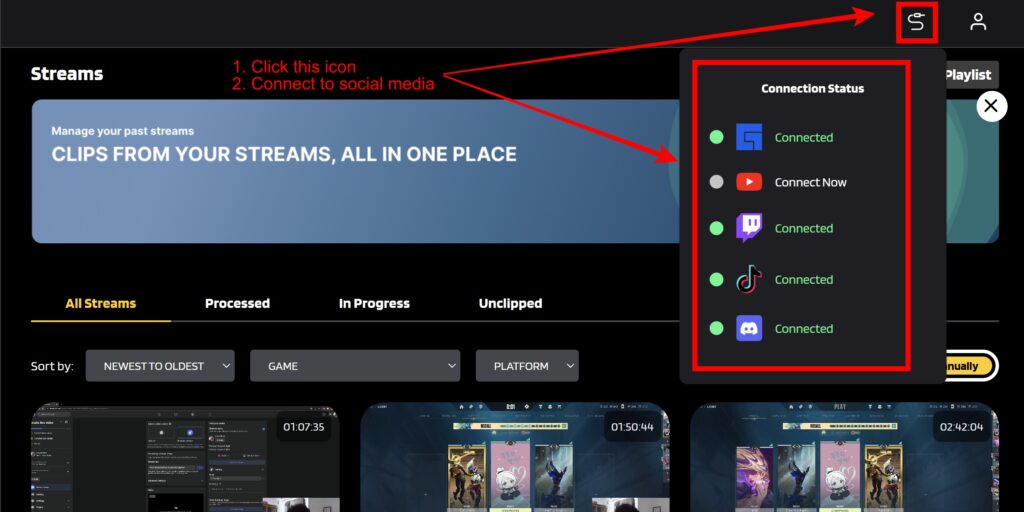
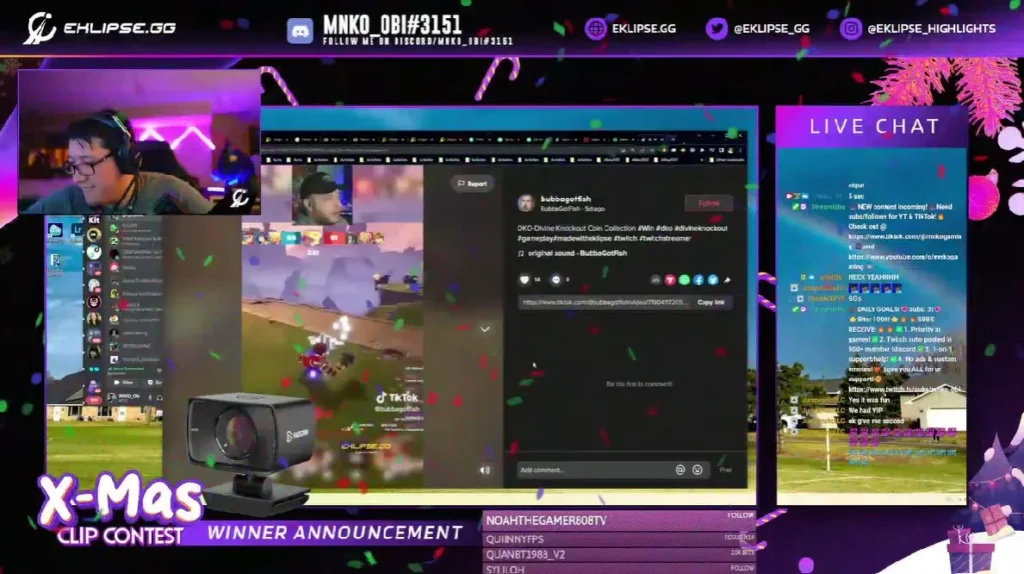
Maximize your Black Ops 6 rewards—Create highlights from your best gameplay with with Eklipse
Eklipse help streamer improve their social media presence with AI highlights that clip your Twitch / Kick streams automatically & converts them to TikTok / Reels / Shorts
How To Trim a Clip-on TikTok After You Just Shot
The easiest method to change the clip length on TikTok is using in-built features. Here’s what you need to do.
- Log in with your TikTok account on the TikTok app.
- Then, tap the ‘+’ button at the center bottom of the screen.

- You’ll see the camera there and just hit the red button to record a new video.
- After that, hit the red checkmark.
- Next, tap Adjust clips on the top right corner of the screen.

- You’ll see a bar at the bottom of your video with sliders on the start and the ending line.
- To trim the clip, you’ll just need to adjust the sliders according to your wish.

- Then, tap Save.
- Hit the Next button to proceed to the next step.
- Write a caption and hashtags.
- Tap Post and voila! Your TikTok clip is now airing!
How To Shorten Clip On TikTok of The Existing Videos
Have an existing video that is ready to post but the duration doesn’t fit TikTok’s time limit? No worries. You can trim the existing clip through TikTok app too. Follow these steps on how to change clip length on TikTok.
- Open the TikTok app and log in with your account.
- Tap the ‘+’ button.
- Instead of tapping the red button, hit Upload next to the button to open your camera roll.
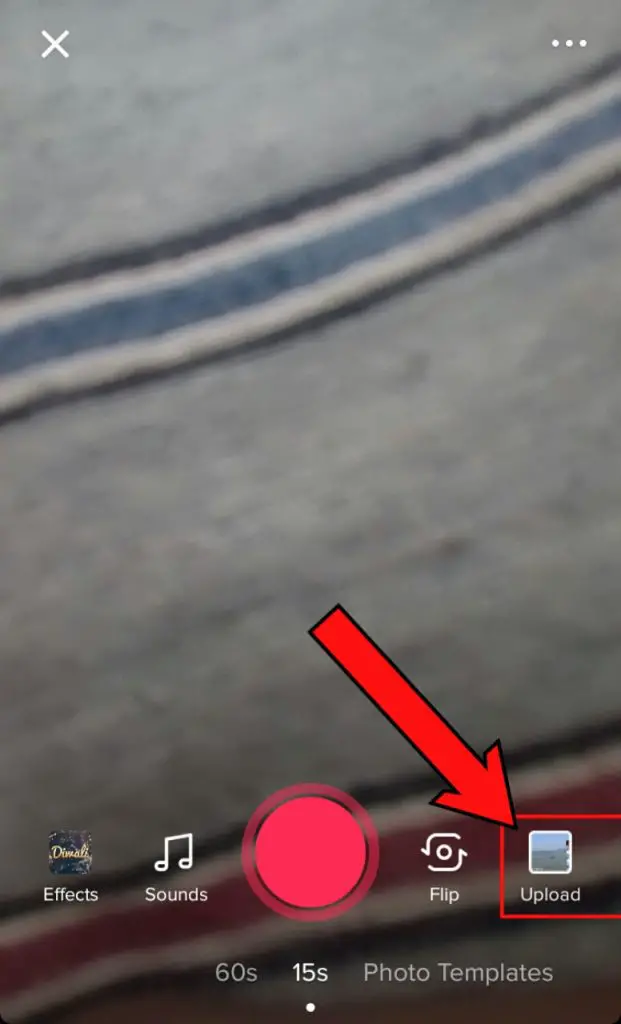
- Then, you can find videos you wish to trim on TikTok and select it.
- Do the same steps as above.
- If you have finished, just hit the Post button to post it immediately.
Shorten A Clip you Record From A Phone Camera
Would it be possible to record a new video using your phone camera instead of the TikTok camera? Absolutely you can do it. Thankfully, each phone offers editing tools that could be useful to trim or cut your video before airing on TikTok. The steps are basically simple and similar to each other.
All you need is to navigate to the editing icon under the video preview. Then, adjust the length of your video. Once done, hit Done and that’s it. Since you have your video trimmed, now it’s ready to publish on your TikTok.
Conclusion
Now that you know how to make a clip shorter on TikTok, you can remove the unnecessary part of your video without making it choppy or weird. It’s your turn to create stunning TikTok and go viral. Good luck!


:max_bytes(150000):strip_icc()/005-how-to-stream-games-on-facebook-904b16510f484780bdb48c6ea03ce8af.jpg)