The Sidemen, a prominent British YouTube group, emerged on the scene in 2013 and swiftly rose to fame through their captivating content.
Comprising seven talented individuals, they have solidified their position as the largest YouTube group in the United Kingdom. In a recent development, Adin Ross has offer a $100 million deal to entice them to move to Kick.
In this article, we delve into the background and achievements of each member, shedding light on their journey to success.
Who Are the Sidemen?
As of September 2022, the Sidemen’s channel boasts a staggering subscriber count of over 16.5 million and has garnered an impressive 4 billion video views. Additionally, the group consists of seven talented individuals, namely Josh Bradley, Simon Minter, Tobi Brown, KSI, Ethan Payne, Vikram Barn, and Harry Lewis.
Their Sidemen channel has more 16.5million subscribers and over 4 billion video views (as of September 2022)
The group is made up of Josh Bradley, Simon Minter, Tobi Brown, KSI, Ethan Payne, Vikram Barn and Harry Lewis.
1. Josh Bradley: Zerkaa, the Pioneer

Born in Bermondsey, South London, in 1992, Josh Bradley, also known as Zerkaa, stands as the eldest member of the Sidemen. He embarked on his YouTube career back in 2008, initially posting gameplay videos of Call Of Duty: Modern Warfare 2. Over time, he expanded his content to include FIFA and other football-related videos. Notably, Josh rarely revealed his face until 2014, often concealing it behind a mask.
2. Simon Minter: Miniminter, the Versatile Star
Simon Minter, born on September 7, 1992, earned his online persona, Miniminter, as he stepped into the YouTube realm in December 2012. Although he dropped out of university after a mere three months, Simon dedicated himself to building a thriving YouTube career. Currently, he manages six channels, including his personal channel and Sidemen.
3. Tobi Brown: TBJZL, the Energetic Contributor

Tobi Brown, better known as TBJZL, was born on April 8, 1993. His YouTube journey commenced in 2011 while he was attending university, inspired by the growing success of his friend Josh on the platform. After completing his studies, Tobi made the decision to pursue a full-time career as a YouTuber. His content primarily revolves around video game commentaries, particularly FIFA and NBA 2K, along with engaging football challenges, vlogs, and comedy sketches. Moreover, Tobi founded the streetwear brand ILLVZN in June 2018.
4. KSI: The Multifaceted Talent

KSI, born on June 19, 1993, not only shines as a member of the Sidemen but also possesses remarkable skills as a rapper, comedian, and actor. His real name is Olajide William “JJ” Olatunji. KSI and Miniminter attended the independent Berkhamsted School together, which paved the way for their future collaborations. Initially, KSI garnered attention on YouTube in 2009 by sharing videos centered around video games.
5. Ethan Payne: Behzinga, the Influencer
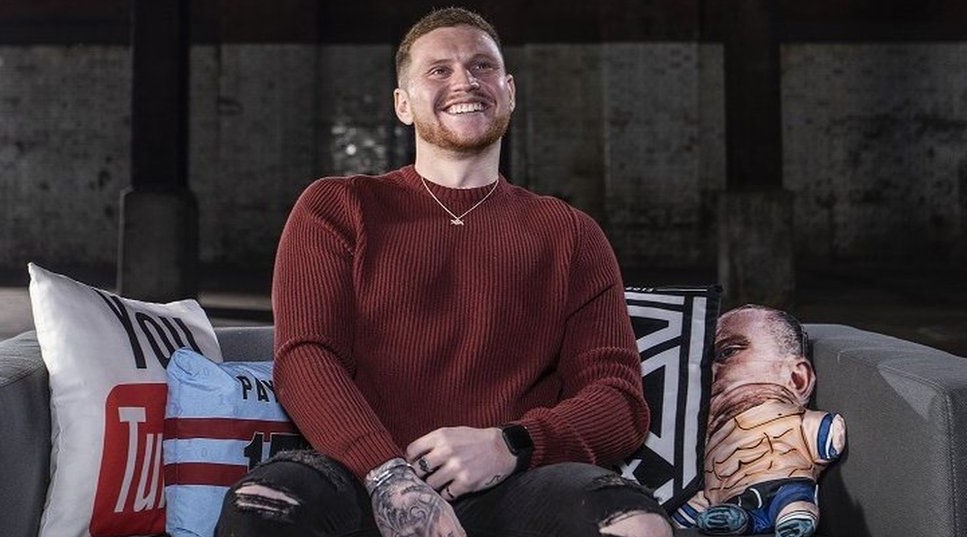
Born in London on June 20, 1995, Ethan Payne, widely recognized as Behzinga, has made significant contributions to the Sidemen as a co-founder and member.
His content encompasses gaming, football, comedy, and fitness. Additionally, Ethan played a pivotal role in co-founding XIX Vodka and a restaurant chain named Sides. In 2019, The Sunday Times acknowledged Ethan as the 31st most influential online creator in the UK.
6. Vikram Barn: Vikkstar123, the Visionary

Vikram Barn, known by his online alias Vikkstar123, was born on August 2, 1995. His journey on YouTube began in 2010 when he started playing games and eventually became engrossed in the world of YouTubers.
Motivated by his experiences, he launched his own channel and later joined forces with the Sidemen, where his contributions have been invaluable.
7. Harry Lewis: Wroetoshaw, the Youngest Trailblazer
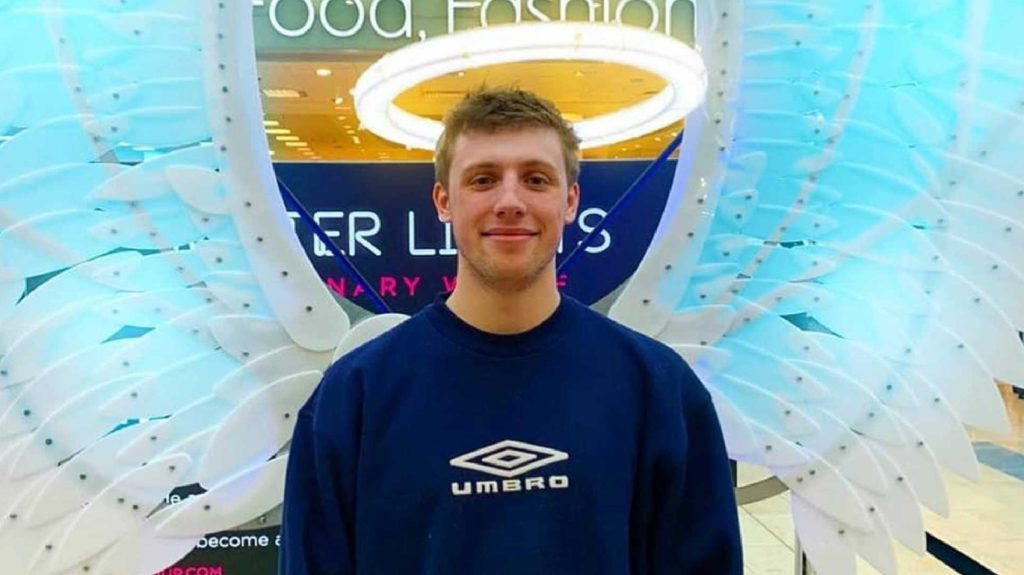
The youngest member of the Sidemen, Harry Lewis, was born on November 24, 1996. He goes by the names Wroetoshaw and W2S, which he derived from FIFA, combining the names of players Nicky Wroe and Tom Bradshaw.
At the age of 17, Harry made the bold decision to drop out of school and pursue YouTube as a full-time profession. Prior to his main channel, wroetoshaw, he experimented with different ideas on several YouTube channels.
The Sidemen’s Journey on YouTube
The Sidemen initially established their presence on YouTube by collaborating and playing video games together. However, their content expanded over time to encompass a diverse range of topics, showcasing their versatility and creativity.
Since January 2018, they have consistently uploaded engaging videos to their group channel, Sidemen Sunday, attracting a massive following. Notably, their Instagram account, @sidemen, boasts 4.5 million followers, further solidifying their social media presence.
The Sidemen’s Remarkable Success and Net Worth
As a result of their unwavering dedication and immense popularity, the Sidemen have amassed an astonishing net worth of £44.2 million. This remarkable achievement stems from a variety of income streams:
- Sponsorship Deals: The Sidemen’s extensive reach and massive audience make them a sought-after choice for prominent brands eager to advertise their products.
- YouTube Ads: With millions of views, the Sidemen’s YouTube channel generates significant revenue through ads displayed before their videos. According to Socialblade.com, their channel earns between £189,500 to £3 million per year.
- Merchandise Sales: The Sidemen’s clothing range serves as a lucrative venture, contributing approximately £2 million annually to their earnings.
Conclusion
The Sidemen’s remarkable journey serves as an inspiration to aspiring content creators, highlighting the potential for success through creativity, collaboration, and unwavering dedication. With their continued growth and influence, the Sidemen are poised to maintain their position as trailblazers in the realm of digital entertainment.
Maximize your Black Ops 6 rewards—Create highlights from your best gameplay with with Eklipse
Eklipse help streamer improve their social media presence with AI highlights that clip your Twitch / Kick streams automatically & converts them to TikTok / Reels / Shorts