In Call of Duty: Black Ops Cold War (BO6), selecting the right assault rifles is key to maximizing performance. With numerous options to choose from, each weapon brings its own set of attributes tailored for different playstyles.
This article highlights the top assault rifles in BO6 for 2024, focusing on their capabilities and strategic applications. Whether you value precision, firepower, or adaptability, understanding these weapons can give you a competitive edge. Dive into detailed rankings and insights to discover which rifles excel across various combat situations and enhance your gameplay.

1. M16
The M16 is a classic choice for players who value precision and firepower. Its three-round burst fire mode allows for devastating damage at range.
Details
- Fire Rate: High burst rate
- Damage: High per bullet
- Range: Excellent long-range performance
Strengths: Exceptional accuracy; powerful at mid to long distances.
Weaknesses: Slower handling speed; requires precision.
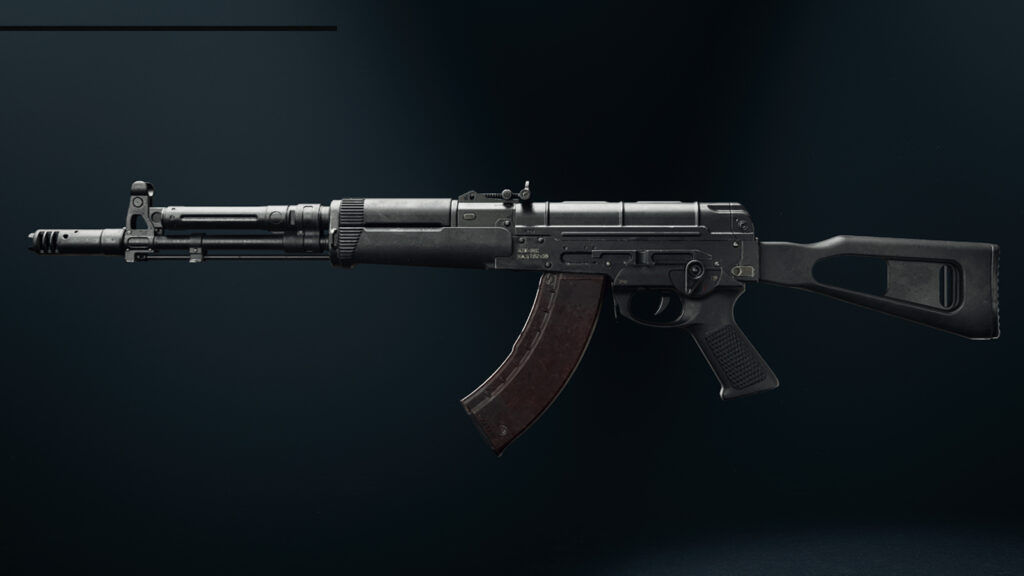
2. AK-47
Renowned for its raw power and reliability, the AK-47 excels in close to medium-range engagements. Its high damage output makes it a favorite among aggressive players.
Details
- Fire Rate: Moderate
- Damage: Very high per shot
- Recoil Control: Moderate
Strengths: High damage; great stopping power.
Weaknesses: Noticeable recoil; slower aim down sights (ADS) speed.
3. XM4
The XM4 strikes a balance between versatility and ease of use, making it an excellent all-around weapon suitable for various playstyles.
Details
- Fire Rate: Fast
- Damage Profile: Balanced across ranges
- Attachments Availability: Extensive customization options
Strengths: Adaptable to multiple situations; manageable recoil.
Weaknesses: Lacks specialization compared to other rifles.
4. QBZ-83
The QBZ-83 stands out due to its unique design and solid performance metrics. It offers a good mix of mobility and firepower.
Details
- Fire Rate: Above average
- Damage Output: Consistent across ranges
- Mobility Factor: Lightweight design
Strengths: Good handling; effective in most combat situations.
Weaknesses: Lower base damage compared to others like AK-47.
5. FARA 83
This rifle is favored for its exceptional rate of fire paired with low recoil. The FARA excels in close-quarter battles while remaining competitive at range.
Details
- Fire Rate: Very high
- Recoil Pattern: Easy to control
- Tactical Versatility
Strengths: Fast firing capability; easy-to-handle recoil.
Weaknesses: Damage drop-off at longer distances; less effective without attachments.
6. Gallo SA12 (Shotgun Variant)
While technically a shotgun, the Gallo SA12 functions effectively as an alternative close-range option that can be used similarly to an assault rifle when equipped properly.
Details
- Fire Rate: Rapid-fire potential
- Range: Effective within close quarters
- Versatility: Can be built similarly
Strengths: Devastating at close range; quick follow-up shots possible.
Weaknesses: Limited effectiveness beyond short distances.
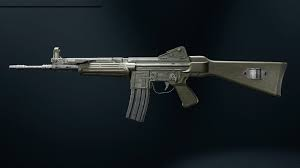
7. Groza
The Groza combines speed with substantial stopping power, making it ideal for aggressive gameplay styles focused on rushing enemies down quickly.
Details
- Fire Rate: Fastest among ARs
- Stability: Low recoil with proper attachments
- Customization Options: Flexible build potential
Strengths: Excellent close-range combat abilities; versatile setups available.
Weaknesses: Not as reliable in long-distance engagements without modification.
Final Thoughts
Choosing the ideal assault rifles in Call of Duty BO6 significantly improves gameplay by matching weapons with individual tactics. Whether you favor long-range precision or aggressive, close-quarters combat, there’s a rifle suited to your style.
This guide to BO6’s top assault rifles ensures players are prepared for intense multiplayer battles, from early matches to summer tournaments. Find your perfect weapon and dominate the battlefield with confidence.