xQc and Amouranth, two of Twitch’s biggest streamers, have recently made headlines by joining the platform, Kick. Amouranth surprised her audience during her seventh-anniversary live stream on Twitch by mentioning her move to Kick, following closely in the footsteps of xQc.
Within just two days, both streamers made the switch to the rival platform, causing a stir within the Twitch community.
xQc and Amouranth Join Kick
During her live stream, Amouranth surprised her audience. She mentions Kick in the title of her seventh-anniversary celebration, ultimately departing Twitch to stream exclusively on the rival platform.
This transition follows xQc’s recent move, making it two of Twitch’s top streamers who have migrated to Kick within just two days.
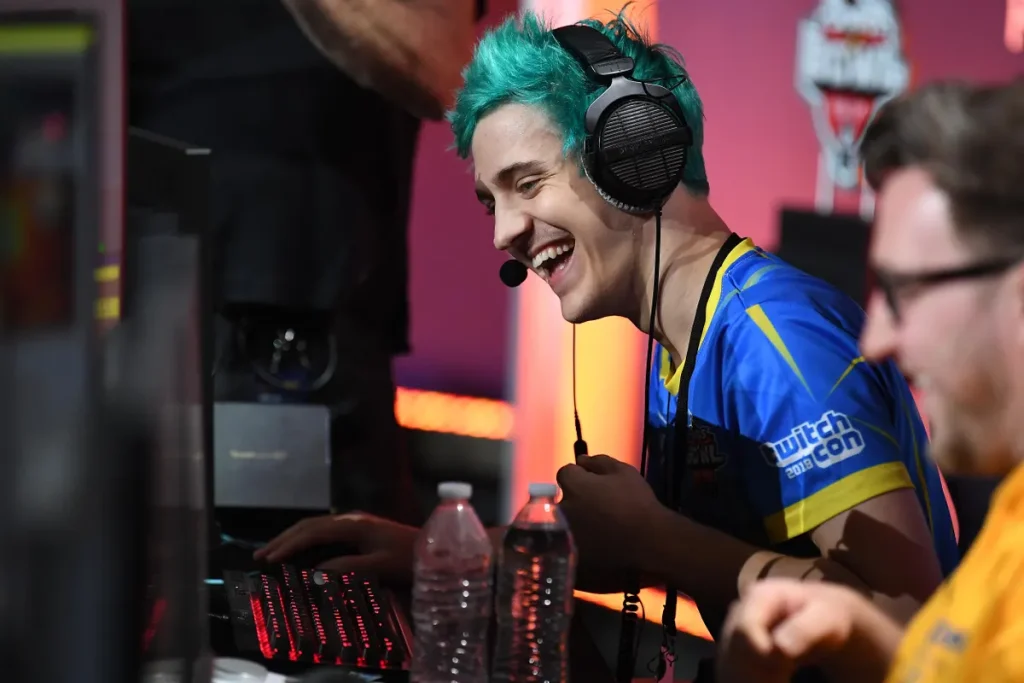
On June 16, 2023, the Twitch community was taken by surprise. As rumors circulated that xQc, one of the platform’s most popular streamers, might be leaving for Kick. The speculations gained traction when an account bearing his name suddenly received a sub button.
However, recent news from The New York Times has confirmed the exciting development. The iconic streamer known as “The Juicer” has officially signed a non-exclusive deal with Kick, bringing him immense financial success.
The Lucrative Contract: xQc’s Leap into the Future
According to xQc’s agent, Ryan Morrison, the contract with Kick is valued at a staggering $70 million. But that’s not all—with enticing incentives included, the deal has the potential to reach a mind-boggling $100 million.
This agreement stands as one of the largest contracts ever signed by a content creator, rivaling even the two-year contract extension recently secured by NBA superstar LeBron James, as reported by The New York Times.
The Details of Amouranth’s Contract with Kick
While it remains uncertain whether Amouranth has a contract similar to xQc’s, her announcement has caused quite a stir.
Despite expressing concerns in the past about leaving Twitch for Kick, she has evidently overcome those reservations and made the decision to switch platforms, or at the very least, explore streaming opportunities elsewhere.
In her announcement video, Amouranth humorously referred to xQc’s lucrative deal with Kick, pondering, “So, 100 million dollar deals have started… Can I get one of those?” She then proceeded to pack her bags and head towards Kick, embarking on a new chapter in her streaming career.
The Impact of xQc & Amouranth Move and the Future of Twitch
With xQc and Amouranth both leaving Twitch and joining Kick, a significant shift in the streaming landscape is taking place. This move has prompted several well-known Twitch streamers to express their belief that Twitch’s reign may be coming to an end.
The addition of Amouranth to Kick only strengthens this sentiment, as more high-profile streamers consider making a similar transition.
Asmongold, another notable streamer, is among those being speculated as potential movers to Kick, further fueling anticipation for the platform’s potential rise in the streaming industry.
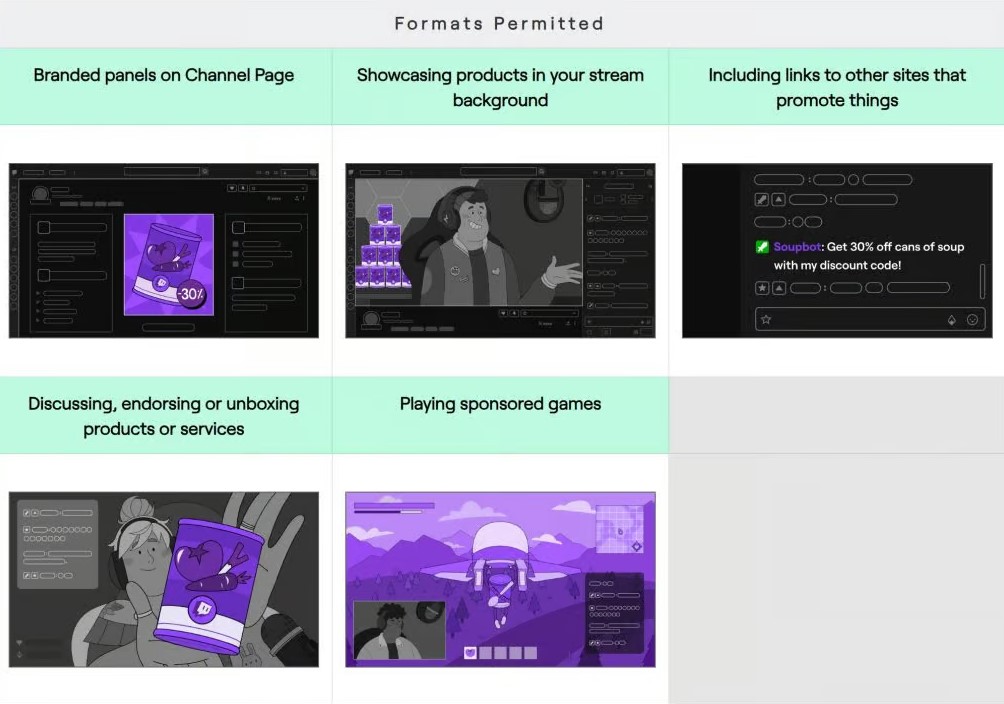
This trend can be traced back to a recent controversy on Twitch regarding their new branded content policy, which imposed restrictions on streamers when it comes to showcasing sponsors during their streams.
This policy change, combined with the departure of xQc and Amouranth, has led to a surge in sign-ups on the Kick platform.
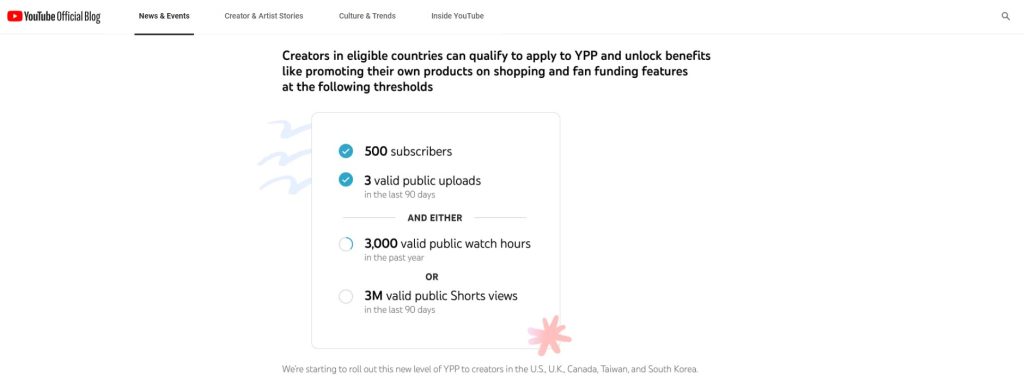
Notably, YouTube has also responded to this shift by announcing a new partner program that requires only 500 subscribers, indicating their efforts to attract content creators who may be seeking alternatives to Twitch.
Despite Twitch’s response to the situation by introducing a “Partner Plus” program with a revenue share of 70/30, it is still unclear which streamer will be the next to make the move to Kick.
The true extent of the impact this emerging platform will have on the future of online streaming can only be revealed with time.
Conclusion
As the streaming landscape continues to evolve, the next streamer to migrate from Twitch to Kick remains uncertain. Only time will unveil the full impact of this emerging platform and its implications for the future of online streaming.
The streaming community eagerly awaits the unfolding of this new era in streaming.