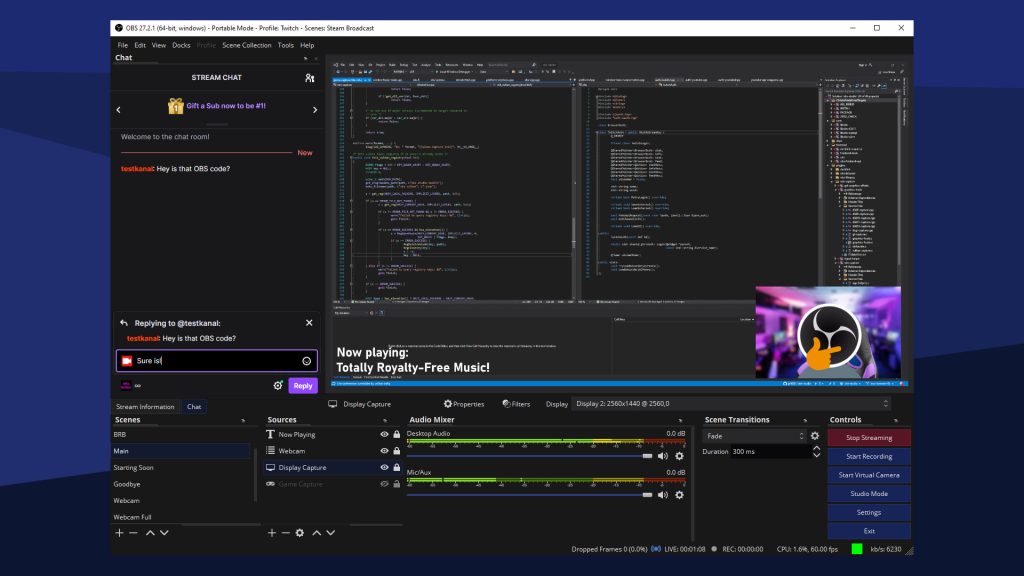
OBS (Open Broadcasting Software) is renowned for its powerful features in supporting live broadcasts and video recordings. It is widely used by content creators and gamers on YouTube due to its free availability and user-friendly interface.
But if you look again, there are several other live streaming applications worth considering apart from OBS. While OBS Studio has many advantages, it also has drawbacks, such as straining low-spec devices, which can cause various issues.
In this article, we will explore alternative software options to OBS Studio.

1. Streamlabs OBS

Streamlabs OBS (SLOBS) is a free and open-source software application for live streaming and recording. It is a fork of OBS Studio, which means that it is based on the same code but has been modified with additional features and functionality.
Here are some of the key features of Streamlabs OBS:
- User-friendly interface: SLOBS has a simple and intuitive interface that makes it easy to get started. Even if you’re new to live streaming, you’ll be able to figure out how to use SLOBS in no time.
- Built-in alerts and widgets: SLOBS comes with a number of built-in alerts and widgets that you can use to interact with your viewers. These alerts can be used to announce new followers, subscribers, and donations. Widgets can be used to display things like your social media handles, stream schedule, and chat commands.
- Integration with popular streaming services: SLOBS integrates with popular streaming services like Twitch, YouTube, and Facebook. This makes it easy to stream to your favorite platform.
- Monetization system: SLOBS includes a monetization system that allows you to receive tips and donations from your viewers. This can help you to generate income from your streams.
- Dynamic bitrate: SLOBS can automatically adjust your bitrate based on your network conditions to prevent dropped frames.
- Test widget: SLOBS includes a test widget that allows you to check everything before going live, such as your stream alerts and settings.
- Remote control: SLOBS can be controlled remotely using a smartphone or tablet.
- Multi-track recording: SLOBS can record multiple audio tracks, such as your microphone, desktop audio, and game audio.
- Custom themes: SLOBS allows you to customize the look and feel of your stream with custom themes.
2. Wirecast Live Stream
Wirecast is a feature-rich software for live streaming. It’s no wonder it becomes a popular choice for those who are just starting their live broadcasts while gaming. This application, developed by Telestream, a recording device provider, is also easy to use.
Wirecast is user-friendly and shares similarities with OBS in terms of some features, such as advanced controller integration. Additionally, it offers Chroma Key, which allows for color selection and background screen combinations.
However, please note that Wirecast is not compatible with all Windows and Mac versions. It can be accessed on Windows 7 or newer versions, while on Mac, it requires at least macOS El Capitan.
If you want to use this software, it can be purchased for around 559 USD and the Pro version costs 799 USD. Please refer to the official website for updated pricing.
3. vMix
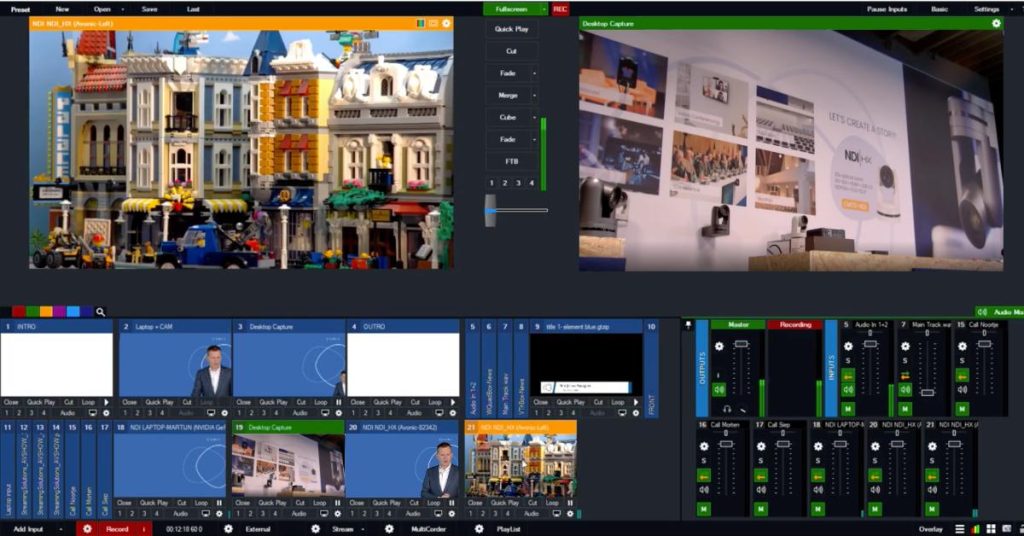
vMix is software used for high-definition live streaming. It also has the ability to produce videos directly to the internet.
Furthermore, live streaming with vMix allows streamers to interact easily with viewers all within one platform. With its professional appearance, this application is suitable for game streamers who have experience in the broadcasting world.
vMix supports multiple stream inputs with a maximum output of four. Additionally, you can try Vmix for free during a 60-day trial period.
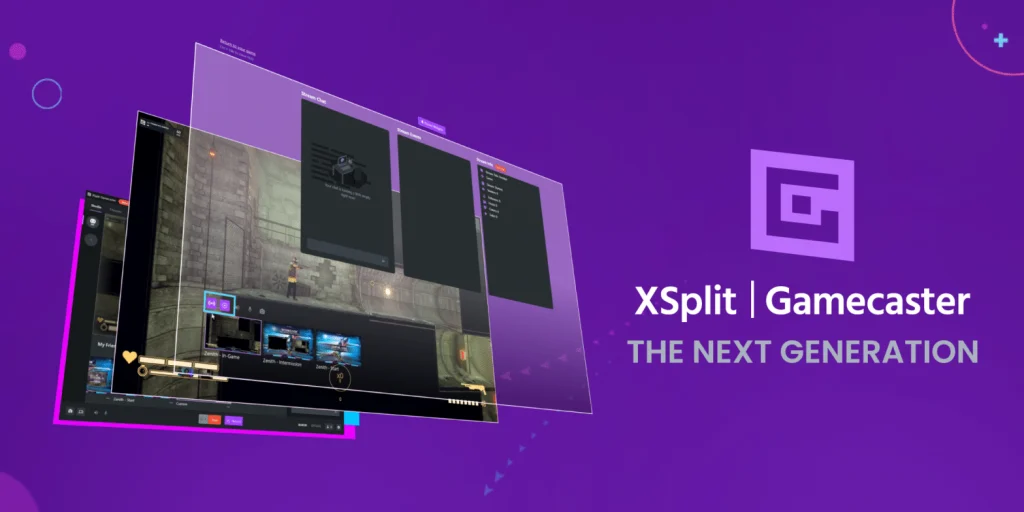
4. XSplit
XSplit Broadcaster is a legendary streaming and recording software. Released in 2009, this application offers great support for live broadcasts and video recordings.
One of its attractive features is the automatic streaming feature equipped with Artificial Intelligence (AI) and Machine Learning. It also integrates with other streaming platforms such as YouTube, Facebook, and even Discord.
Discord contains a community of users, most of whom are streamers, where they share their usage experiences.
The interesting part is that XSplit can be used with a free license. However, if you want to utilize its premium features, you can purchase the Pro version ranging from 30 USD to 70 USD.
5. FFSlip
FFSlip is software designed for the needs of professional streamers. With exceptional performance, this application ensures the best broadcasting results, allowing you to focus on your live broadcasts.
FFSlip provides lightweight utilities for video recording or live streaming, even while gaming. The interesting part is that it can be used entirely for free and is open source.
Conclusion
So, those are five alternative software options for live streaming besides OBS Studio. Streamlabs OBS, Wirecast Live Stream, Vmix, XSplit, and FFSlip are highlighted as user-friendly and feature-rich alternatives with various functionalities for content creators and gamers. Choose one that fits your needs and you’re good to go!
Maximize your Black Ops 6 rewards—Create highlights from your best gameplay with with Eklipse
Eklipse help streamer improve their social media presence with AI highlights that clip your Twitch / Kick streams automatically & converts them to TikTok / Reels / Shorts