If you’re looking to start a podcast, you’ll need good editing software to enhance the quality of your audio recordings. The good news is that there are many free options available that offer a range of editing features and functionalities. In this article, we’ll explore the top 5 free podcast editing software options you can choose.
Podcast editing software provides podcasters with the tools they need to enhance the sound quality of their recordings and make them more engaging for listeners. A good podcast editing software will allow you to cut, trim, and splice audio recordings to create a well-structured podcast. Additionally, editing software makes post-production work easier and more efficient. So without further ado, let’s jump to the list.
1. Audacity: One of The Coolest Podcast Editing Software Free
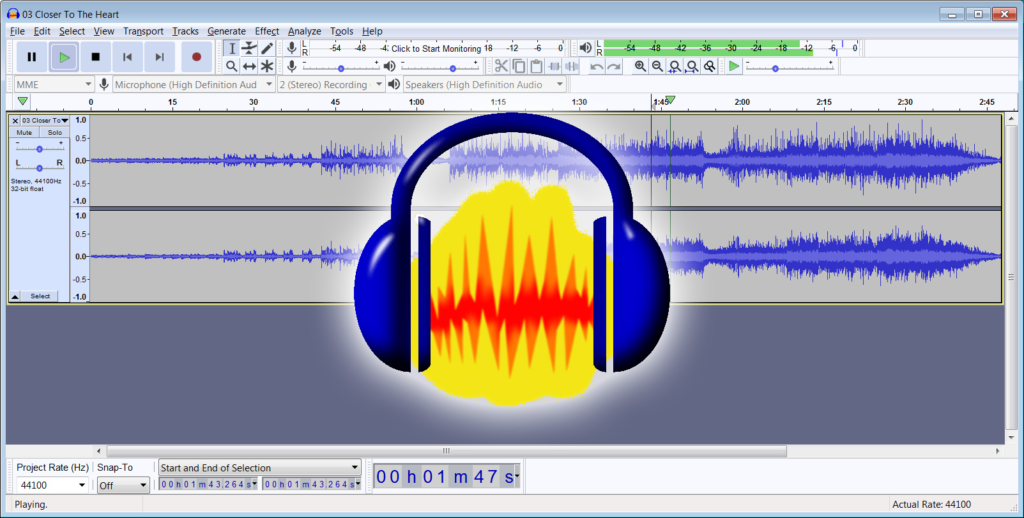
Audacity is a great tool that is perfect for podcasters who are looking for free and open-source software due to its powerful editing features and user-friendly interface. It offers a range of editing tools and effects, including cut, copy, paste, trim, and splice. On top of that, Audacity also supports multiple audio formats.
However, despite having a lot of amazing features and being easy to use once you get the hang of it, it can be difficult to learn, especially for beginners.
Pros:
- Powerful and flexible software with a wide range of editing tools and effects.
- Free, making it an accessible option for podcasters on a budget.
Cons:
- Difficult to learn, especially for beginners.
- Dated user interface.
- Can be slow and clunky at times, particularly when working with large audio files.
Pricing: Free
2. Ocenaudio
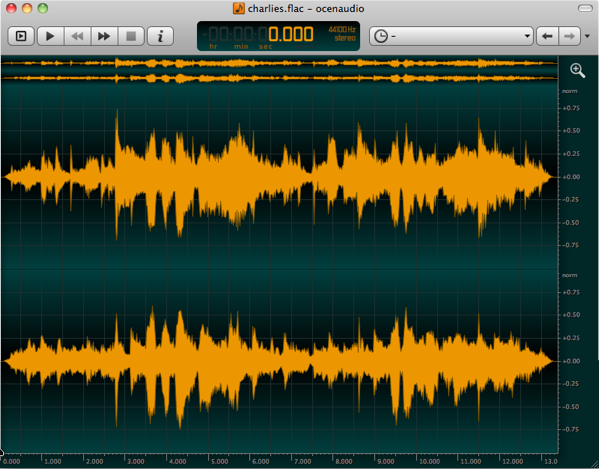
In addition to Audacity, we have Ocenaudio. And unlike the previous software, this tool is a great option for those who are looking for simple and easy-to-use software. It has a clean and straightforward interface that makes it easy to get started with editing your podcast audio.
Aside from that, Ocenaudio is also lightweight and compatible with Windows, Mac, and Linux operating systems, making it a versatile choice for podcasters.
Pros:
- Easy to use with a clean and simple interface.
- Lightweight and compatible with Windows, Mac, and Linux operating systems.
- Free, making it an accessible option for podcasters on a budget.
Cons:
- Doesn’t have as many advanced editing features as some of the other options on this list.
- Can be slow and clunky at times, especially when working with large audio files.
Pricing: Free
3. Hindenburg Journalist: Another Best Free Video Editing Software for Podcast
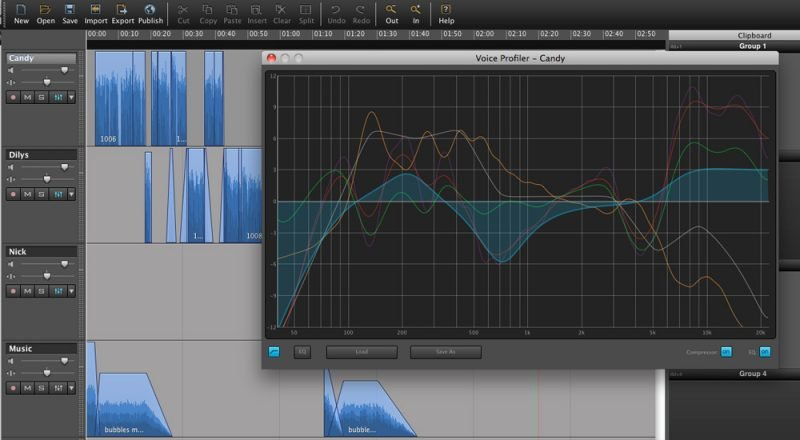
Hindenburg Journalist is a user-friendly option designed specifically for journalists and podcasters. The software is designed to make it easy to quickly and efficiently edit your audio recordings, and it comes with a range of features that are ideal for those who are new to audio editing.
With its intuitive interface and streamlined editing tools, Hindenburg Journalist makes it easy to get your podcast audio to sound great. The software is also free, making it an accessible option for those on a budget.
Pros:
- Designed specifically for journalists and podcasters, making it a great choice for those who want a user-friendly interface.
- Free, making it an accessible option for those on a budget.
Cons:
- The basic version of the professional Hindenburg software doesn’t have as many advanced editing features as some of the other options on this list.
- Can be slow and clunky at times, especially when working with large audio files.
Pricing: Free (basic version), with a Pro version available for $99.
4. WavePad
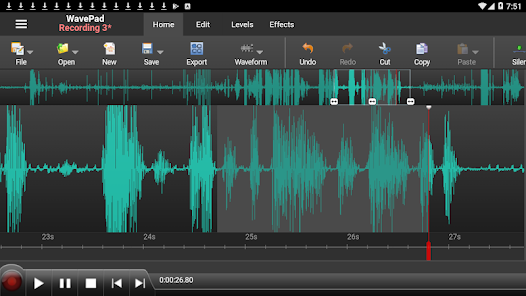
WavePad is another user-friendly option for podcast editing software. With its clean interface and intuitive editing tools, WavePad makes it easy to edit your audio recordings and get your podcast sounding great.
The software is free, but with a few limitations, so you’ll want to consider the Pro version if you need more advanced features. However, if you’re looking for simple and easy-to-use podcast editing software, WavePad is a great choice.
Pros:
- A clean interface and intuitive editing tools make it easy to edit your audio recordings.
- Free, with a few limitations, making it an accessible option for those on a budget.
- User-friendly and easy to use, making it a great choice for beginners.
Cons:
- Has limitations compared to the Pro version, which can be frustrating for more advanced users.
- Can be slow and clunky at times, especially when working with large audio files.
Pricing: Free (basic version), with a Pro version available for $70.
More on Eklipse Blog >> 8 Best VTuber Software 2023: Stream with Avatar Character!
5. Lightworks: A Professional Podcast Editing Software
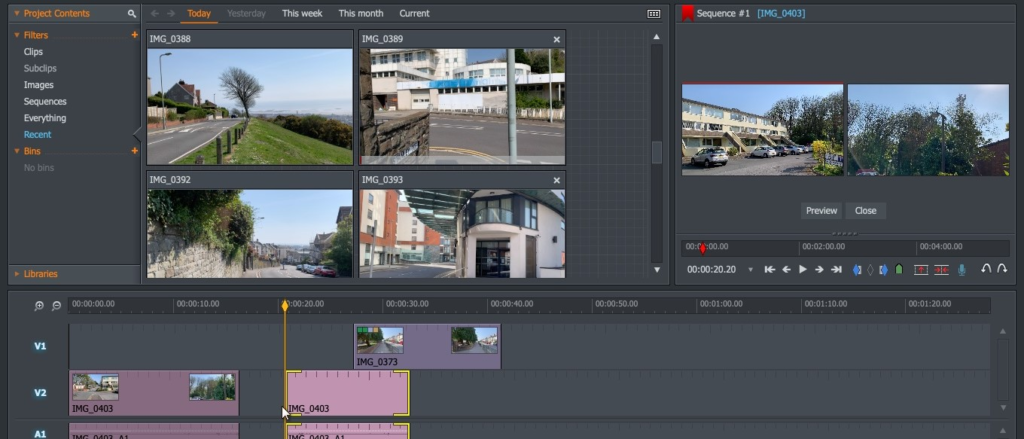
The last option that is worth trying is Lightworks. Lightworks is a professional-level podcast editing software that offers a wide range of advanced editing tools and effects. The software is free to use, but with some limitations, so you’ll want to consider the Pro version if you need access to more advanced features.
Lightworks is a powerful and versatile tool that offers a wealth of editing options, making it ideal for experienced podcasters. However, with its steep learning curve, it may not be the best choice for beginners.
Pros:
- Professional-level software with a wide range of advanced editing tools and effects.
- Free to use, with some limitations, making it an accessible option for those on a budget.
- Powerful and versatile, making it ideal for experienced podcasters.
Cons:
- The steep learning curve can be a barrier for beginners.
- Has limitations compared to the Pro version, which can be frustrating for more advanced users.
- The user interface can be overwhelming and cluttered, making it difficult to navigate.
Pricing: Free (basic version), with a Pro version available for $25/month.
Conclusion
That’s the list of the best 5 free podcast editing software to try in 2023. With the right software, you’ll be able to produce high-quality podcast content that your listeners will love. Consider your needs and preferences when choosing podcast editing software and be sure to try out a few different options to find the one that works best for you.
Anyway, we’ve got you covered with the list of the easiest editing software as well as in another article, to help you determine the right tool for your need. Head over to this post: What is The Easiest Free Video Editing Software? Here’s The Answer! So which one is the tool you’d like to try? Leave a comment below.
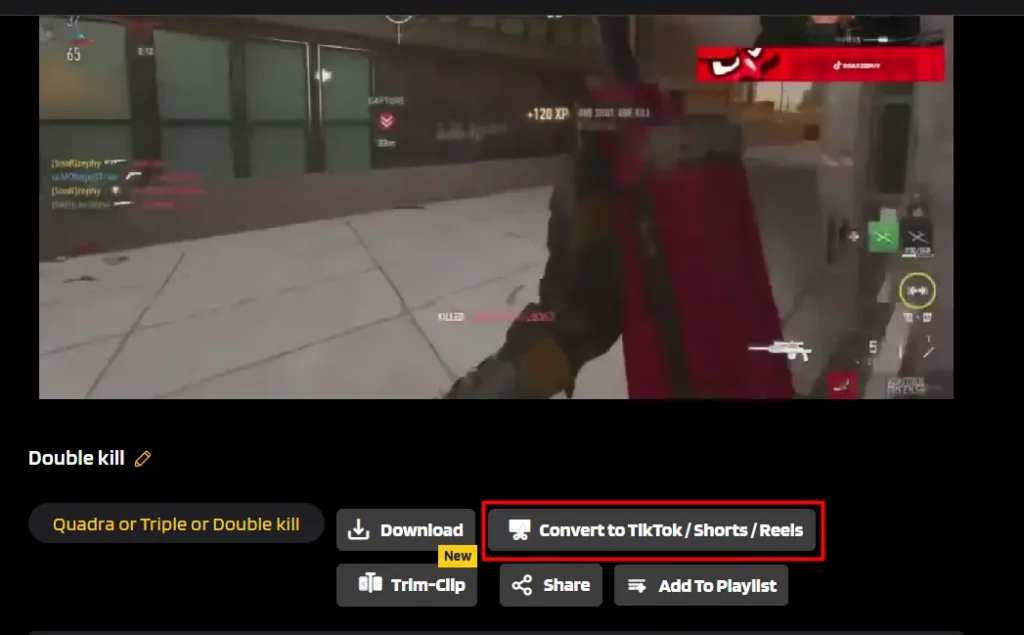
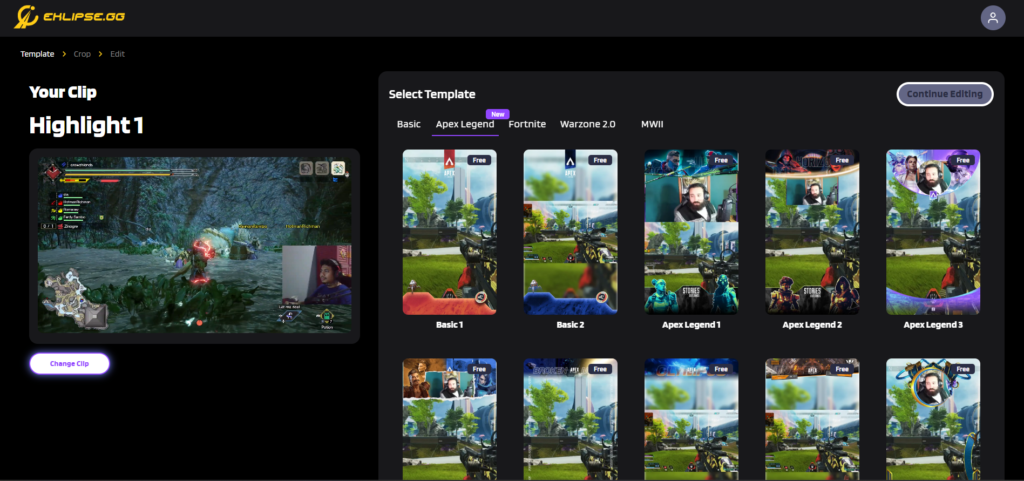
Maximize your Black Ops 6 rewards—Create highlights from your best gameplay with with Eklipse
Eklipse help streamer improve their social media presence with AI highlights that clip your Twitch / Kick streams automatically & converts them to TikTok / Reels / Shorts