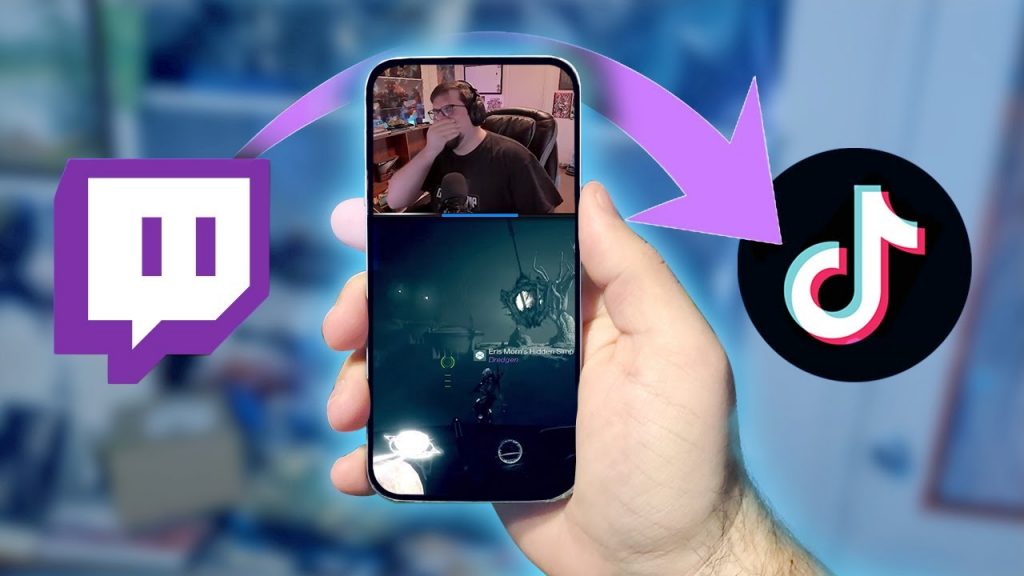
Knowing how to upload Twitch clips to TikTok is now made easy thanks to our quick and handy guide! Twitch is the undeniable only platform for online streaming. With streamers ranging from beginners to pro gamers, Twitch streams are the way to connect with your audience.
However, taking your best clips and sharing them on other platforms is what you should be doing! Keep reading to learn more about how to upload Twitch clips to TikTok!
How to Upload a clip to TikTok
Once you’ve downloaded the clip to your computer, you need to upload it to Twitch. There are two ways to go about that.

Option 1: Upload the clip to a Cloud Folder
You can now upload your clip to DropBox, OneDrive, Google Drive, or any other file sharing service. Once you do this, use this cloud service to get the clip in your phone.
Option 2: Direct Transfer
You can additionally directly transfer the clip to your phone using either Bluetooth or a USB connection via your computer
Now that your clip is on your phone, what remains is to edit and upload it to TikTok!
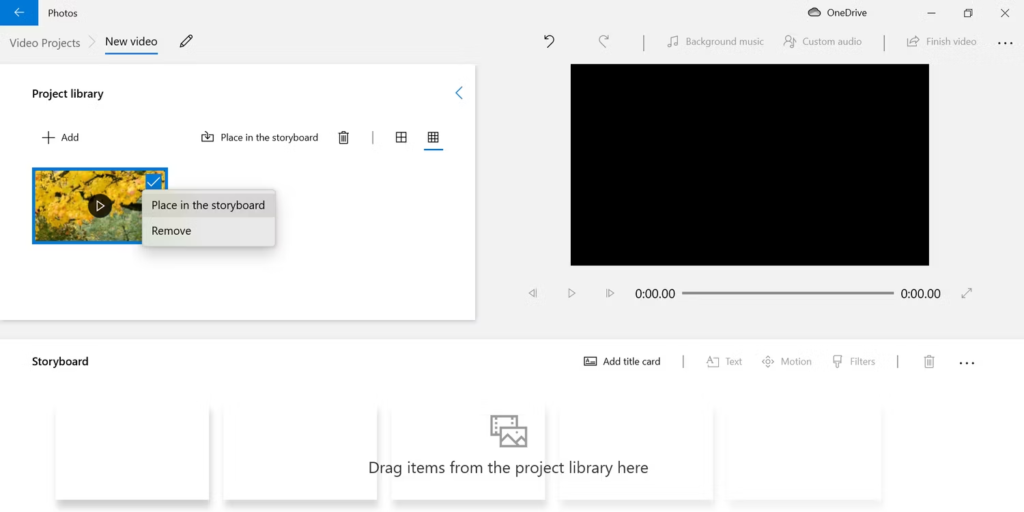
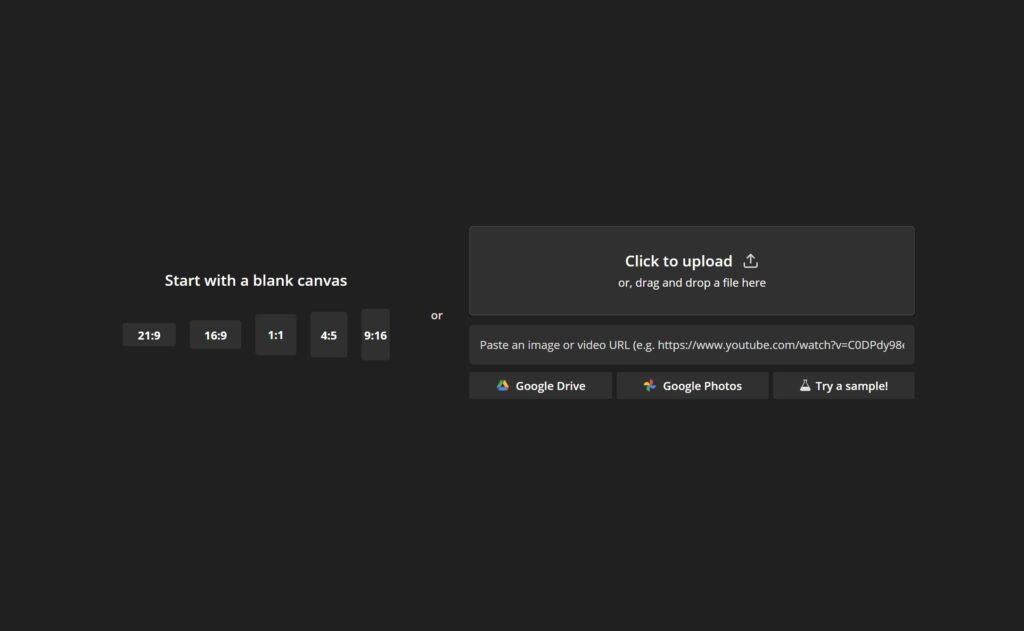
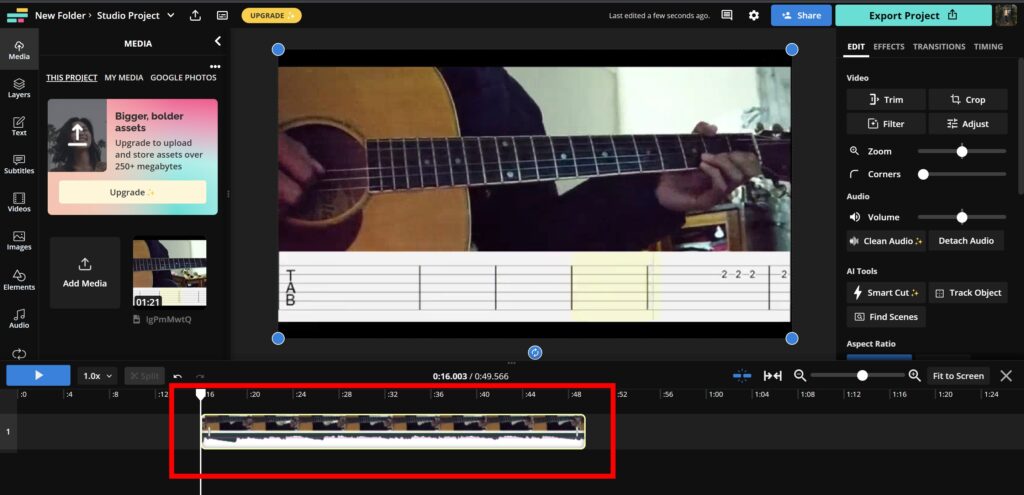
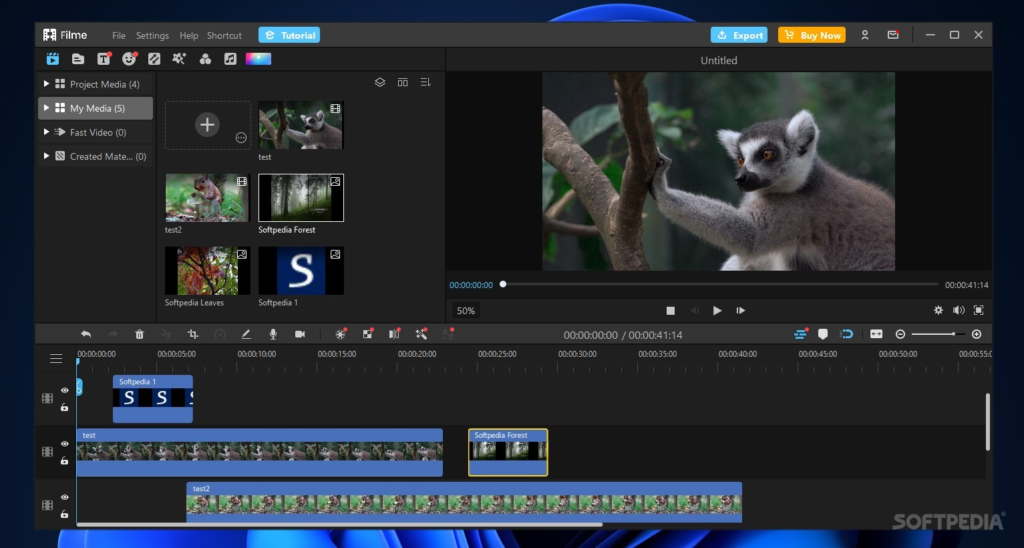
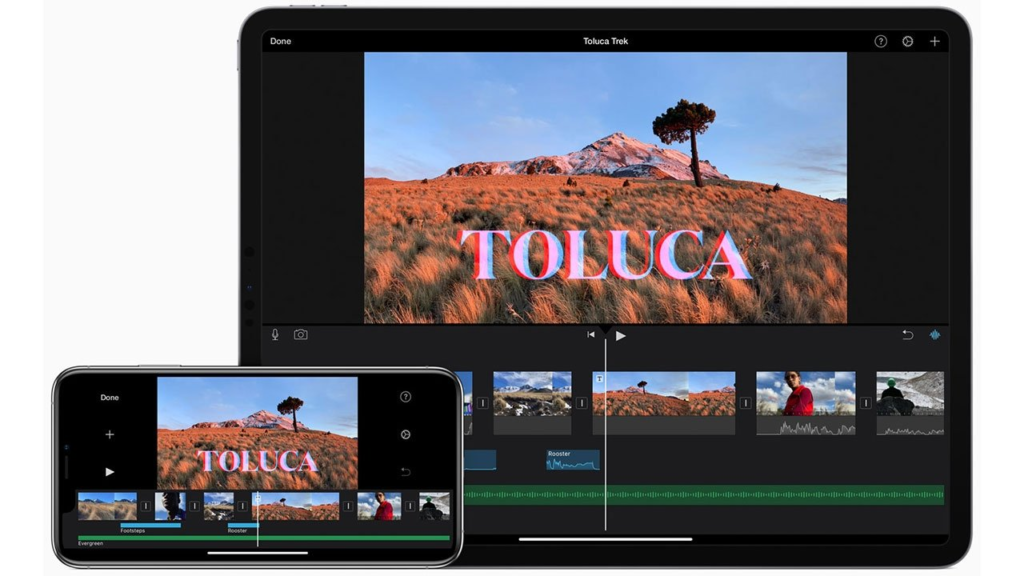
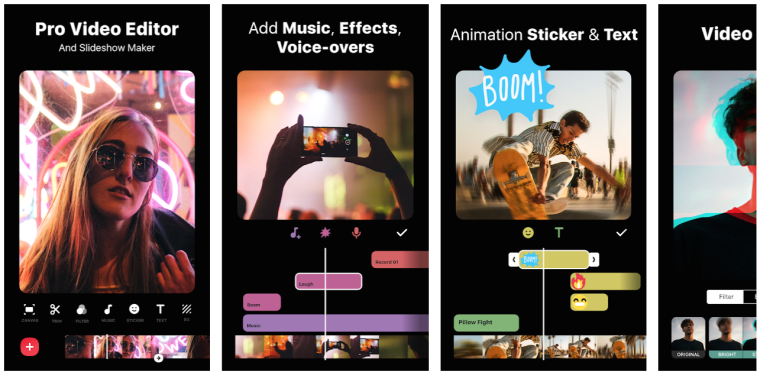
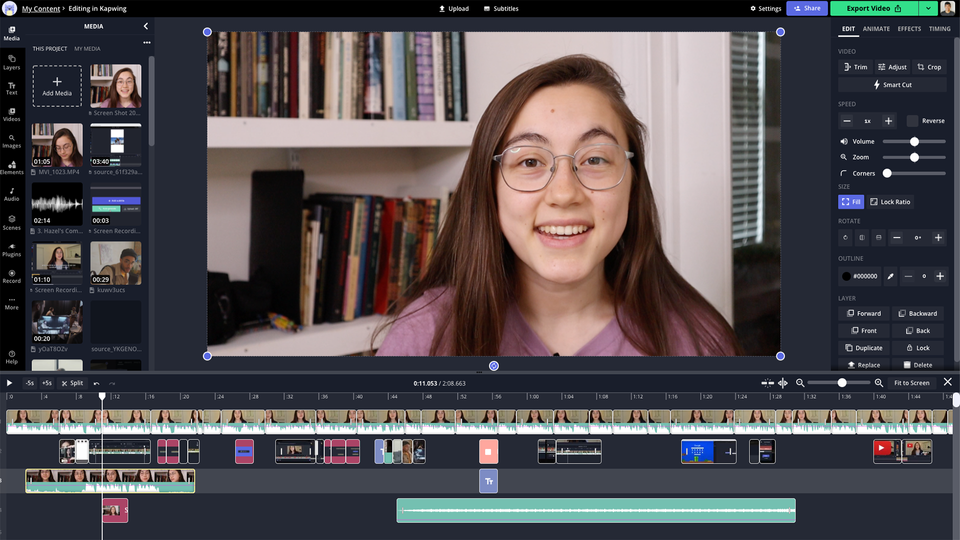
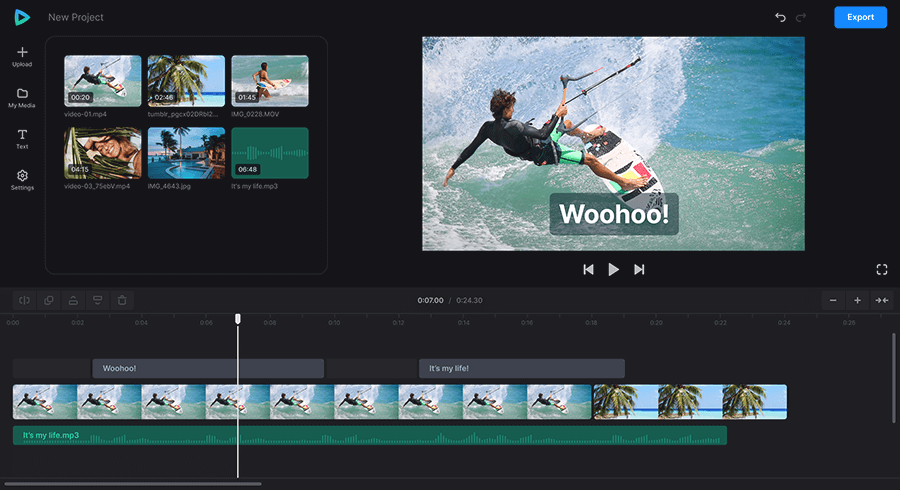
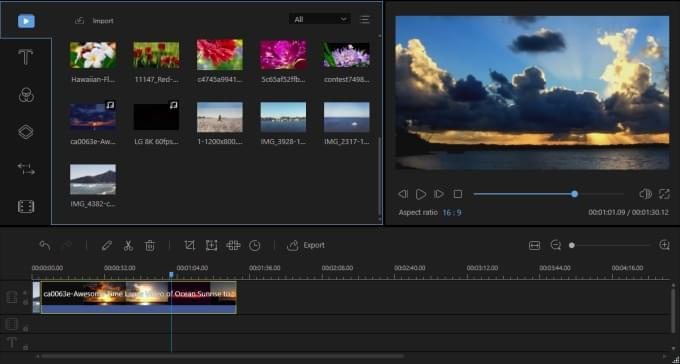
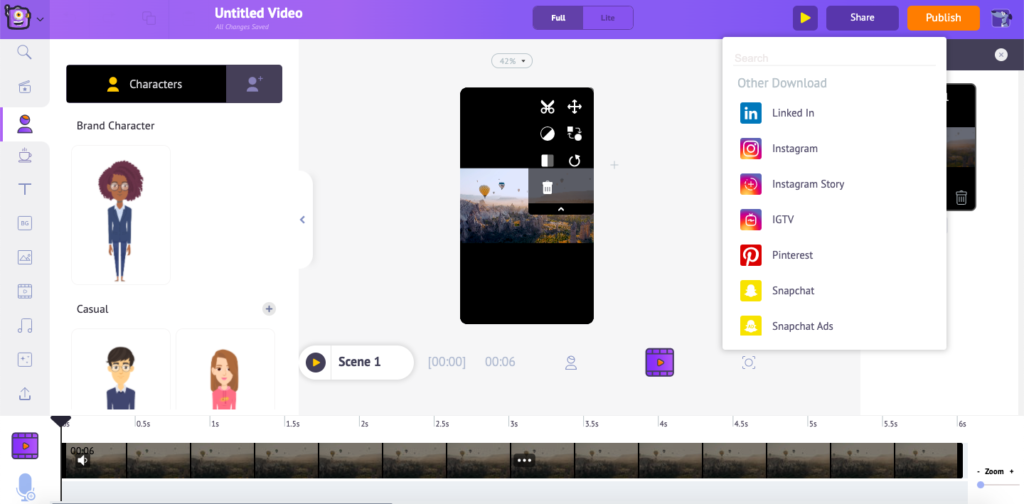
Edit your Clip for TikTok
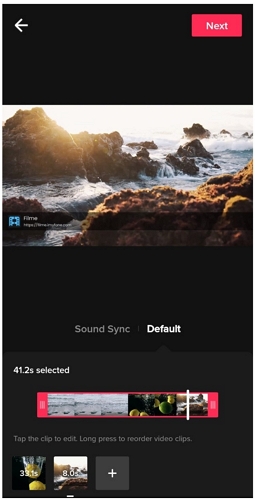
TikTok videos are vertically oriented (Portrait mode), and can range up to 3 minutes in length. The easiest way to edit your clip for TikTok is to use your phone’s in-built video editor or the editor in the app. Some trial and error will be required depending on the angle the video was shot. Once you’re done, export your video to your phone’s gallery.
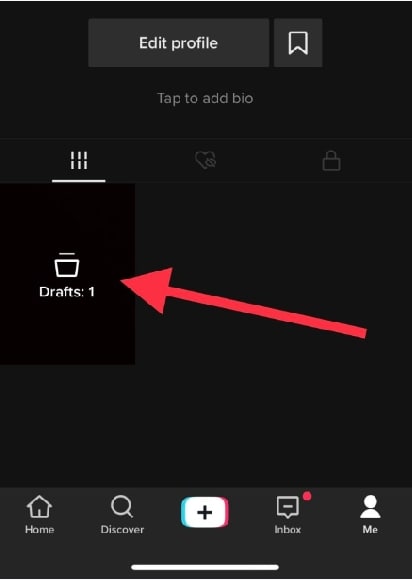
Upload your Twitch clip to TikTok
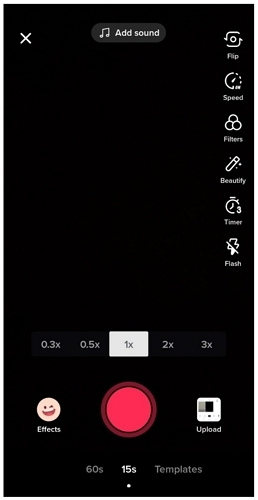
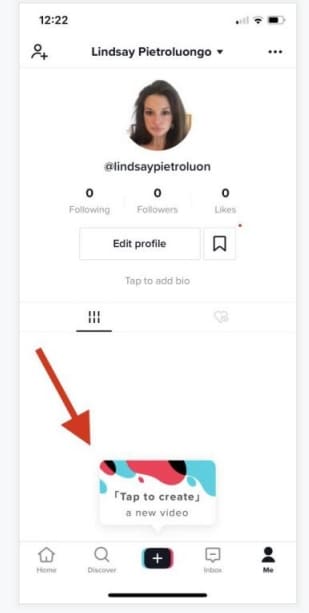
- Open the TikTok app,
- Hit the + button.
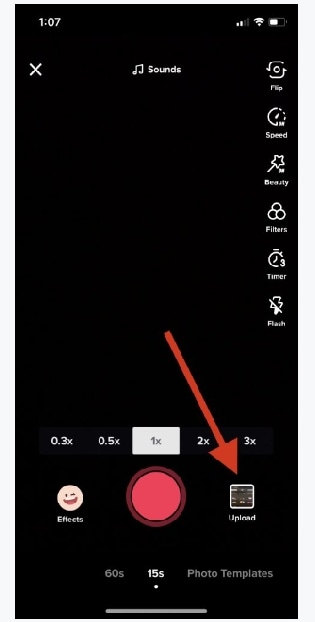
- Choose your edited clip from your gallery
- Post it on TikTok
How to create and download a Twitch clip
Step One: Stream and Capture a Clip
The first and obvious thing to do is to stream. The second step is to have the ‘Clip That’ button visible on the top right side in your Twitch dashboard. Once something interesting/funny/epic happens during your stream, click that button. Twitch will automatically record the last 30 seconds before you click the button.
Step Two: Edit your Clip(s)
Once you’ve got your epic clip or clips captured, the next step is to download them.
- Go to your Twitch dashboard,
- Click on the Content button, then on the Clips button.
- Choose your clip
- Click the rightmost of the four icons at the top of the clip. This will open the clip in a new page.
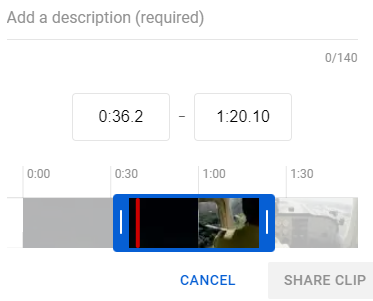
- Once there, click the ‘Save as Highlight’ button. This will take you to an editor screen, where you can adjust the exact length of your clip to be exported.
- Once done, click the ‘Publish Highlight’ button.
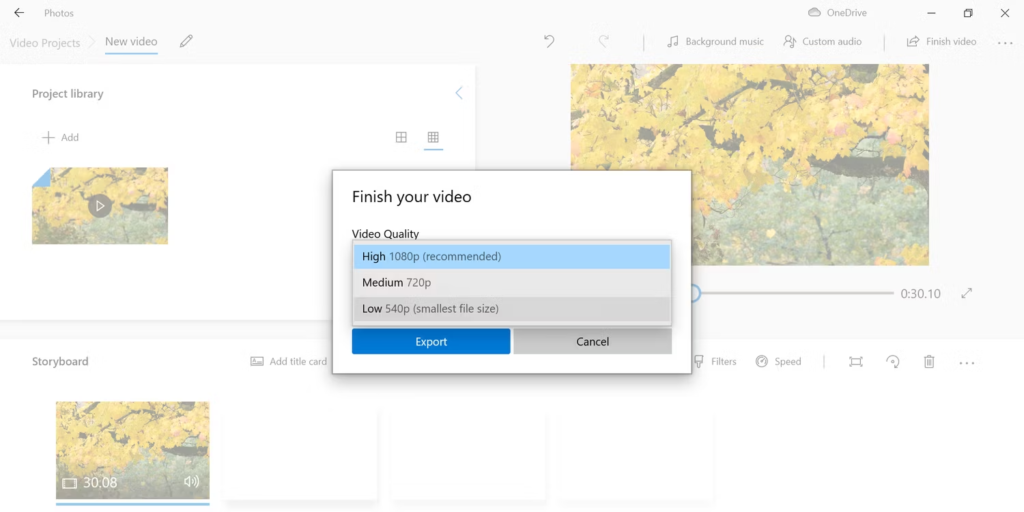
Step Three: Export your Clip(s)
Downloading a clip is really simple, you should:
- Click the Video Producer button in the left-hand menu. You should find your newly created highlight clip.
- On the right of the clip, there will be three vertical dots. Click the dots and then hit the download button.
- Your clip will now download!
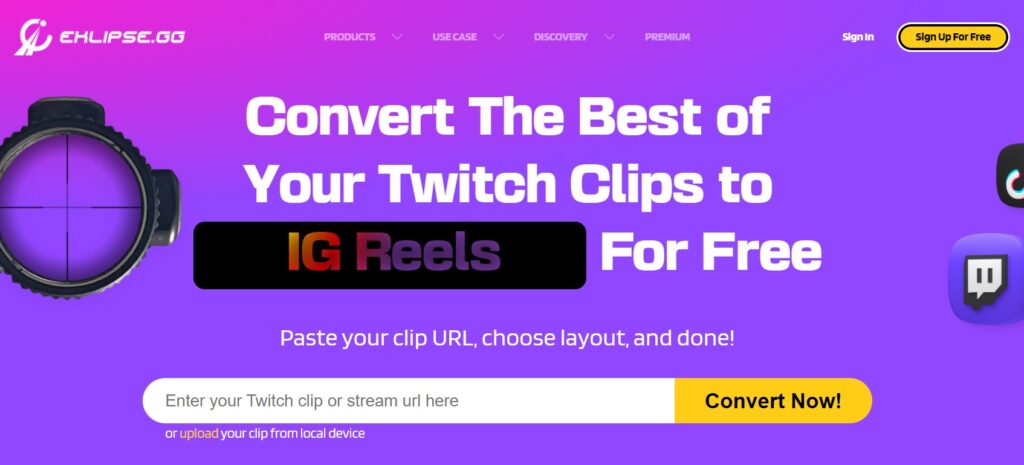
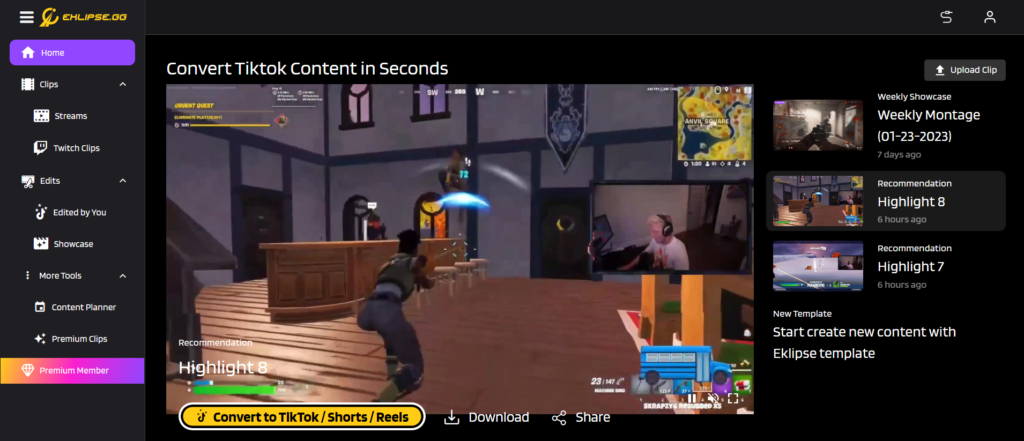
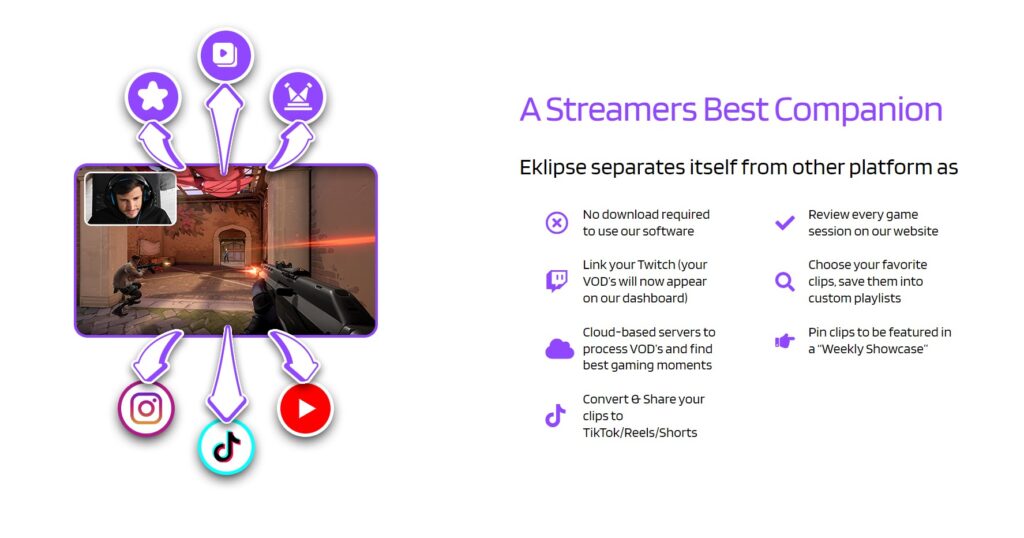
Using Eklipse to make Twitch highlights
Instead of using a button or recording clips on the fly to interrupt your streaming session, why not use Eklipse?
Eklipse is an A.I powered tool which can automatically extract the best highlights and clips from your Twitch stream or any mp4 video URL!
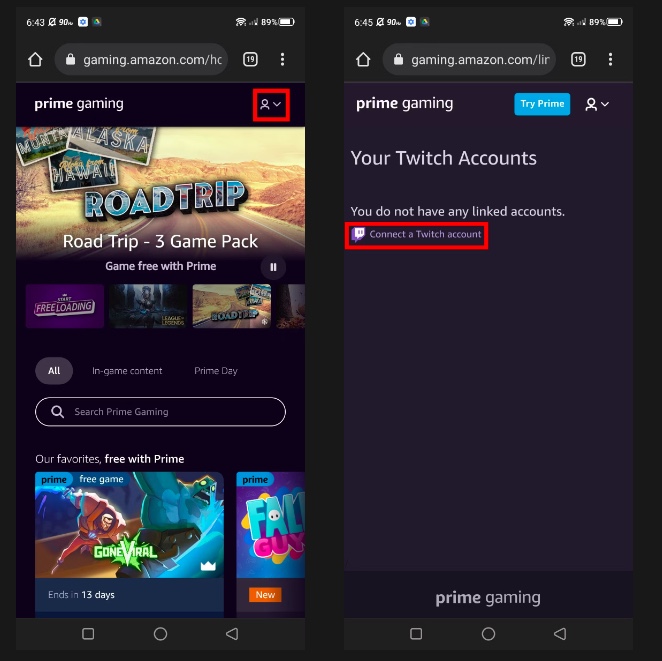
All you have to do is to sign up with Eklipse and Connect your Twitch account.
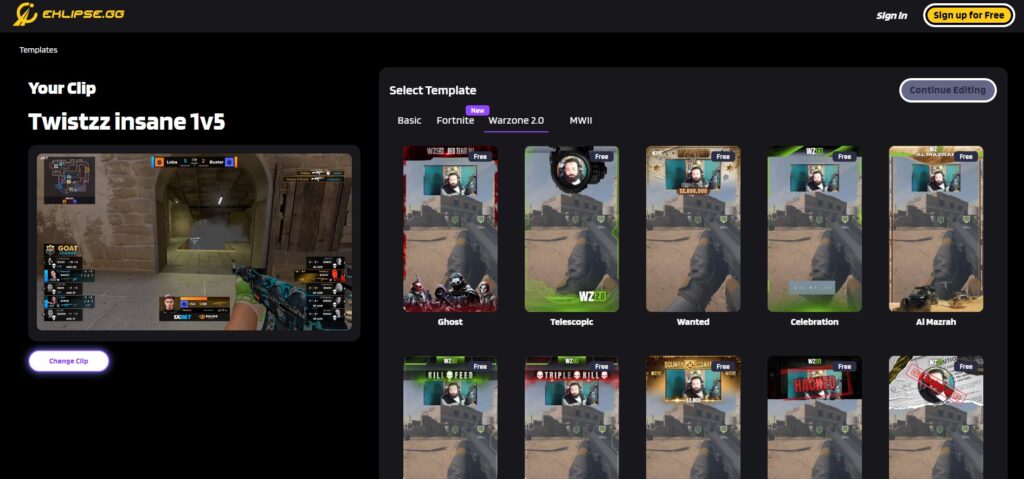
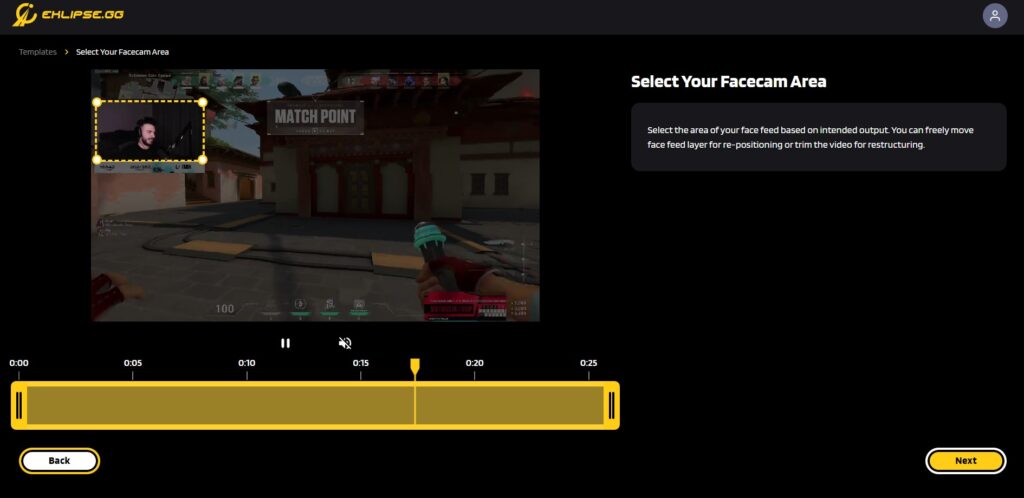
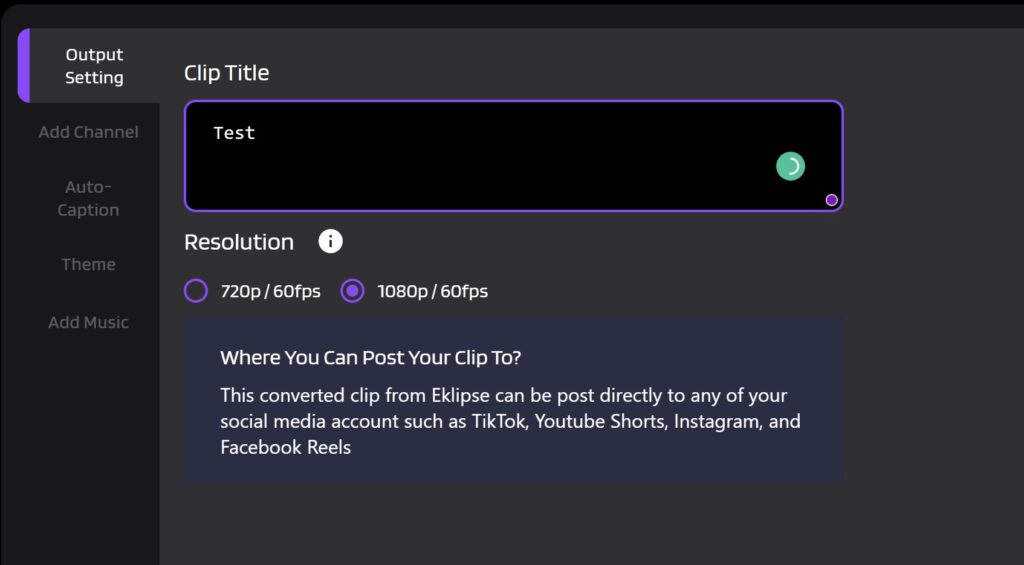
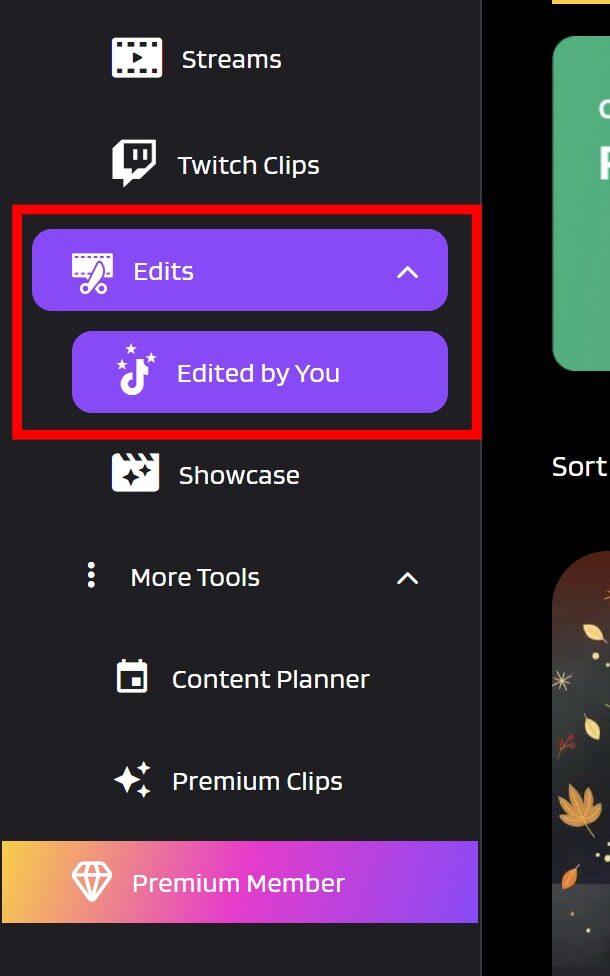
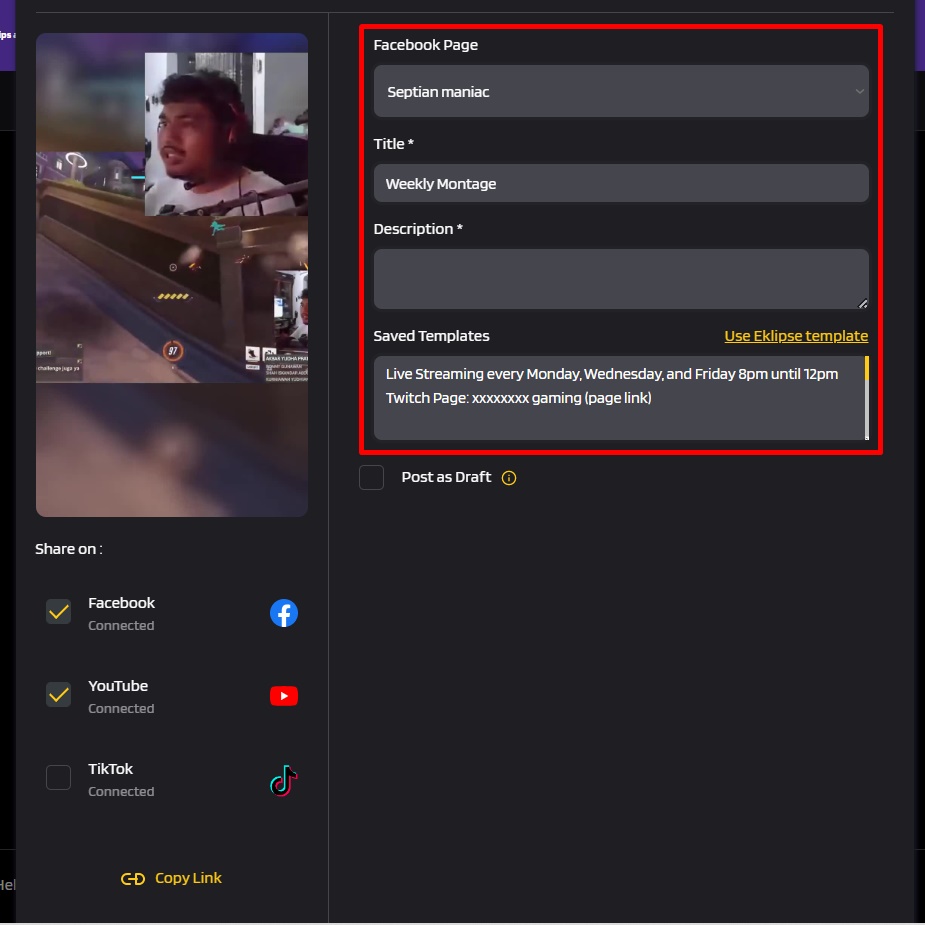
Use Eklipse to upload Twitch clips to Tiktok
Eklipse is a complete Tiktok video editor and compressing tool. You can convert your Twitch highlights to Tiktok directly by using Eklipse Tiktok converter. Here is the detailed account of how you can do it.
Conclusion
This guide gives you all the steps you need to follow to make an amazing tiktok account and ways to promote it. You can upload your twitch clips and turn them in tiktok videos for your channel. Try it now!