
So you want to start a YouTube gaming channel? You have made a fine choice as gaming is one of the most popular topics on YouTube. Gaming clips have the potential to go viral on YouTube. Popular YouTubers such as Markiplier, PewDiePie, and KSI have shown how gaming is an evergreen subject on YouTube. In today’s article, we will tell you How to start a youtube gaming channel.
We have created a step-by-step guide to help you start your own gaming channel on YouTube. So without further ado, let’s begin.
Pick your niche
Even though gaming itself is a niche on YouTube, it is divided into many sub-niches. This is great because you can pick a format that suits you and is unique compared to other gaming YouTubers. We’ll go over some of the most popular niches to help you decide which niche is the best for your channel.
Humor
As the name suggests, this is comedy-orientated. If you are good at cracking jokes then this niche will suit you. A benefit is that you won’t have to care about your game performance.
Walkthroughs
If you are an expert at beating games then this is your thing. Walkthroughs are basically guides so you can use your expertise to give information.
Reviews
As the name suggests, you have to review popular games. Gamers are always wanting to know whether they should play a certain game.
Let’s play
Let’s play category is a lot like the walkthrough niche. However, in a let’s play niche, you will be playing the game for the first time. The let’s play category requires a charismatic and cheerful personality to keep the audience engaged.
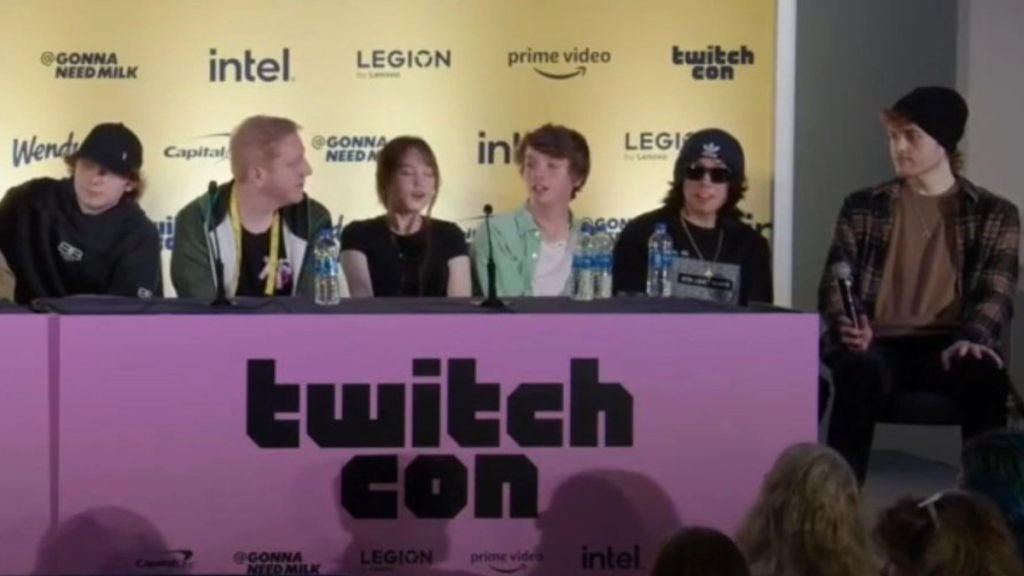
Livestream
If you enjoy playing games for extended periods, you should try live streaming your gameplay. This provides viewers an unedited experience of the gameplay.
Assemble your equipment
If you want to make professional gaming videos, you need top-notch equipment. Here is the stuff you need to purchase if you want to make high-quality videos.
PC or Console
Xbox, PlayStation, and gaming PCs are the most popular choices for game streaming. Make sure to invest in a quality system that can run games. It’s easier to record videos on your PC compared to consoles.
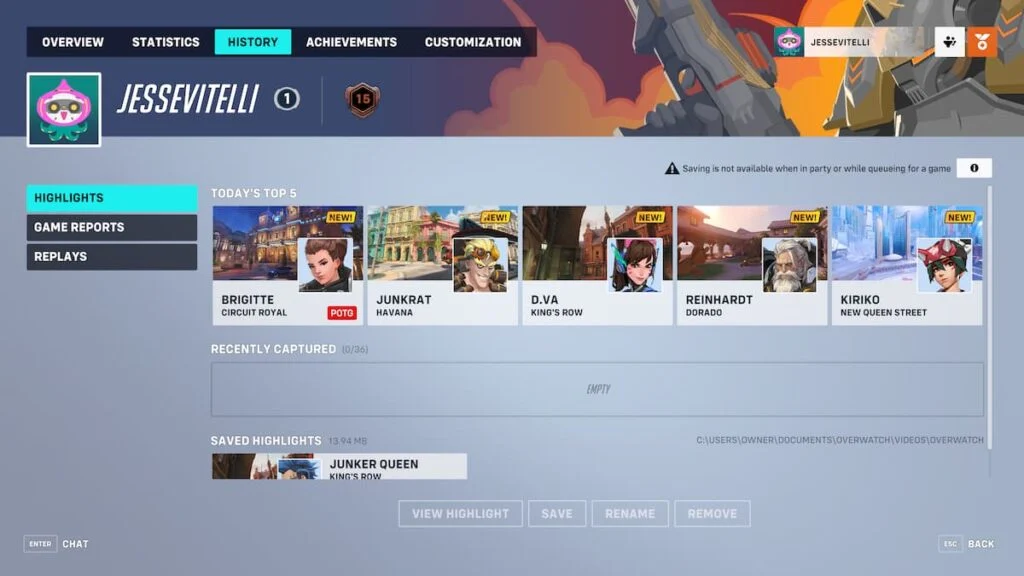
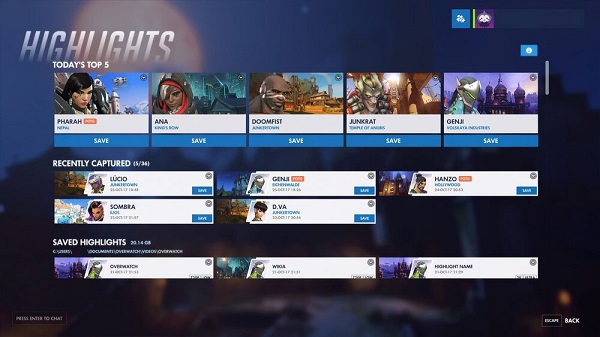
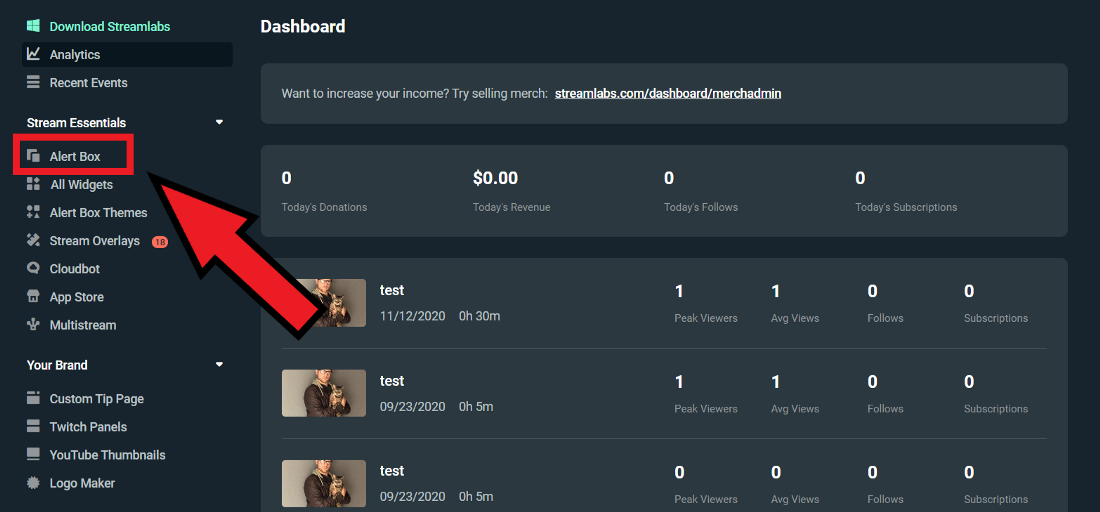
Software
You need good software for editing your gaming videos. Make sure it can provide a crisp edit. You also need to have software that lets you record gaming videos in high-definition quality.
Camera
If you want to include your face in your videos, you need a high-quality camera. Cameras are required if you want to do live-streaming as it’s more lively with your face showing.
Mic and headphones
Finally, you need a good quality mic for recording your audio along with a headset. A poor quality mic will cause problems as it won’t be able to capture the sound properly. You also need to deal with the background noise when you are recording a gaming video for your YouTube channel.
Come up with a plan
First, plan everything. Decide the name of your gaming channel. Do not give too much thought to it just ensure it’s unique. Secondly, you need to pick a schedule and stick with it. This way your subscribers will know the timing of your future uploads. You should upload 1 or two videos every week.
Add descriptions to your videos so you can describe the video to your audience. Also, make eye-catching thumbnails that compel people to click your video.
Build your presence
This is something easier said than done. It’s going to take a lot of time and you need to be patient. Start by responding to the comments so let the audience know you care about them. You can create a page and share your YouTube videos there as well. This will help you build a community that appreciates your work.
Conclusion
So that was our guide on how to start a YouTube gaming channel. As you can see, it takes many steps and you need to assemble your gear before you start uploading videos on your channel. Keep going and we know you’ll get there!
Once you have started, do it consistently since it can be your source of income. Know how to make money from your YouTube channel within short time by reading our guide here: How to Get Monetized on YouTube Fast & Easy.


 Source: Varvid
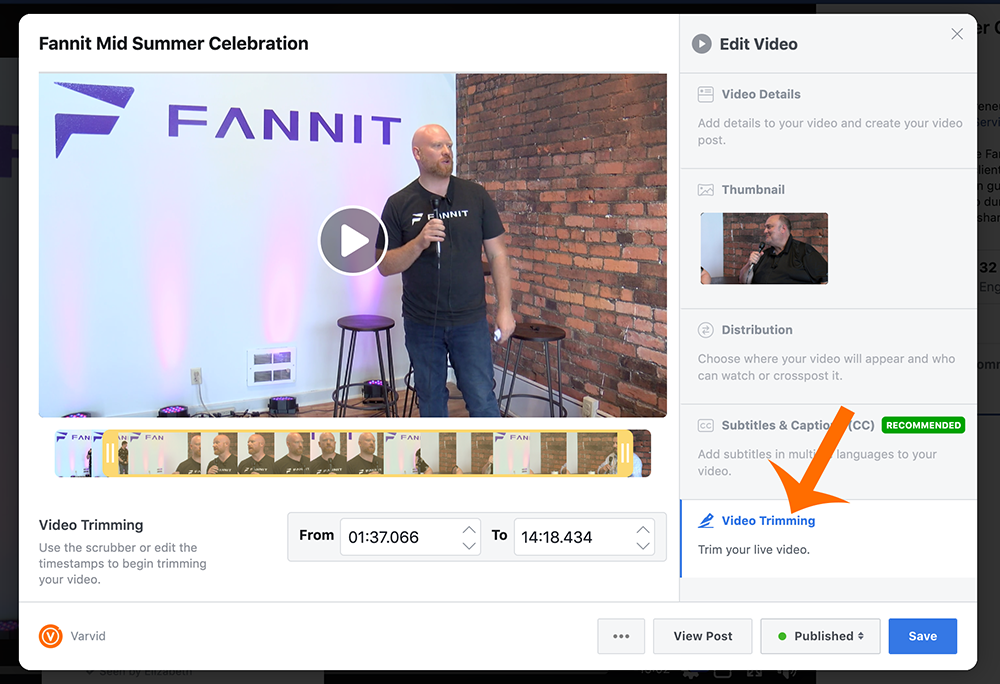 Source: Varvid


 Source: Streamlabs
 Source: StreamScheme
 Source: StreamScheme
 Source: Doc. StreamScheme
 Source: Doc. StreamScheme
 Source: StreamScheme