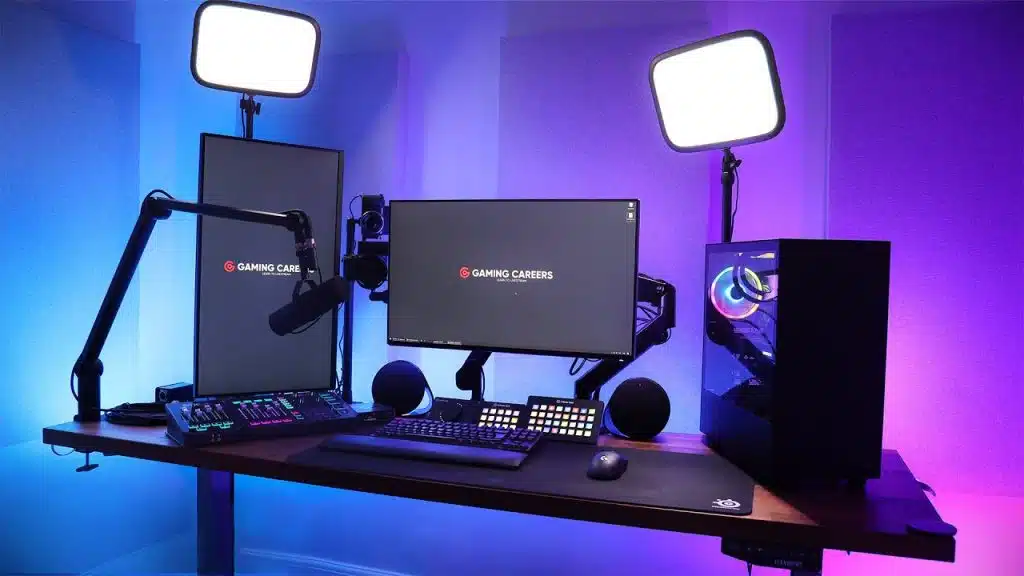
Establishing a Kick stream overlay is a pivotal stage in crafting an attractive and polished appearance for your stream audience. Through a personalized overlay, you can elevate your Kick stream’s visual appeal and provide a unified visual journey for your viewers.
This article is a step-by-step guide on setting up a Kick stream overlay, walking you through the process seamlessly.
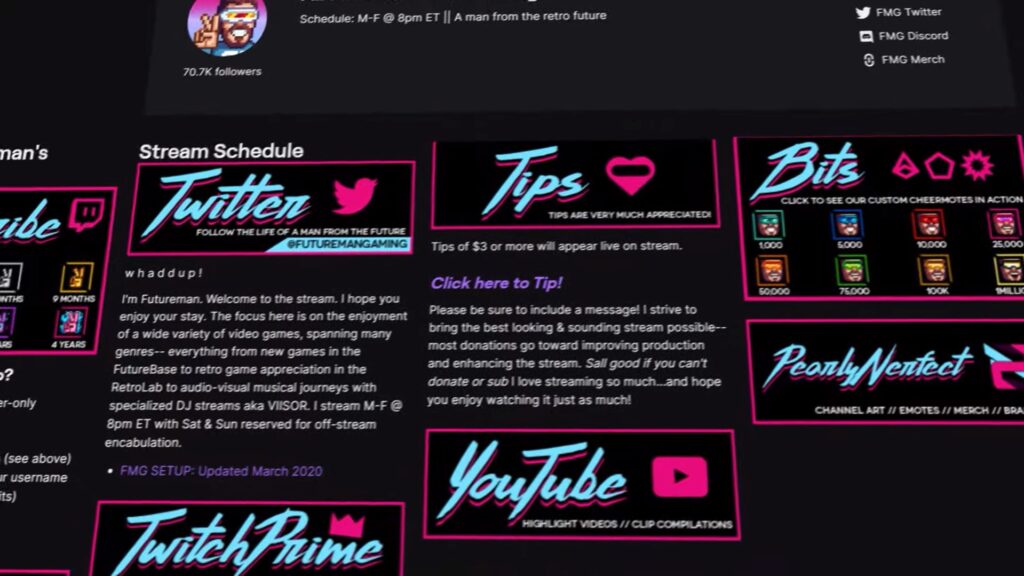
Step 1: Determine the Design, Before Setup Kick Stream Overlay
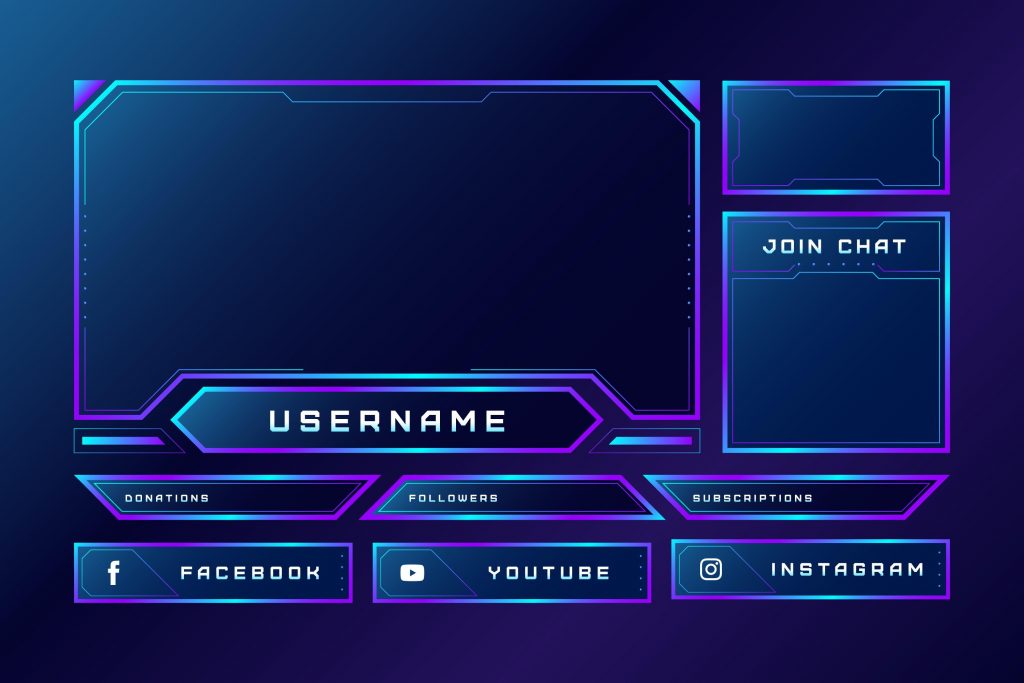
Before setting up your Kick stream overlay, you’ll want to decide on the design of your overlay.
You can create your own design or use a pre-made template. Nowadays, you can find free pre-made stream overlay templates in many places. Some of the places where you can find a free stream overlay include Canva, Behance, OWN3D, and many more.
Whatever you choose, make sure it matches your brand and style.
Step 2: Add Your Overlay to the Streaming Software
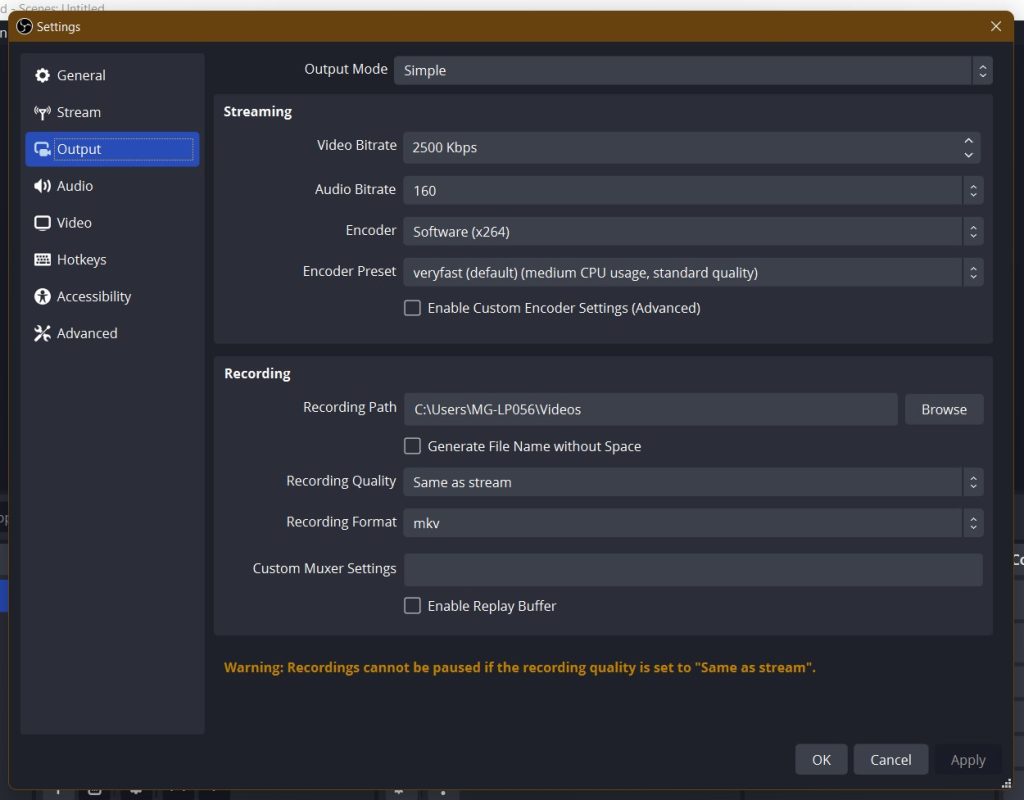
We assume that you have already set up your channel branding and some technical settings on OBS. The next step in setting up a Kick.com stream overlay is applying it to your OBS.
Once you have your streaming software downloaded, you’ll want to add your Kick stream overlay to the software, such as OBS.
This can be done by selecting the “Add Source” button in your streaming software and selecting “Image.” From there, you can upload the image file of your overlay.
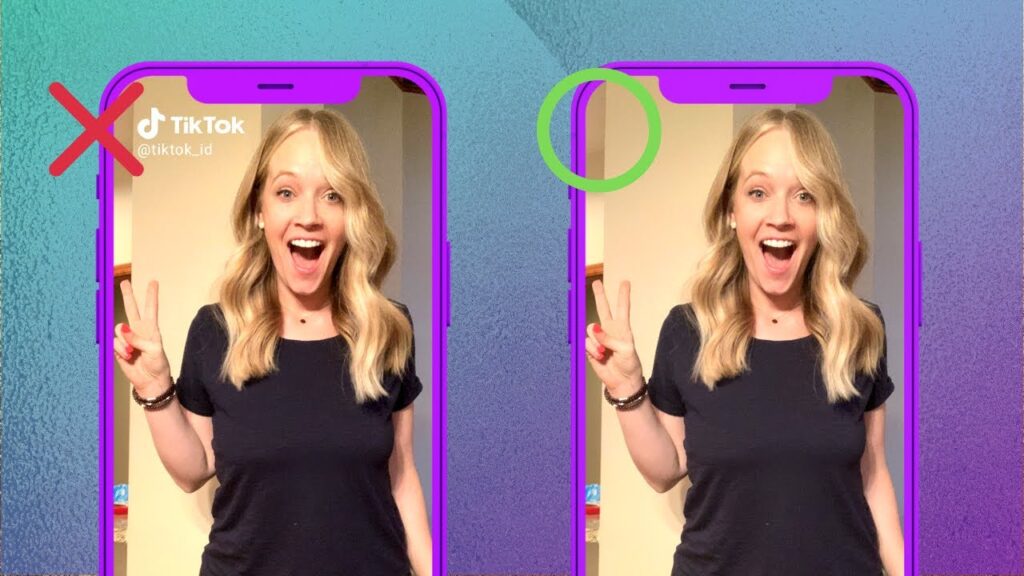
When you are done adding all the overlays, the final phase is laying out everything to ensure alignment, proportionality, and symmetry.
Step 3: Setup Kick Follower Alerts
To set up Kick follower alerts on your stream, you’ll want to use a third-party tool called botrix.live. These tools allow you to create custom follower alerts that will appear on your stream when someone follows your Kick channel.
There are 3 steps to adding follower alerts to your Kick stream. The first step is to integrate your Kick stream with botrix.live, the second step is to create your alerts, and the final step is to add them to OBS.
Here are the detailed instructions:
Step 3.1: Integrate botrix.live with your Kick channel
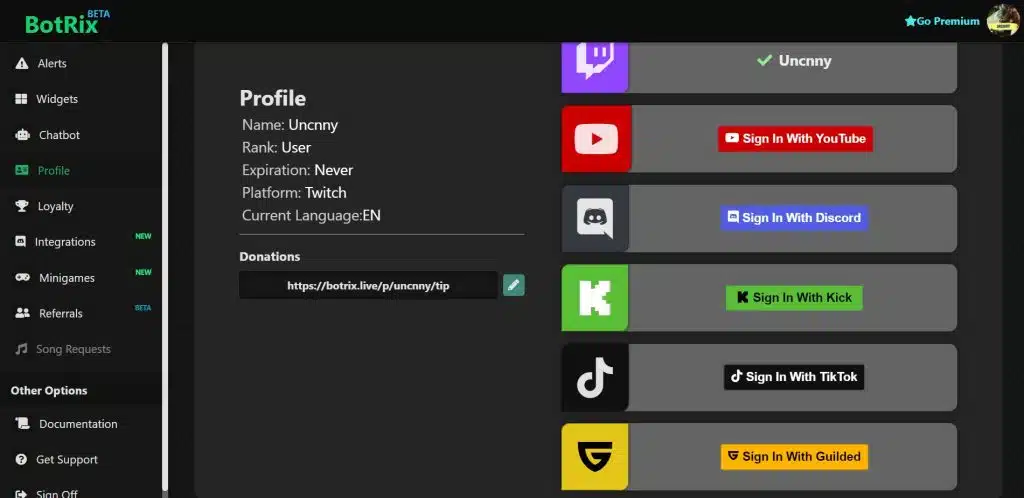
- Create an account on botrix.live.
- Once you’re on your dashboard, click on “Sign In with Kick.”
- Navigate to “Community” > “Moderators” on your Kick Creator Dashboard.
- Add “botrixlive” as a moderator.
- Go to kick.com/botrixlive and paste your linking code.
- The bot will reply with “Your account has been successfully linked” when you’ve successfully integrated botrixlive with your Kick channel.
Step 3.2: Create your follower alert
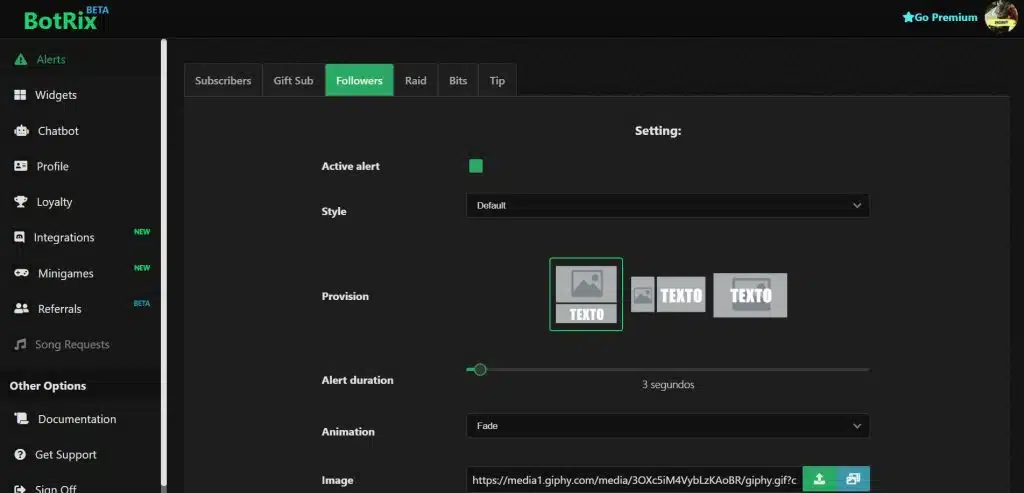
- Click on “Settings” on your Kick channel in botrix.live.
- On your side-left menu, go to “Alerts,” and then to the “Followers” tab.
- You can customize anything you want for your alerts.
Step 3.3: Add the follower alert to OBS
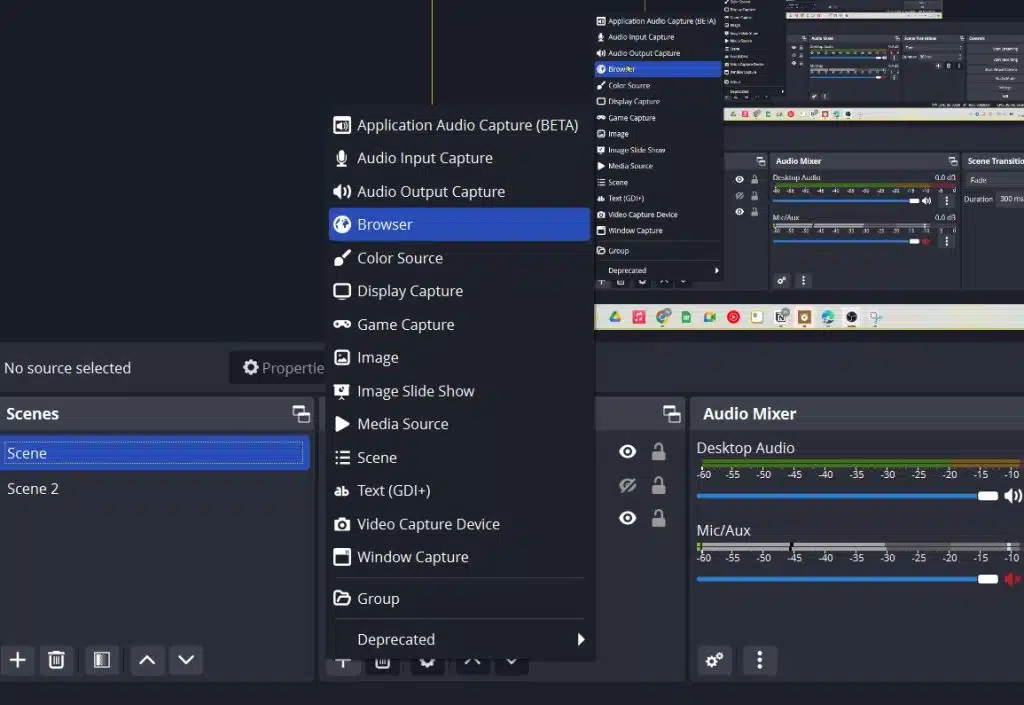
- Click the “Copy” button on your “Widget URL” interface.
- Open OBS, click the “+” button to add a new source, and choose “Browser.”
- Paste your URL.
- Resize and position your follower alert on your stream overlay as desired.
Step 4: Add Kick Subscription Alerts
Similar to Kick follower alerts, you can also set up Kick subscription alerts on your stream using botrixlive. Subscription alerts will appear on your stream when someone subscribes to your Kick channel.
To setup Kick subscription alerts, you can follow this instruction:
Step 4.1: Customize The Alerts
- Click on “Settings” on your Kick channel in botrix.live.
- On your side-left menu, go to “Alerts,” and then to the “Subscription” tab.
- You can customize anything you want for your alerts.
Step 4.2: Add it to OBS
- Click the “Copy” button on your “Widget URL” interface.
- Open OBS, click the “+” button to add a new source, and choose “Browser.”
- Paste your URL.
- Resize and position your follower alert on your stream overlay as desired.
Step 5: Add Chat Overlay
A chat overlay lets your audience see the chat on your stream in real time. This can be a great way to engage with your audience and build a community. You can use a tool like kickalerts.live to set up a chat overlay.
To add chat overlay to your Kick stream, you can follow this instruction:
- Click on the “+” icon under “Sources”
- Select “Browser”
- Enter the URL into the “URL” box (https://widgets.kickalerts.live/widgets/chatbox/YOURUSERNAME)
- Click “OK”
- Resize and reposition your chat overlay as desired.
Step 6: Test Your Kick Stream Overlay
Once you have everything set up, it’s important to test your Kick stream overlay to make sure everything is working correctly.
You can do this by doing a test stream or recording a video to see how your overlay looks and if your follower and subscription alerts are working.
Conclusion
Congratulations! You now have the skills how to setup a Kick stream overlay. By following the steps outlined in this article, you can create a visually appealing and professional-looking stream for your audience.
Remember that adding a personalized overlay can help you engage with your audience and build a community. So take the time to experiment and create an overlay that reflects your style and personality.
With a bit of creativity and effort, you can make your Kick stream stand out and retain loyal followers. So go ahead and give it a try, and take your Kick stream to the next level!
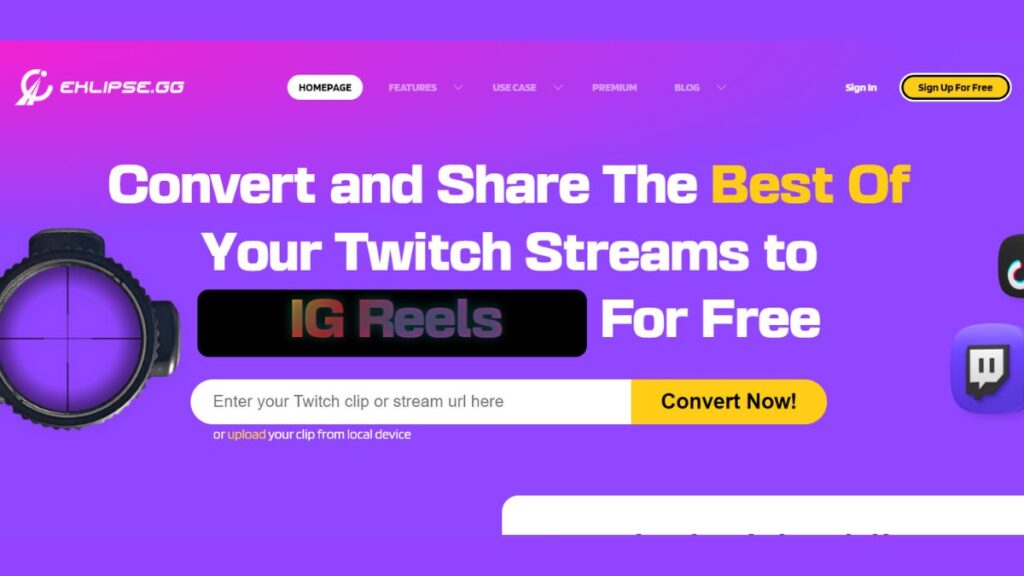
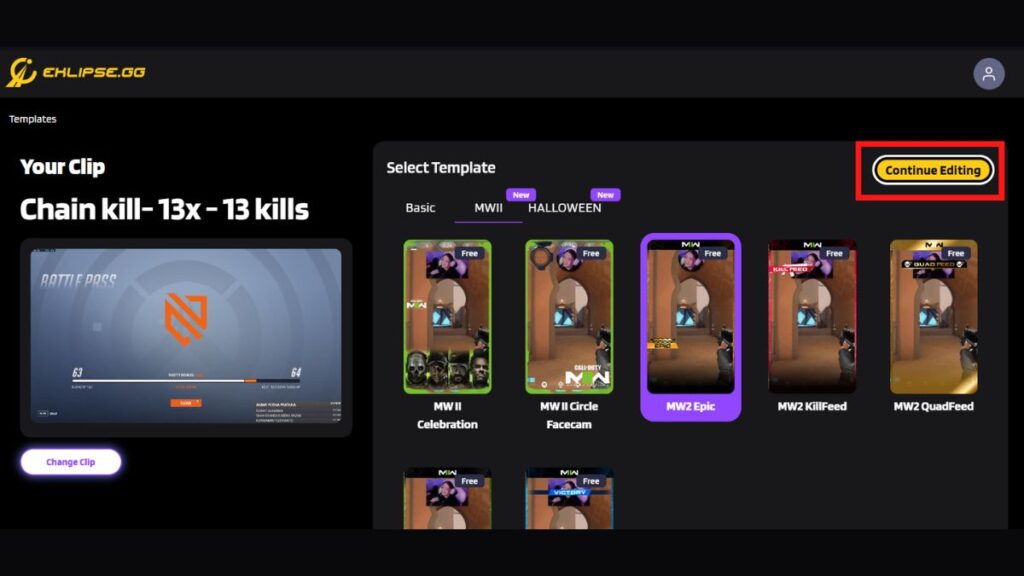
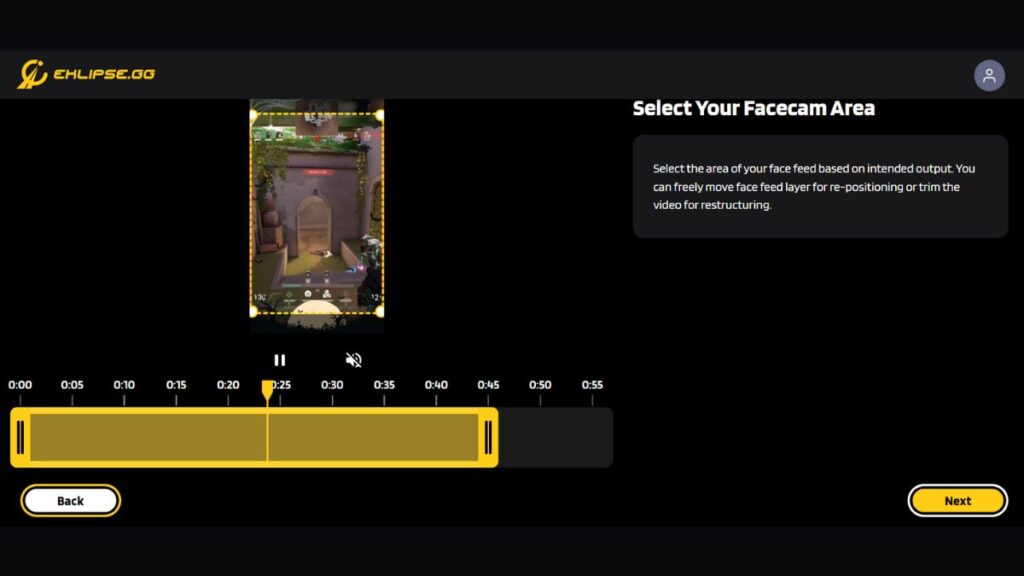
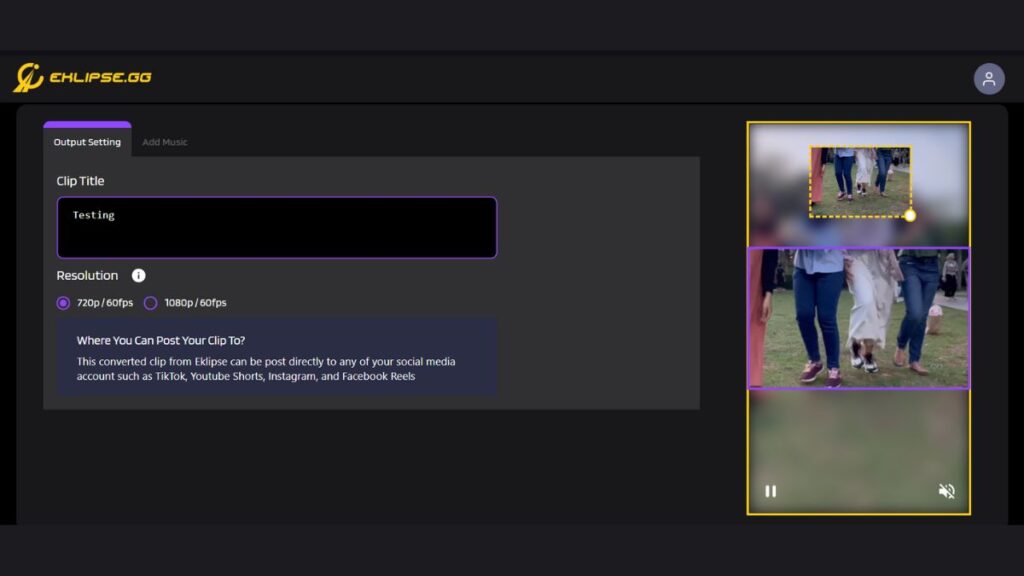
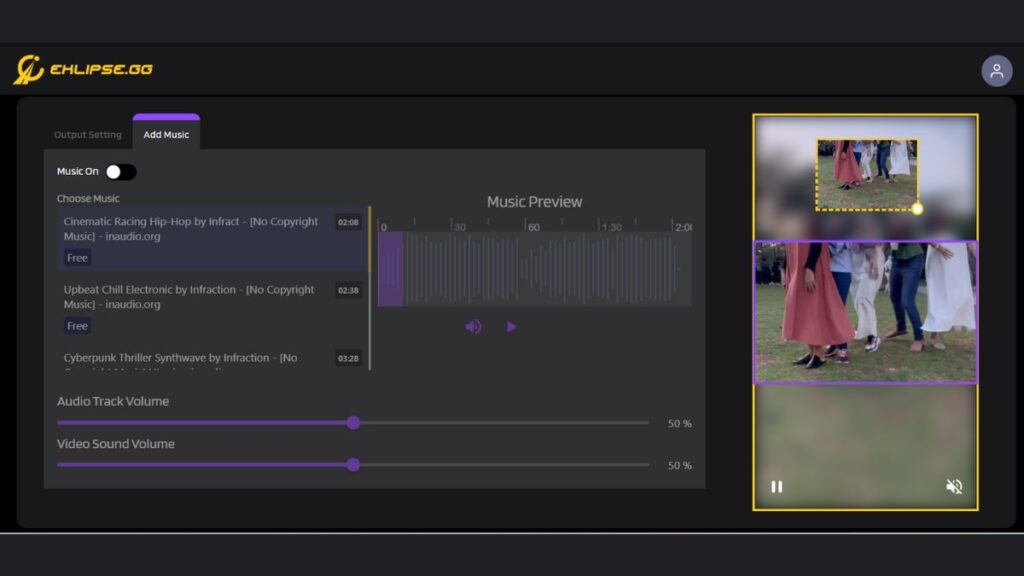
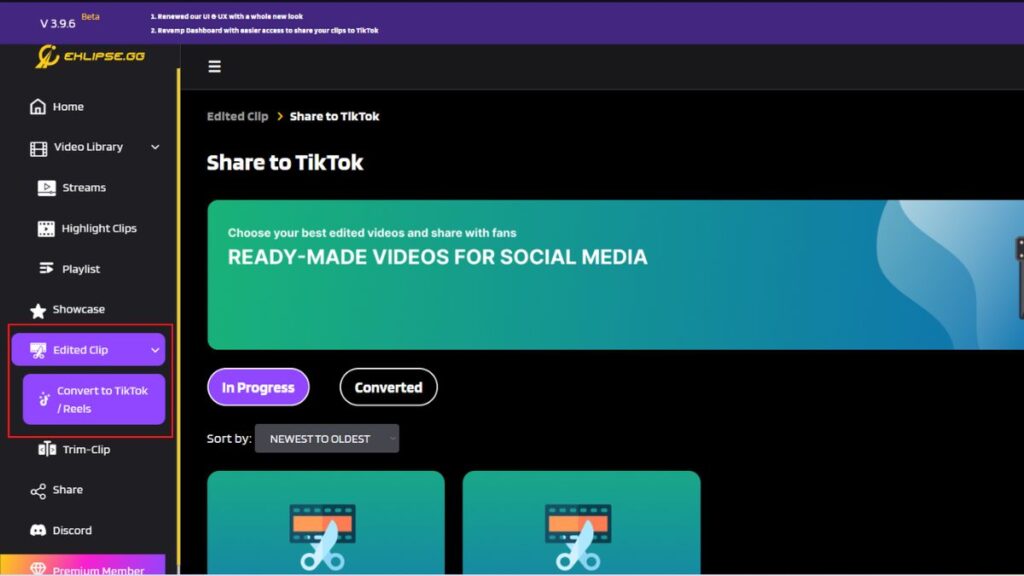
Maximize your Black Ops 6 rewards—Create highlights from your best gameplay with with Eklipse
Eklipse help streamer improve their social media presence with AI highlights that clip your Twitch / Kick streams automatically & converts them to TikTok / Reels / Shorts