With the explosion of TikTok, short-form vertical videos have become the new hotness.
This leaves many gaming creators scrambling to find ways to easily convert their horizontal streams into bite-sized content for platforms like TikTok, YouTube Shorts, and Instagram Reels.
Thankfully, “TikTok converter” tools have emerged to save the day, allowing you to instantly reformat your streams for the vertical world.
Looking to streamline your editing process with a TikTok converter? Look no further!
Today, we’ll be diving into a head-to-head comparison of the two most popular options for gamers: Eklipse and Streamladder. Buckle up, because it’s time to rumble!
What is Eklipse?

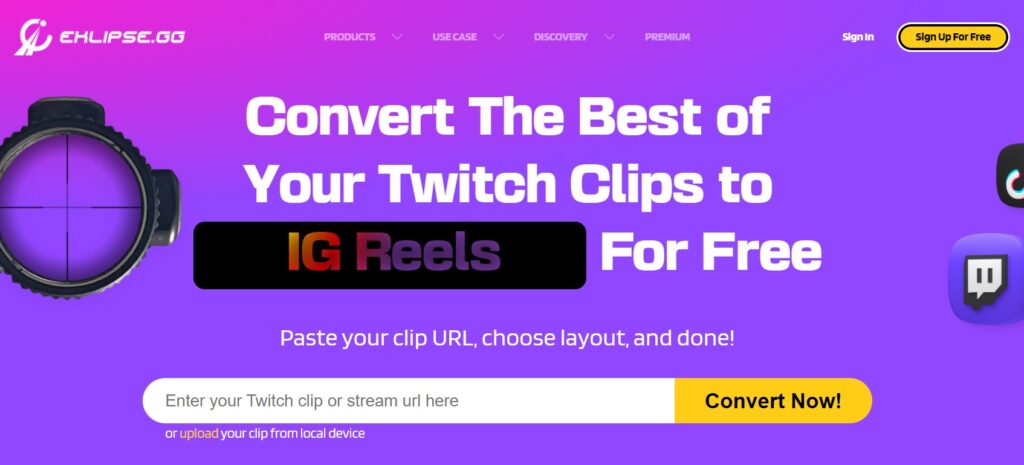
Source: Eklipse.gg
Eklipse is an AI-powered tool designed to streamline the process of creating highlight clips from your Twitch, YouTube, or Facebook Gaming streams.
Imagine spending less time manually editing clips and more time focusing on what truly matters – your gameplay and audience engagement.
Eklipse automatically captures your stream’s most exciting moments, allowing you to effortlessly convert, edit, and share them on popular platforms like TikTok, YouTube Shorts, and Instagram Reels.
Key Features:
- Eklipse uses intelligent algorithms to automatically identify the most action-packed and engaging moments in your streams
- With a few clicks, Eklipse automatically transforms your identified highlights into perfectly formatted clips optimized for your chosen social media platform
- Share your newly created clips directly to your social media channels within the Eklipse app
- While Eklipse excels at automated highlight creation, it also offers basic editing tools for adding your personal touch
Pros:
- Eklipse removes the tedious work of manually editing highlights, allowing you to focus on creating high-quality content
- Easily create captivating clips specifically formatted for platforms like TikTok and Instagram Reels
- Share your most exciting gameplay moments and attract new viewers by showcasing your skills and personality on social media
- By automating the highlight creation process, Eklipse allows you to channel your creative energy into developing engaging content for your streams
- Accessible and User-Friendly: Eklipse boasts a straightforward interface, making it easy for streamers of all experience levels to create and share their best moments.
Cons:
- It doesn’t have the advanced functionalities of professional video editing software
- The effectiveness of Eklipse’s automatic highlight detection depends on the quality of its algorithms. There’s a chance it might miss some key moments.
- Eklipse operates on a freemium model, with limited features available in the free tier
Pricing:
- Basic Plan: Free
- Premium Plan: Starts at $19.99/month
Availability: Windows, macOS, Linux, iOS, Android
What is Streamladder?

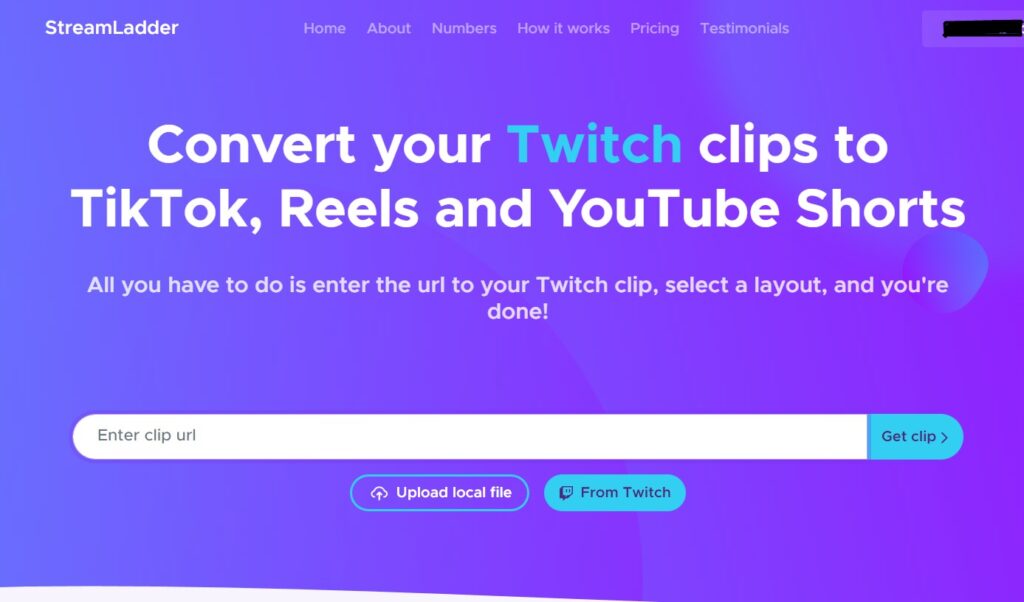
Source: Streamladder
StreamLadder is a free web application designed to help streamers easily edit their Twitch and YouTube clips into social media-friendly formats.
Streamers often create long streams, but the best moments for social media are typically short and action-packed.
StreamLadder simplifies the process of transforming these longer clips into bite-sized content perfect for platforms like TikTok and Instagram Reels.
Here’s a breakdown of StreamLadder’s key features and how it can benefit you:
Key Features:
- Allows you to import your existing Twitch and YouTube clips directly into the platform, saving you time searching for the perfect moment
- Automatically transforms your clips from their original landscape format to a vertical format ideal for social media
- Offers basic editing functionalities like trimming and adding text overlays to personalize your clips
- Once you’ve created your social media-ready clip, StreamLadder allows for easy sharing directly to your chosen platform
Pros:
- StreamLadder streamlines the process of editing clips for social media, freeing up valuable time for streamers to focus on creating content
- Helps streamers repurpose their streams into bite-sized pieces that can grab viewers’ attention and drive engagement
- Repurposing clips for social media allows streamers to expand their reach beyond Twitch and YouTube, attracting new viewers from different platforms
- Completely free, making it accessible to all streamers regardless of budget.
- User-friendly interface, making it easy for streamers of all technical skill levels to navigate and create captivating social media content
Cons:
- Offers a limited set of editing tools
- StreamLadder can’t magically create content from scratch. You’ll need to have existing Twitch or YouTube clips to use the platform
- If you require advanced video editing functionalities, StreamLadder might not be the best solution for your needs
Pricing: Free
Availability: Windows, macOS, Linux, iOS, Android
Eklipse vs Streamladder: TikTok Converter Battle

Source: Eklipse.gg
Looking for the best tool to turn your Twitch streams into bite-sized content for TikTok? Two names likely pop up: Eklipse and Streamladder. While both help you conquer the TikTok world, they take different approaches.
Eklipse goes beyond a simple converter, acting as an all-in-one toolbox for streamers.
It boasts an AI-powered highlight clipper and montage maker, churning out short or long-form content from your streams automatically.
Streamladder, on the other hand, keeps things focused. It specializes in transforming any Twitch clip URL into a TikTok-friendly vertical video, offering a smooth and streamlined experience.
So, which tool reigns supreme? Let’s dive into the details!
1. The Landing Page Experience
Source: Eklipse
Looking to convert your Twitch clips for TikTok? Both Eklipse and Streamladder make it super easy. Just head over to their websites (Eklipse.gg or Streamladder.com) and you’ll see their conversion tools right there on the front page.
Even better, both services let you paste the URL of your Twitch clip directly. No need to download it first! Streamladder takes things a step further by letting you search for and convert clips directly from their site.
Source: Streamladder
On the Eklipse side, you’ll need to find a clip on Twitch first, copy the URL, open Eklipse.gg, then paste the URL on the box.
But, unfortunately, both tools only provide the seamless journey for converting Twitch clips to TikTok vertical format.
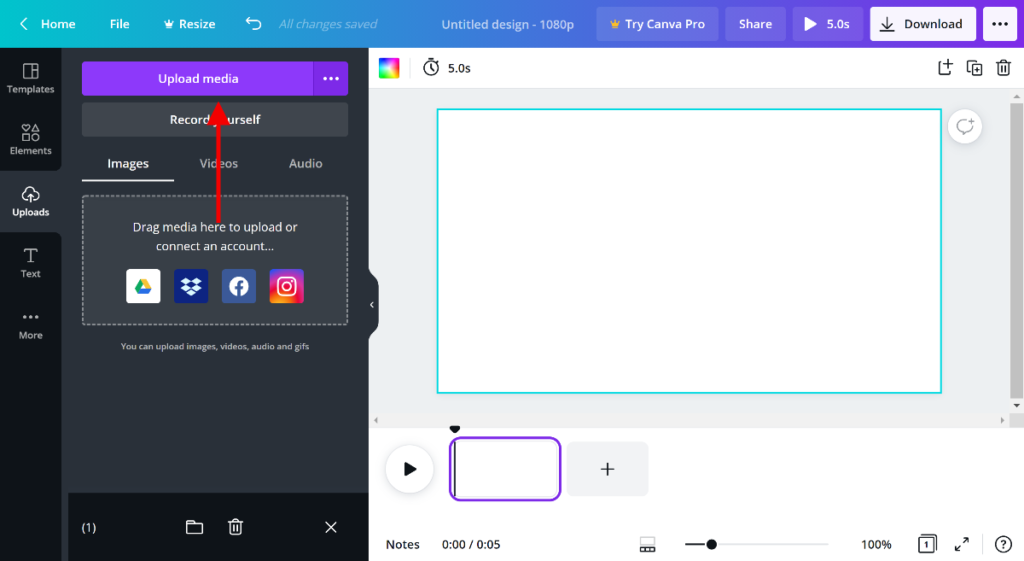
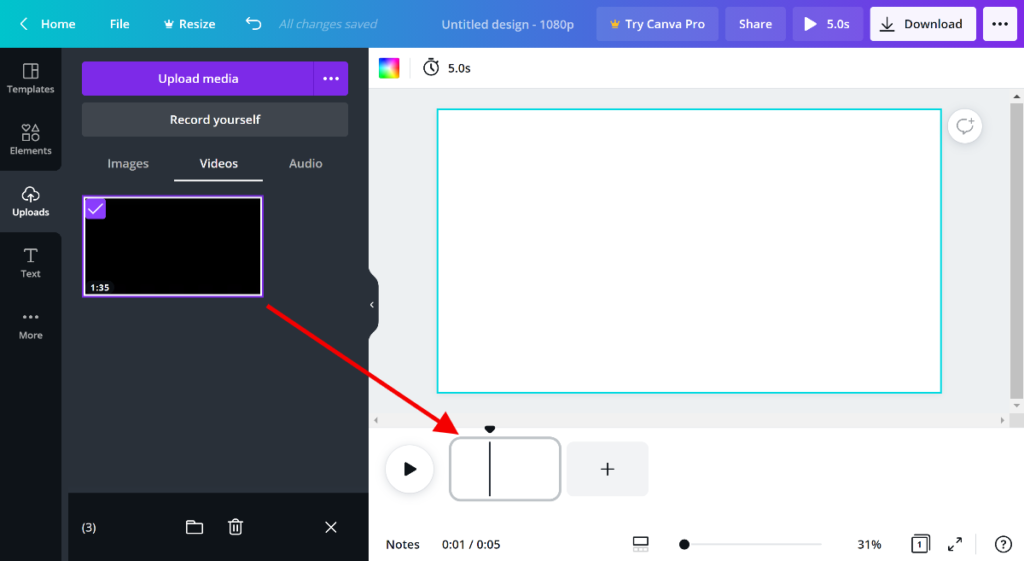
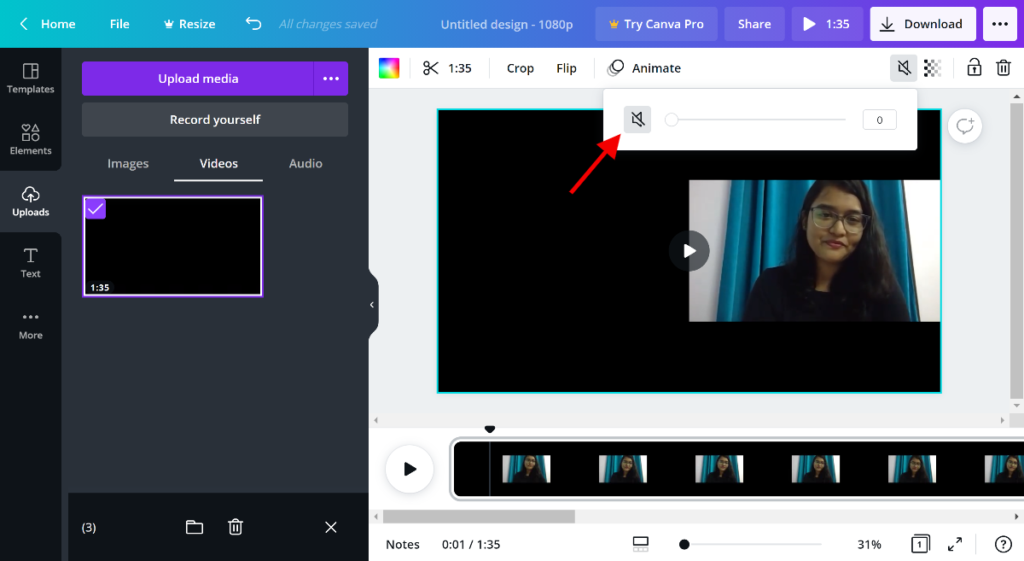
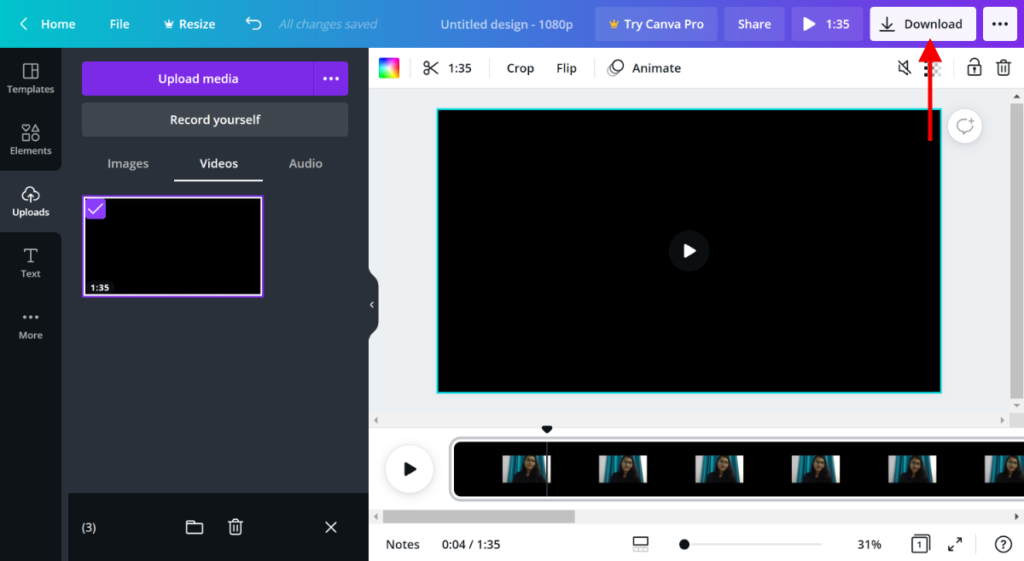
If you want to convert video content from another platform (ex: YouTube), you’ll need to download the video first, and then upload it to the site from a local drive.
2. The Video Editing Features
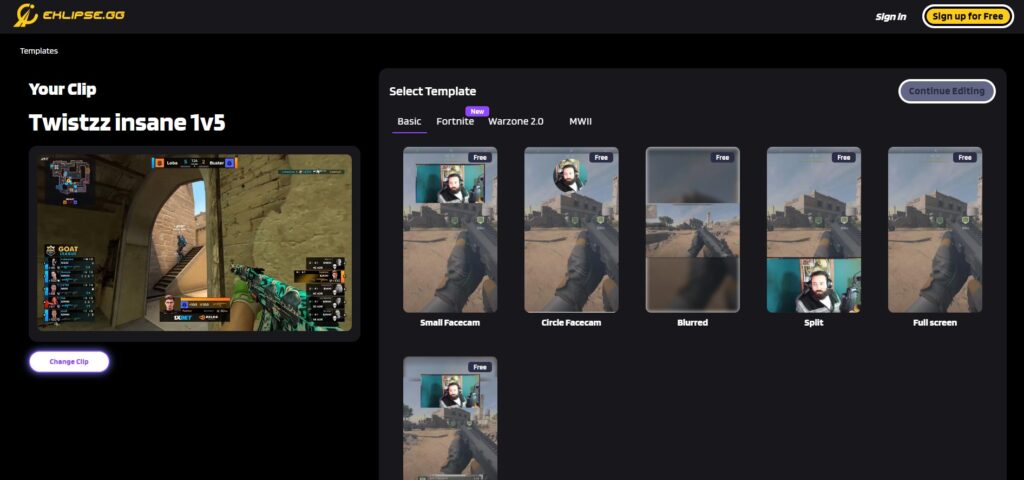
Source: Eklipse.gg
Let’s get down to the nitty-gritty of Eklipse and Streamladder. When it comes to editing for TikTok, they offer similar features.
You can pick your favorite layout, trim your clips, and then jazz them up with text overlays, stickers for your channel branding, and even auto-generated captions.
Now, here’s where things differ: the price tag.
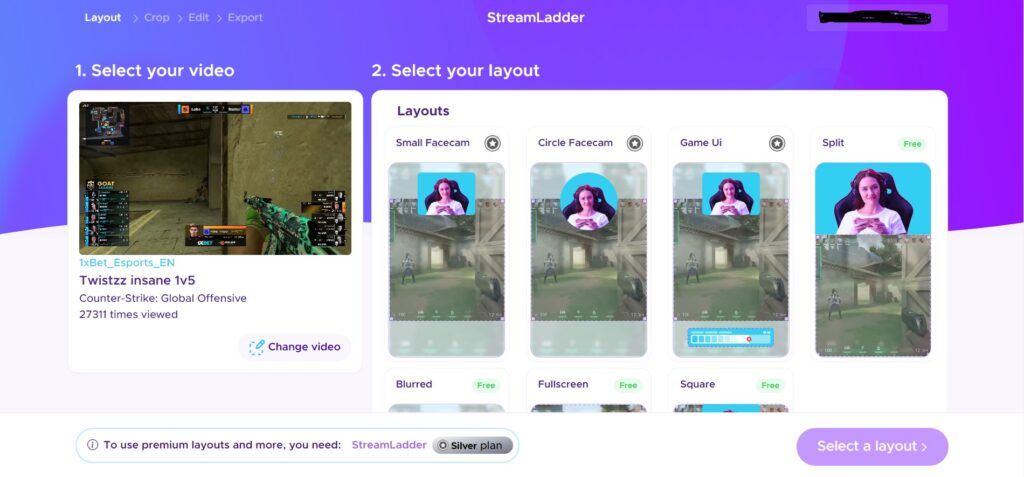
Source: Streamladder
Eklipse offers every customization capability for FREE, while Streamlabs sets their paywall pretty high.
On Eklipse, you can do almost everything with only a free plan. You have dozens of video templates and layouts to choose from, video trimming capability, and many customizations.
Meanwhile, Streamladder only offers you 4 basic video layouts and video trimming capability if you use the free plan.
Need customization like adding channel name stickers, text, and our auto-generated caption to the video? It is $6 per month for Streamladder.
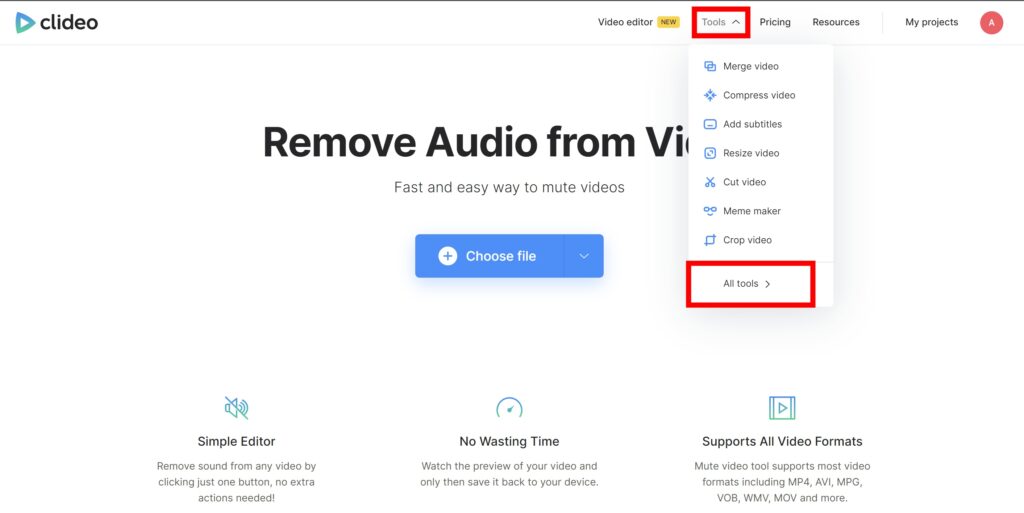
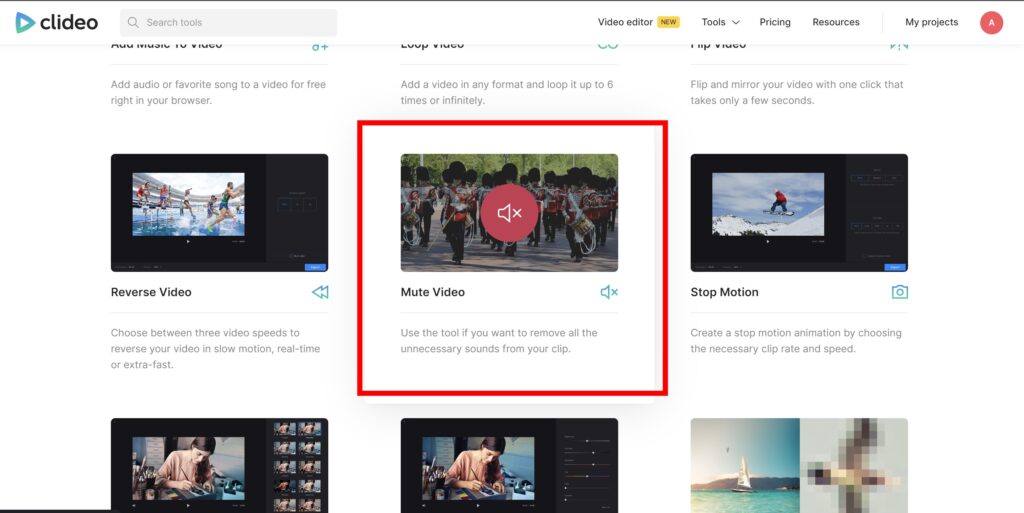
3. The Exporting Process


Source: Eklipse.gg
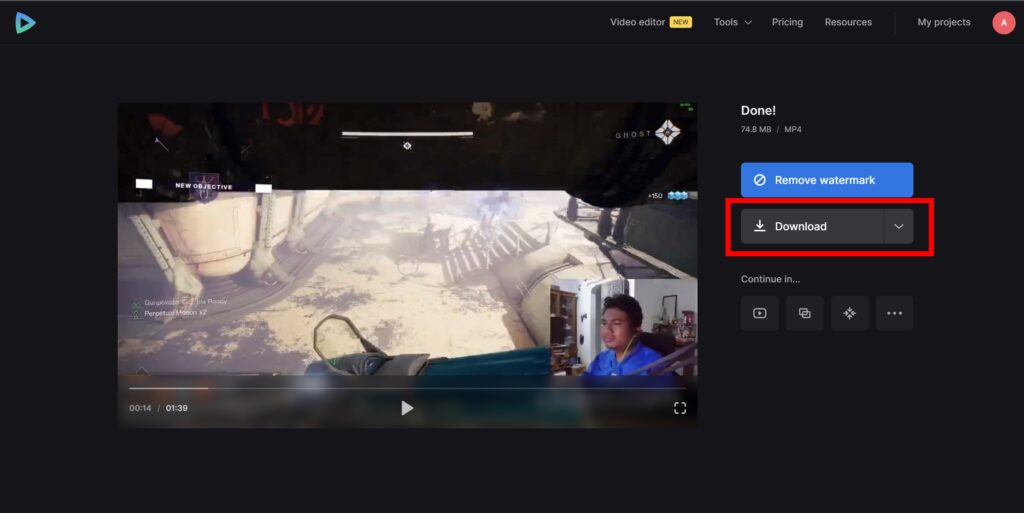
Another key difference between these two tools is how they handle exporting your clips. Here, Streamladder puts a paywall in front of a feature that Eklipse offers for free: cloud-based exporting.
Eklipse gives you a cloud-based exporting process for your clips on their free plan!
That means you don’t need any of your PC resources when converting a highlight clip into TikTok vertical format.
Streamladder actually can do that, but this time it’s $15 per month.
After you’re done converting, both tools offer you direct-share to any popular social media like TikTok or YouTube Shorts, and the option to download your clips.
Eklipse vs Streamladder: A Comparison
Here’s a breakdown of how Eklipse and Streamladder compare in key areas for streamers looking to create engaging social media content from their streams:
| EKLIPSE | STREAMLADDER |
| ✅ ExperienceSeamless journey converting Twitch clips to TikTok. | ✅ExperienceHas the ability to choose Twitch clips straightly |
| ✅FeaturesPowerful editing capability with 10++ templates for FREE | ❌FeaturesStreamladder’s free plan is very limited, only has 4 templates |
| ✅ExportingVideo renders on servers, don’t need any PC resource | ❌ExportingRenders video on browser, burden your CPU resource |
Final Thoughts
Which one is better? Eklipse or Streamladder? You can see the summary in the comparison table between these tools above.
To sum it up, Eklipse here literally outperformed Streamladder in terms of features.
All the editing and customization are free on Eklipse, while Streamladder set a paywall on that.
Streamladder might have a minor lead to Eklipse in terms of user experience, but again, the limitation on the free plan is too much.
So, with the trade-off here, we think Eklipse is still a better choice for TikTok converter tools than Streamladder.
Plus, they have more AI tools to convert a stream into clips automatically; which can help you save time on the content creation process.
If you’re ready to step up your game and share your best gaming moments effortlessly, Eklipse is the way to go. Click below to try Eklipse’s exclusive features for free today.


/InstagramStory1-507307645a764856bd173e9b4fd4ed3a.jpg)