A custom stream overlay can make your stream stand out and connect better with your audience. Whether you’re on Twitch, YouTube, or Facebook Gaming, adding an overlay can bring a more polished, professional vibe to your stream. Here’s your complete guide on how to create a stream overlay, even if you’re just starting out.

1. Choosing Overlay Design Tools
To create overlay, you’ll need design software. Here are a few popular tools that can help:
- Canva: User-friendly with plenty of free templates and customization options.
- Streamlabs Overlay Maker: Perfect if you’re already using Streamlabs; it has built-in tools for creating overlays.
- Photopea: A free Photoshop alternative for those who want more advanced options.
- Adobe Photoshop: Great for experienced designers who want full control.
Each tool has unique advantages, so choose one that matches your skill level and design needs.
2. Setting Up Overlay Dimensions
For a high-quality, full-HD stream, it’s best to set your overlay dimensions to 1920×1080 pixels. Here’s a breakdown of key dimensions for overlay elements:
- Main Overlay (1920×1080 pixels): Covers the entire screen and can include elements like frames, chat boxes, and alerts.
- Webcam Frame (320×240 pixels): A smaller frame to position around your webcam feed.
- Alert Box (500×150 pixels): For follower, subscriber, and donation alerts.
Setting the right dimensions ensures everything will fit well and appear sharp on the screen.
3. Adding Elements to Your Overlay
Your overlay should include essential elements that enhance your stream’s look and provide helpful information for viewers. Here are some basics for streamers to consider:
- Frames: Highlight your webcam feed with a stylish frame. This gives viewers a clear view of you while adding flair.
- Chat Box: Display the chat so viewers can follow the conversation in real-time, especially if they’re watching on a mobile device.
- Alerts: Let your audience see when you gain new followers, subscribers, or donations. Alerts make the stream interactive and exciting.
- Labels: Add information like your social media handles, recent followers, or donation goals. Labels keep viewers informed and engaged.
4. Customizing with Colors and Themes
Choose colors and themes that reflect your branding or personality. Keep these tips in mind:
- Consistency: If you’re using specific colors or branding across social media, apply them here too.
- Readability: Make sure your text and labels are easy to read. High-contrast colors work best.
- Balance: Avoid overwhelming the screen with too many elements. Let your game or video feed stay in focus.
Experiment with a few variations to see what looks best. Colors like purple, green, and blue often work well on stream but feel free to get creative!
5. Exporting and Adding to Your Streaming Software
Once your overlay design is ready, it’s time to export and integrate it with your streaming software. Export your design as a PNG file for best quality and transparency. Here’s how to add it to your software:
- OBS Studio:
- Open OBS and go to Sources.
- Select Image Source and upload your PNG overlay file.
- Adjust its size and position on the screen.
- Streamlabs OBS:
- Open Streamlabs and go to Editor.
- Add a new Image Layer and upload your overlay.
- Arrange it according to your layout preferences.
Final Touches and Going Live
Take a few minutes to test your overlay. Make sure all elements look good and nothing overlaps with crucial game areas or your face cam. Once you’re satisfied, you’re ready to go live with a professional-looking stream that represents your style!
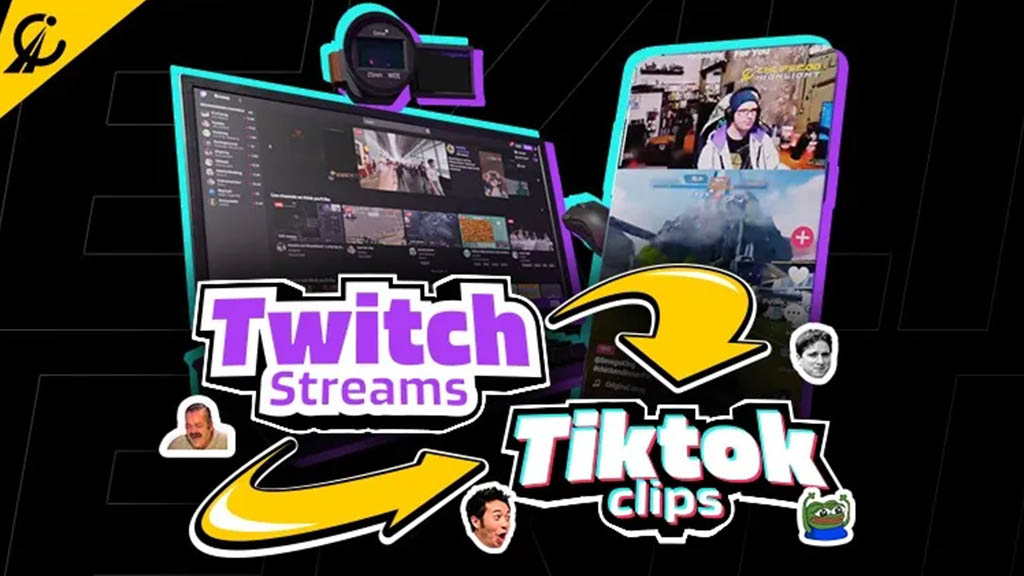
With tools like Eklipse Gaming Highlights to capture your best moments, you can create incredible content from each stream. Check out Eklipse for more information on turning your highlights into shareable moments.
Happy streaming, and may your new overlay take your broadcast to the next level!