Using TikTok gives you the ability to create and enhance videos that will impress your followers. TikTok offers a variety of options for producing engaging content.
A notable feature of TikTok is the ability to edit your videos while recording them, allowing you to review them before sharing.
This guide is for those who want to learn how to save TikTok videos without posting. We will explain different methods for achieving this, so keep reading to discover the best techniques for you!
Using Save to Device Feature
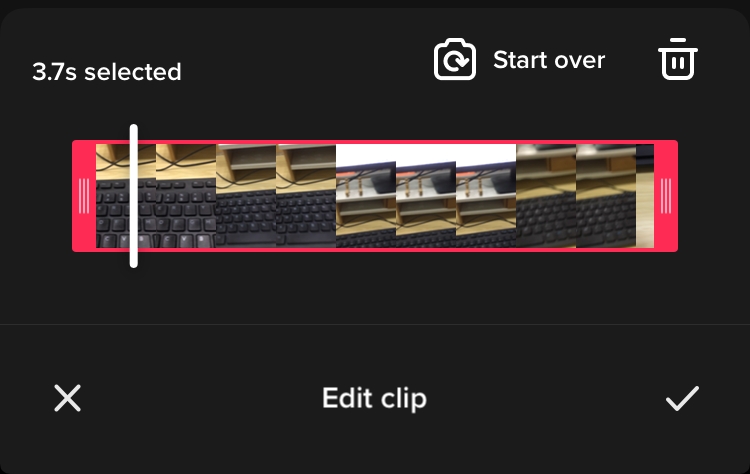
In TikTok, you can save your video as a draft if you are not done editing. After saving it as a draft, that video will be saved on your profile but not saved on your phone gallery.
But how to save the TikTok draft video to your phone without posting it publicly?
Here is the step-by-step you need to follow:
- Open TikTok app
- Tap your profile icon in the bottom-right corner of the screen.
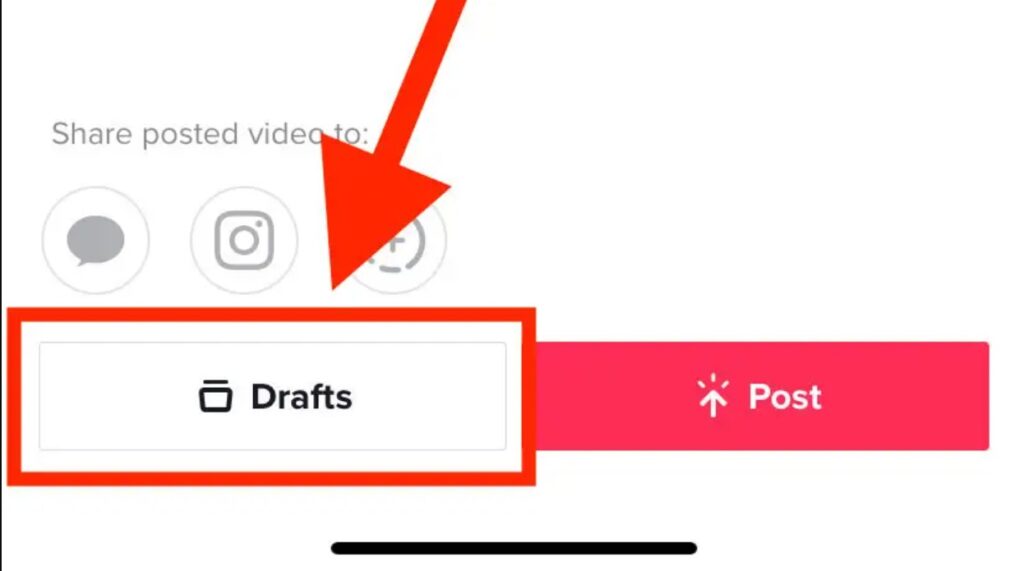
- Tap on Drafts.
- Select a video.
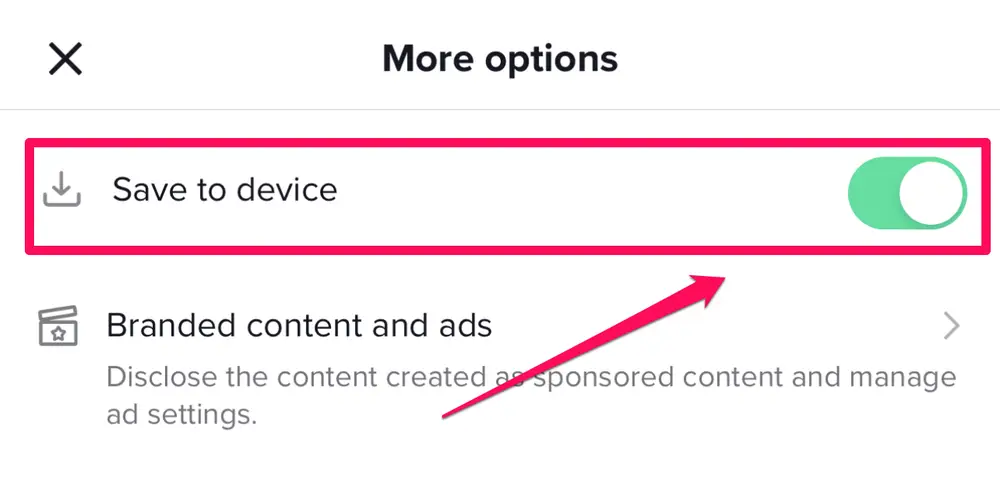
- Go to More options menu
- Toggle Save to device option, then tap (X) on the left-top corner
- Tap Drafts and done.
How to Save Video as Drafts in TikTok?
Saving a TikTok video as drafts is actually even easier. All you need to do is just by tapping Drafts when you are halfway done editing your video.
The detailed instructions are as follows
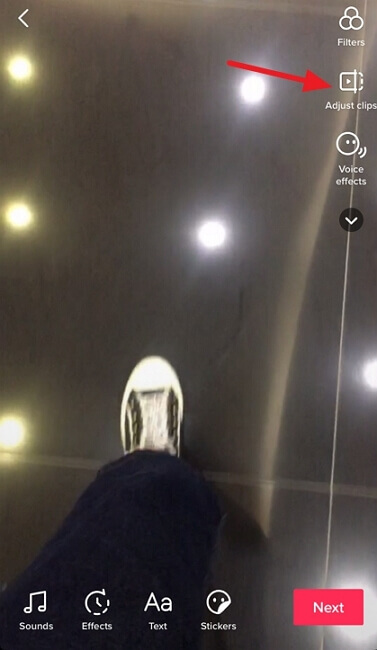
- Open TikTok app
- Tap the (+) icon to create new video
- You can record a video by tapping the big red button,
- or tap the Upload icon to add video from your phone storage
- Tap the red checklist after you’ve done recording
- Tap Next, then select Drafts
More on Eklipse Blog >> How to Stream to TikTok from OBS: a Complete Guide
How to Download TikTok Videos Without Posting
You can’t download a TikTok video without posting it. When you are done editing content on the TikTok app, you’ll have to post the video so you download it to your phone storage.
But, there’s an alternative. If you don’t want the internet to see your video content, you can simply set the privacy to Only me.
Here are the detailed instructions to do that:
- Open TikTok app
- Tap your profile icon the bottom-right corner of the screen.
- Tap on Drafts, select a video
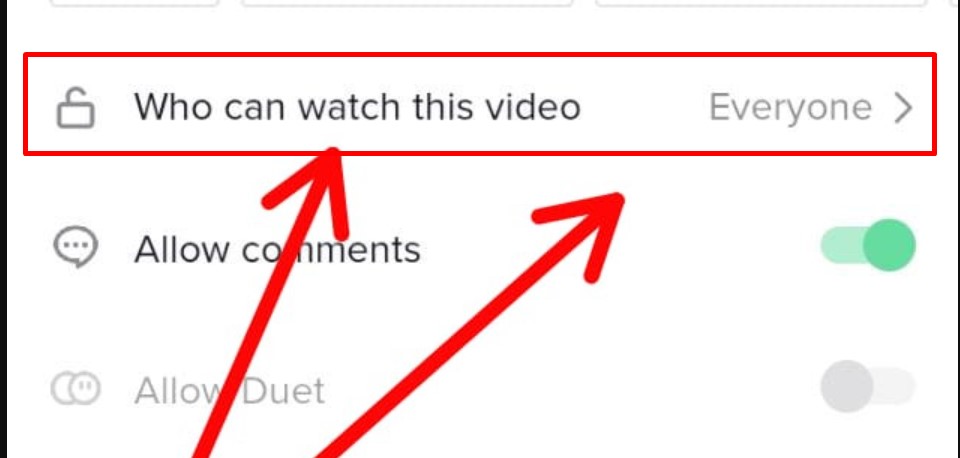
- Tap on Who can watch this video, set to Only me
- Select More options, toggle Save to device on.
- Tap Post, and the video will be saved to your phone gallery.
Though the instruction is to post, but people won’t see your content since you set the privacy to be Only me.
To check the list of your private videos, you can go to your profile, then tap on the lock icon.
More on Eklipse Blog >> How to Transfer Clips From Twitch to TikTok Using Eklipse
Conclusions
That’s all you need to know about how to save TikTok without posting. So now you can easily save your video then repurpose it for Reels or Shorts after you’re done editing it on TikTok!
Maximize your Black Ops 6 rewards—Create highlights from your best gameplay with with Eklipse
Eklipse help streamer improve their social media presence with AI highlights that clip your Twitch / Kick streams automatically & converts them to TikTok / Reels / Shorts
")