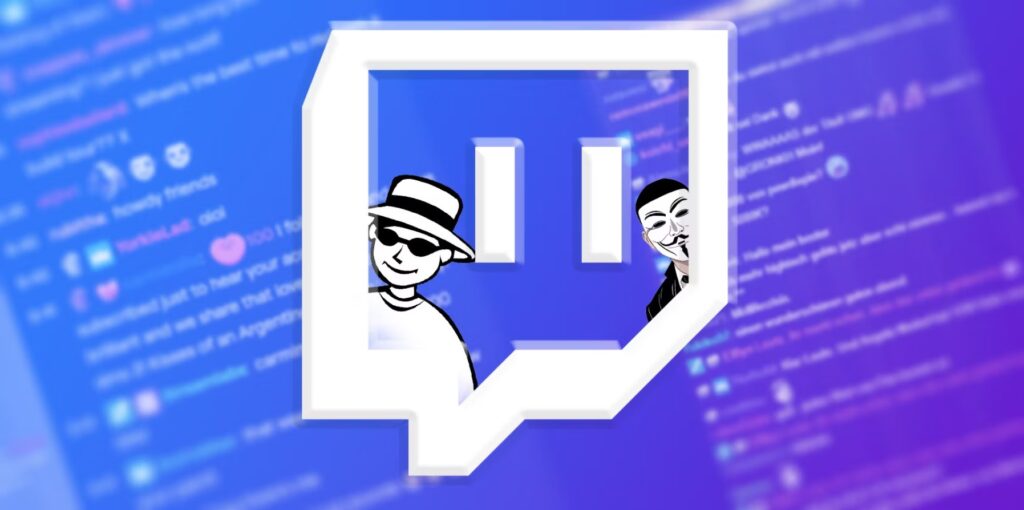
Co-streaming on Twitch allows multiple broadcasters to stream the same event or gameplay to their individual channels simultaneously. But unlike the regular streaming process, co-streaming requires more steps to do. If you are unsure how to co stream on twitch, you can learn it through this post.
To co-stream on Twitch, you will need to stream with compatible software, such as OBS Studio or XSplit Broadcaster. Therefore, this article will let you know how to set up co-stream on Twitch using that software. Let’s dive right into the tutorial.
Get To Know About Co-Streaming on Twitch

Well, many people get confused between co-streaming and squad streaming on Twitch since they have the same multiple broadcasting concept. However, they are actually different. While Squad streaming is designed specifically for teams or groups of broadcasters to stream together, co-streaming can be used by any number of broadcasters.
Additionally, co-streaming is only permitted for certain events and live programming that have been licensed by Twitch, such as the NBA G league. If you are planning to co-stream on Twitch, it is important to make sure that your content falls within these guidelines to avoid any issues. Other than that, don’t forget to add a special tag to let people know that you’re co-streaming as well.
Preparing for a Co-Stream
Co-streaming on Twitch can be an excellent way to expand your audience and collaborate with other creators. However, it requires some preparation to ensure a smooth and successful broadcast. Here are some steps to take when preparing for a co-stream:
Choosing a co-streaming partner and planning the content:
Before starting a co-stream, it’s important to choose a partner who shares similar interests and content style. This will ensure a cohesive viewing experience for both audiences. Additionally, both streamers should plan the content ahead of time to ensure that the broadcast is engaging and entertaining.
Ensuring both streamers have the necessary equipment and software:
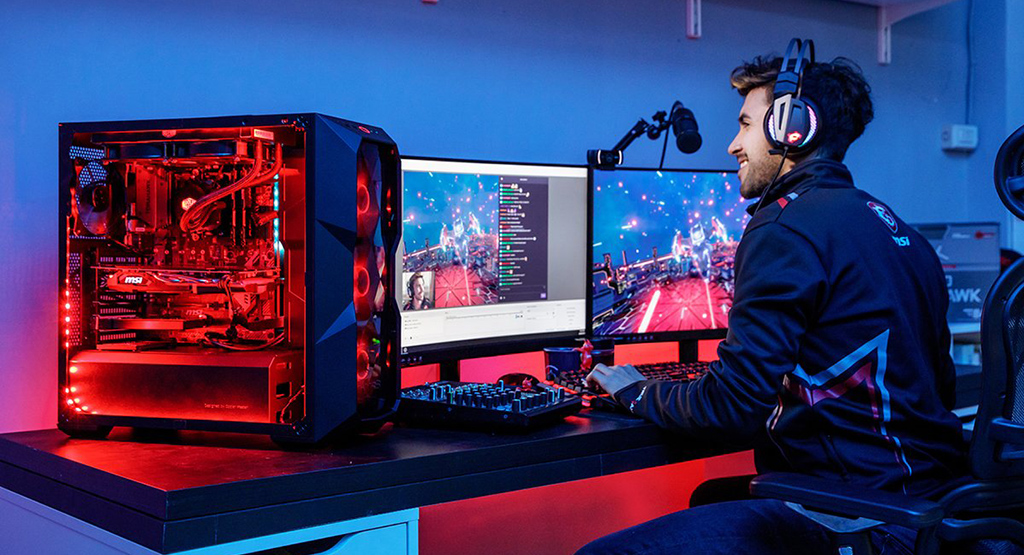
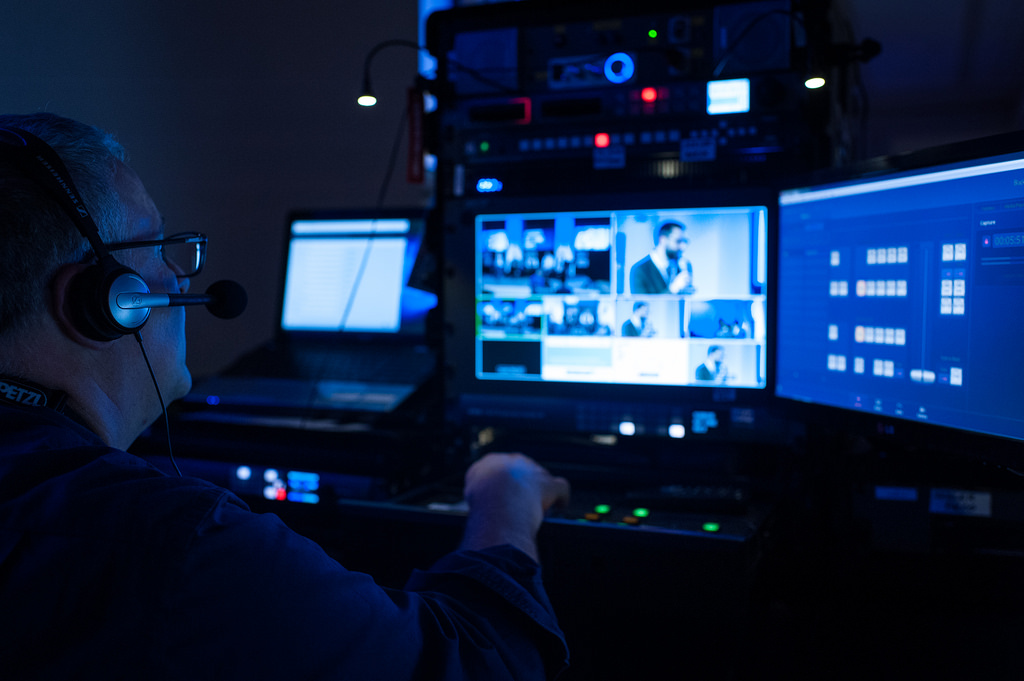
Co-streaming requires that both streamers have the necessary equipment and software. This includes a stable internet connection, a computer capable of running streaming software, and the appropriate streaming software. Make sure to test your equipment beforehand to avoid any technical issues during the broadcast.
Testing the setup before going live:
Before going live, it’s crucial to test the setup to ensure everything is working correctly. This includes checking the audio and video quality, testing the stream delay, and making sure the stream is synced between both channels. It’s also a good idea to do a quick run-through of the planned content to ensure that the co-stream runs smoothly.
How to Co-Stream on Twitch
Co-streaming on Twitch is a great way to collaborate with other streamers, engage your audience, and grow your community. To start a co-stream on Twitch, you’ll first need to choose a co-streaming partner and plan the content you want to stream together.
Next, you’ll need to make sure that both streamers have the necessary equipment and software. This includes a computer with a reliable internet connection, a microphone, and a camera (if desired).
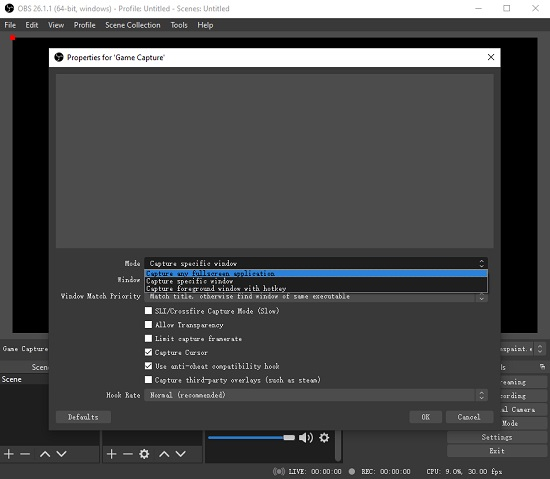
How to Co-Stream on Twitch Using OBS Studio
OBS is one of the most popular streaming software among Twitch streamers due to its versatility and ease of use. Now, we will learn how to co-stream through this software.
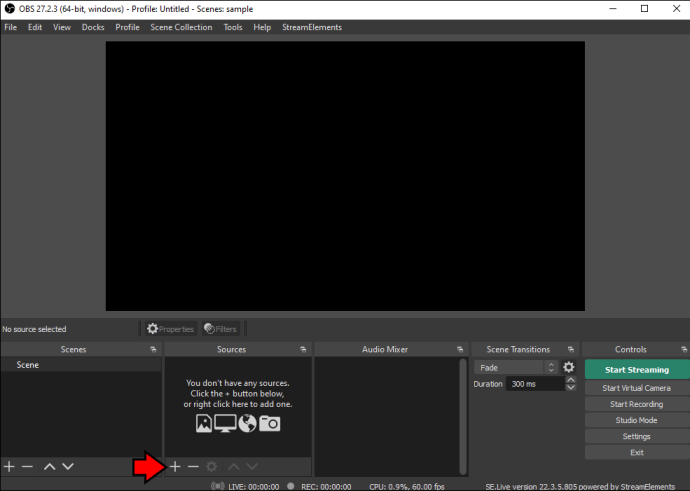
- To begin with, make sure that you have downloaded and installed OBS.
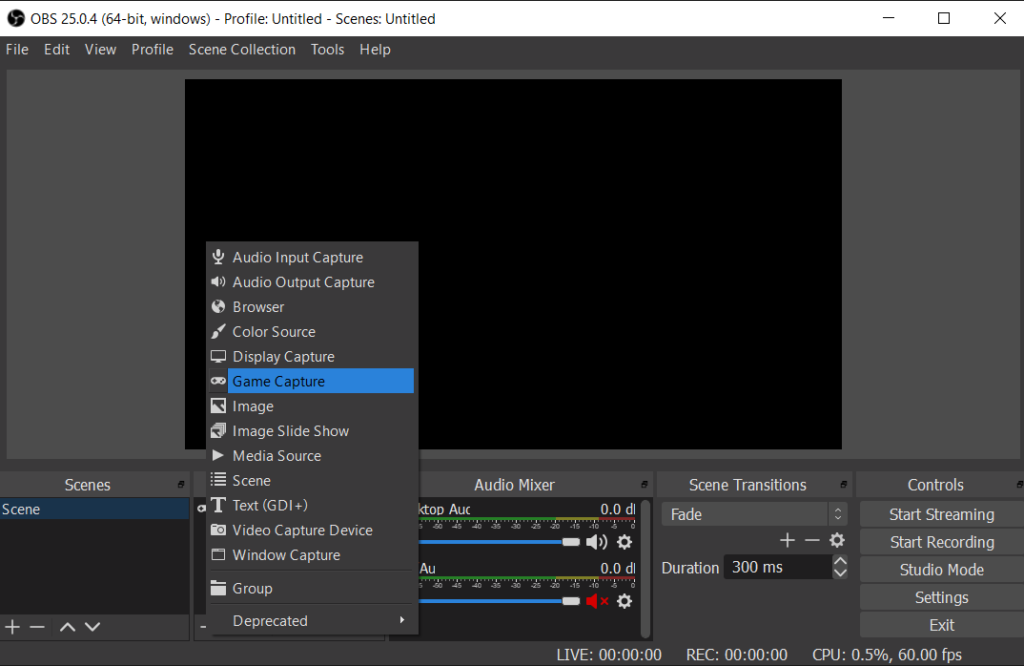
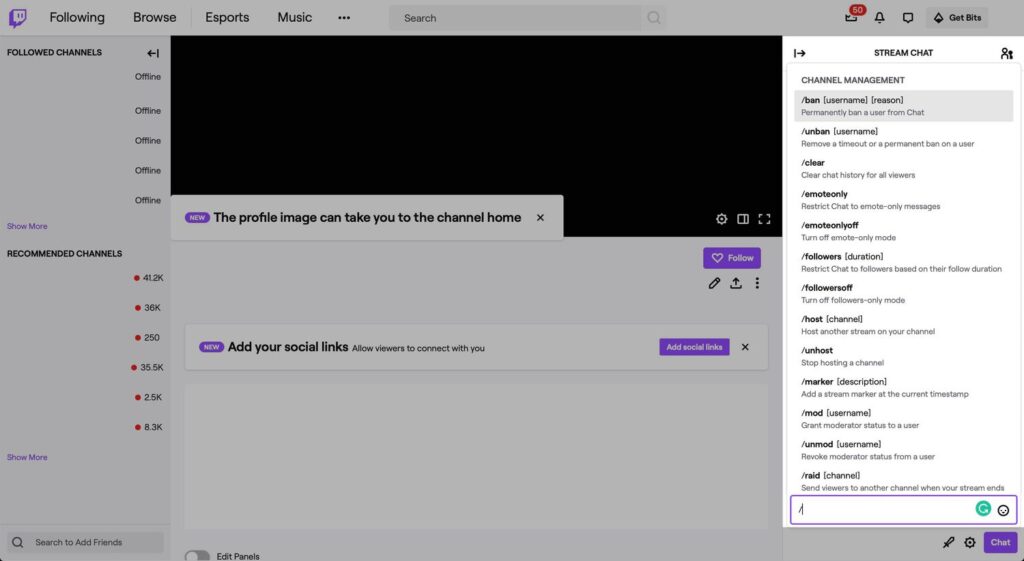
- Open the app and navigate to the plus ‘+’ icon under the Sources panel.
- Then, click the Browser option.
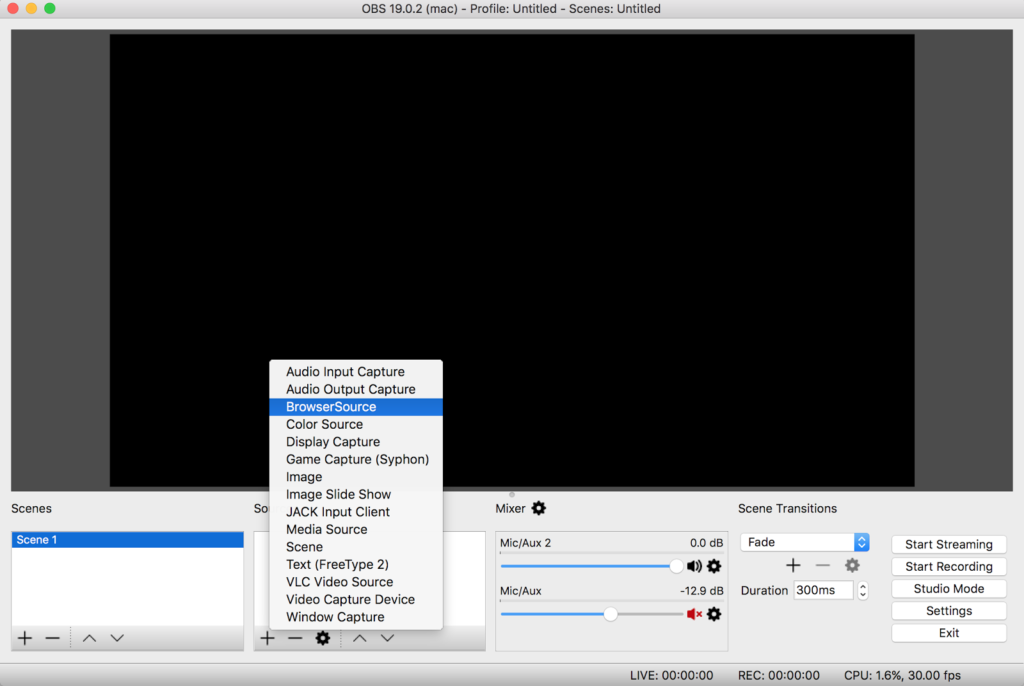
- Click the Create New button and write a name for your stream.
- Afterward, tick the Make source visible checkbox.
- Hit the OK button.

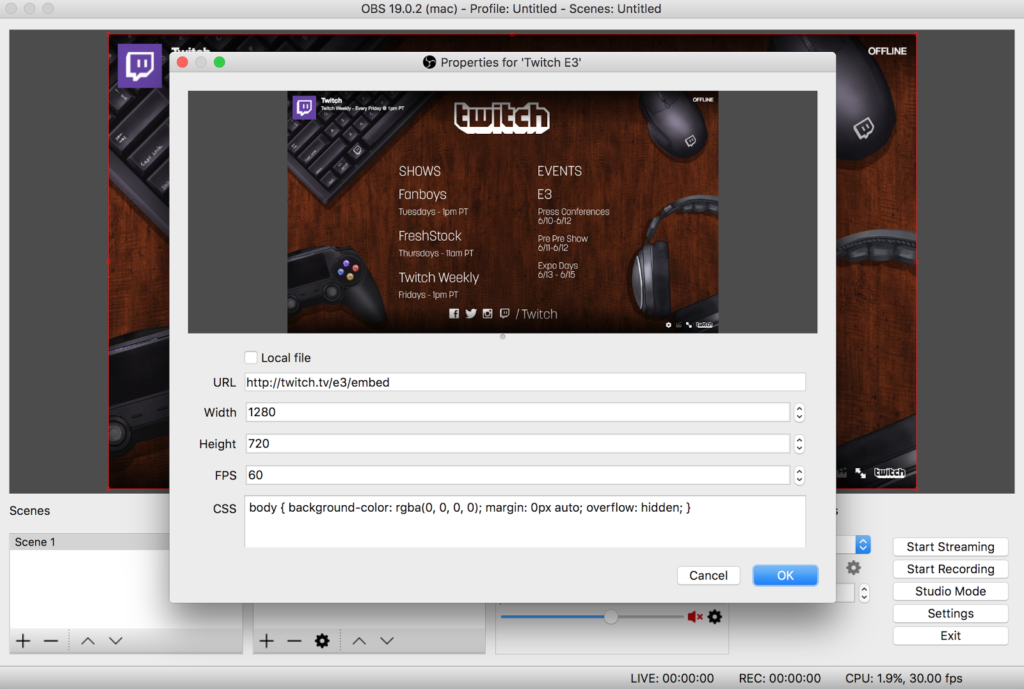
- Next up, insert the Twitch stream’s URL into the URL bar.
- Configure the width and the height of the video (if it’s necessary).
- Hit OK.
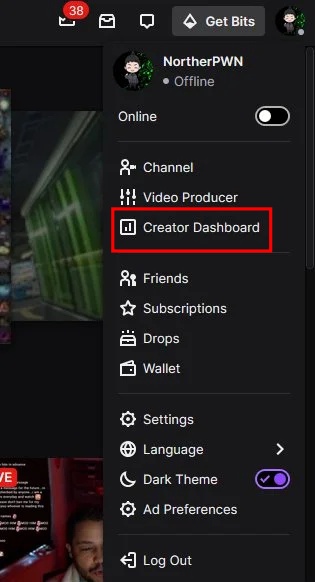
- Now, go to the Twitch website and sign in to your account.
- Hop on to the profile icon > Creator Dashboard.
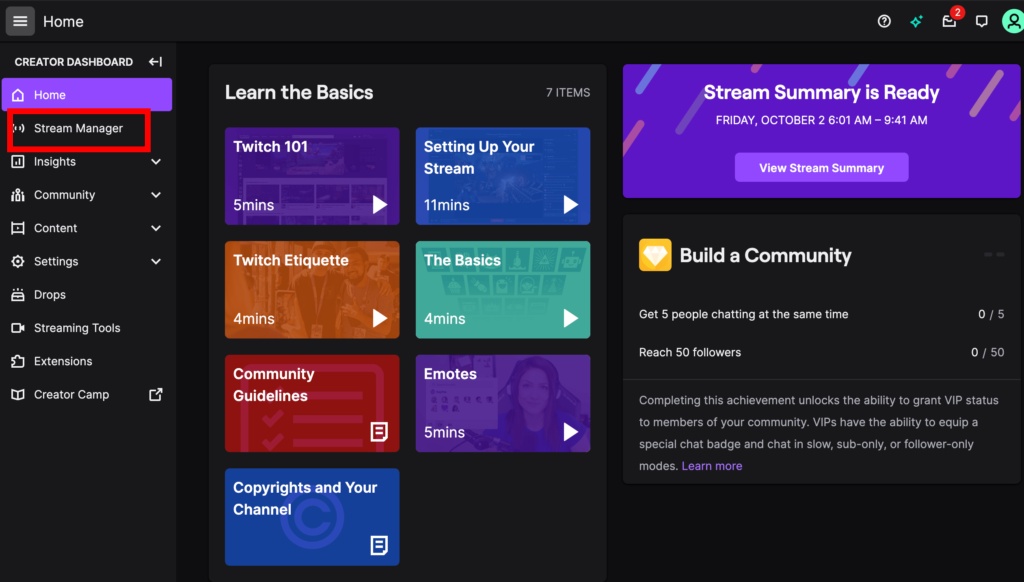
- Select the Stream Manager option on the left panel.
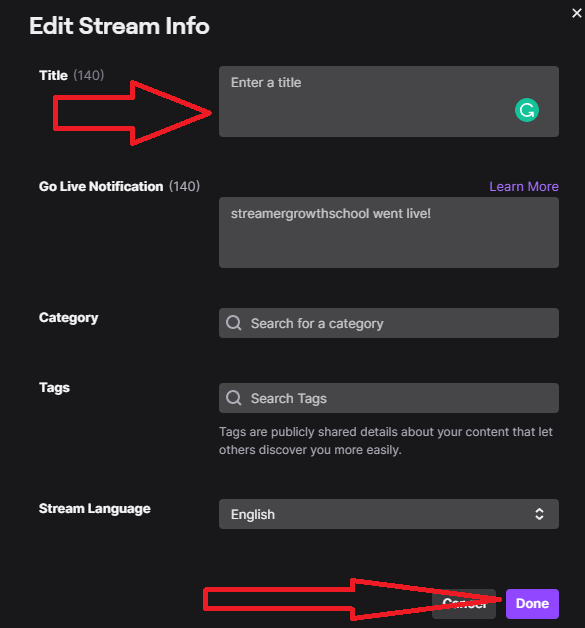
- Then hover over to the Edit Stream Info under the Quick Action panel.
- Write a title, go-live notification, category, and co-stream as a tag > Done.
- Once you finished setting the OBS and Twitch, you can start broadcasting by hitting the Start Streaming button on OBS.
- Voila! Now you’re able to co-stream on Twitch.
How to Co-Stream on Twitch With X-Split Broadcaster
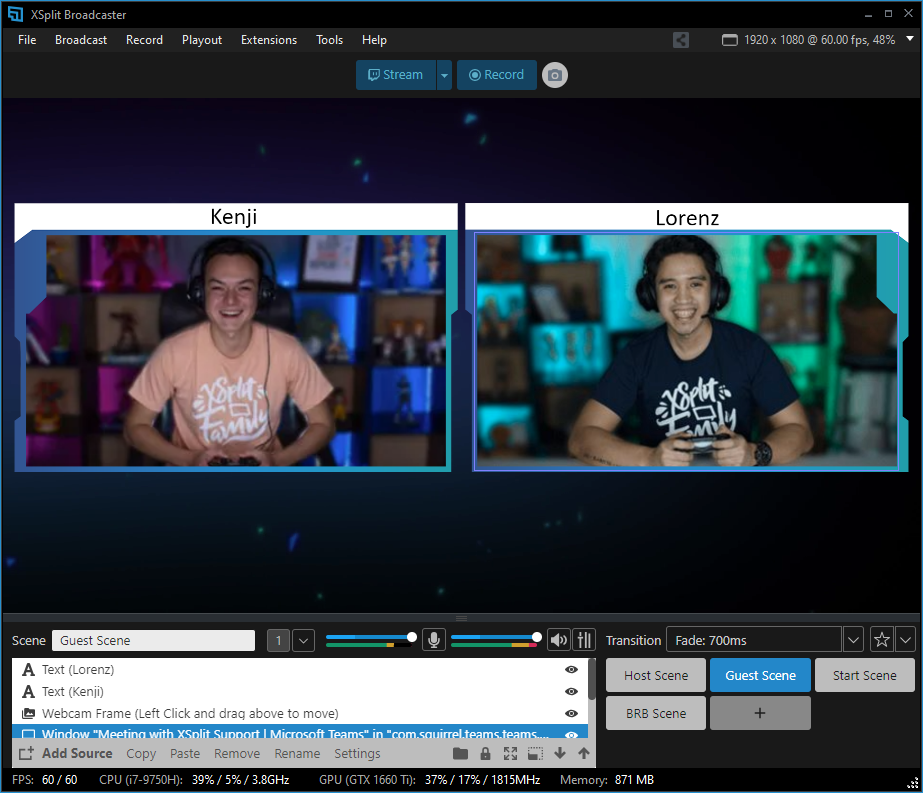
In addition to OBS Studio, Twitch enables you to co-streaming using X-Split Broadcaster. It applies shorter steps than using OBS. Here’s how to use it.
- Starting off by installing X-Split Broadcaster on your device.
- Launch the app and hit the Add Source button.
- After that, select Webpage from the popup menu.
- Insert the broadcast’s URL > OK.
- Now put the Co-Stream tag from the dashboard.
- Then, if you are ready to go live, hit the Stream button from the home screen.
It’s worth noting that before using this software to co-stream, make sure that your Twitch account is already connected to the latest version of X-Split. Co-streaming on Twitch will only work on the X-Split 3.0.1 version or higher.
How to Twitch Co-Streaming On Xbox
Are you a gamer looking to co-stream on Xbox, but not sure how to get started? Unfortunately, Microsoft’s Mixer and Twitch do not currently offer co-streaming support on Xbox. However, there is still a way to share your gameplay with your followers and collaborate with other streamers.
By single-streaming your content on Xbox and encouraging your followers to use a multi-streaming platform, you can still participate in co-streaming with any collaborators you may be partnering with on a stream. So don’t let the lack of native co-streaming support hold you back – there are still ways to share your gaming experiences with your audience and stream with others.
How to Co-Stream on Twitch Using PS4
Currently, PlayStation doesn’t offer an in-built way to co-stream, but that doesn’t mean you can’t share your gameplay with your followers and collaborate with other streamers. By using a camera to cast your gameplay to your computer and then using OBS to co-stream it, you can still participate in co-streaming on Twitch.
It’s not the most straightforward method, but it can be worth the extra effort if you want to share your gaming experiences with your audience and stream with others. Here’s hoping that Sony and/or Twitch will add native co-streaming support in the future, making it even easier for PlayStation users to share their gameplay and stream with their communities.
Frequently Asked Questions About Co-Stream On Twitch
How can two people stream on Twitch together?
Two people can stream on Twitch together through co-streaming, which allows both streamers to share the same broadcast, chat, and viewership.
How does Twitch co stream work?
Twitch co-stream works by allowing two or more streamers to combine their streams into a single broadcast, which can be viewed by both of their audiences.
Can I watch 2 streams on Twitch?
Yes, viewers can watch 2 streams on Twitch by using the “Squad Stream” feature, which allows up to four streams to be viewed simultaneously on one screen.
Can you stream other streamers on Twitch?
Yes, you can stream other streamers on Twitch by co-streaming their content or using the “Watch Party” feature to watch and stream content together. However, permission may be required from the original streamer or copyright holder.
Conclusion
Now that you know how to co-stream on Twitch, you can start doing it right away. Co-streaming can be a valuable tool for streamers looking to grow their audience, improve their streams, and build a sense of community within their channel.
Another quick note, you are not allowed to save any co-streamed past broadcast since it’s categorized as Twitch-licensed content. That’s too bad. But we can do nothing, though.
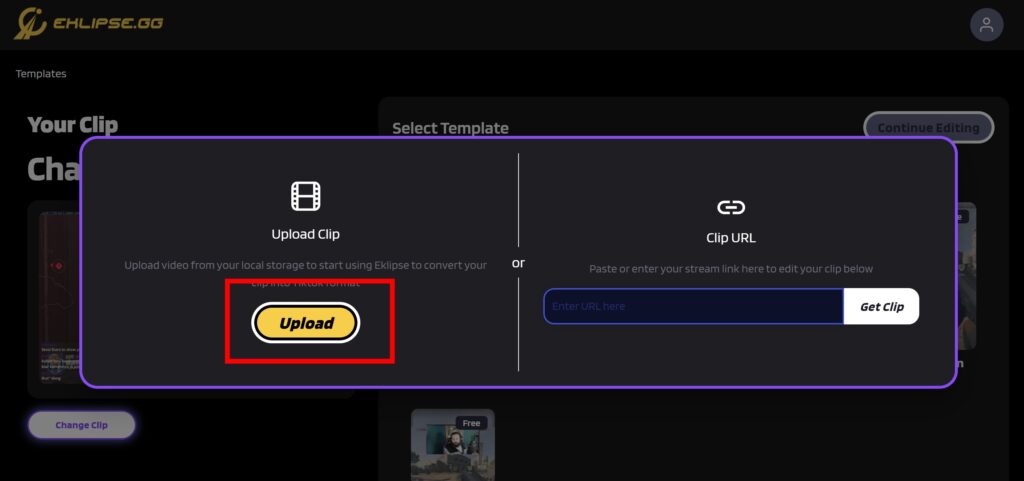
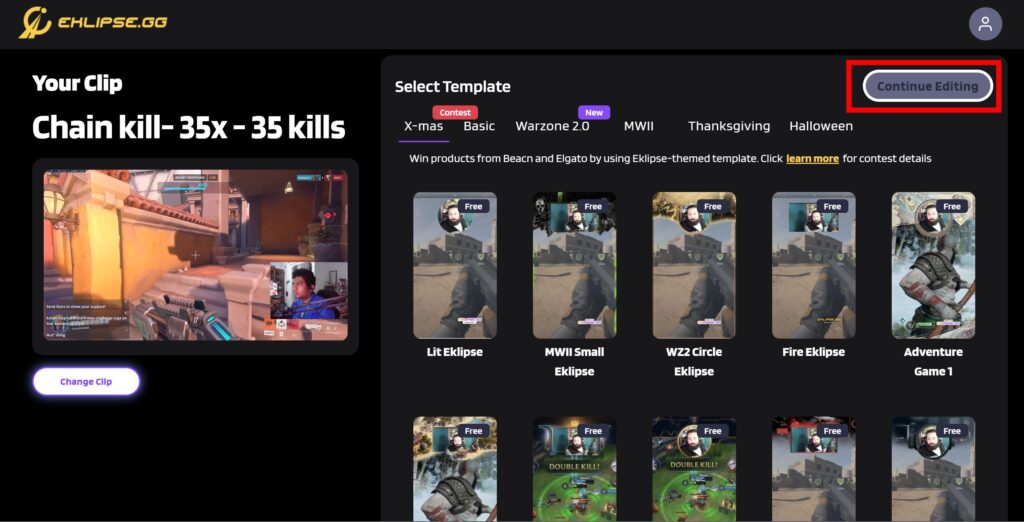
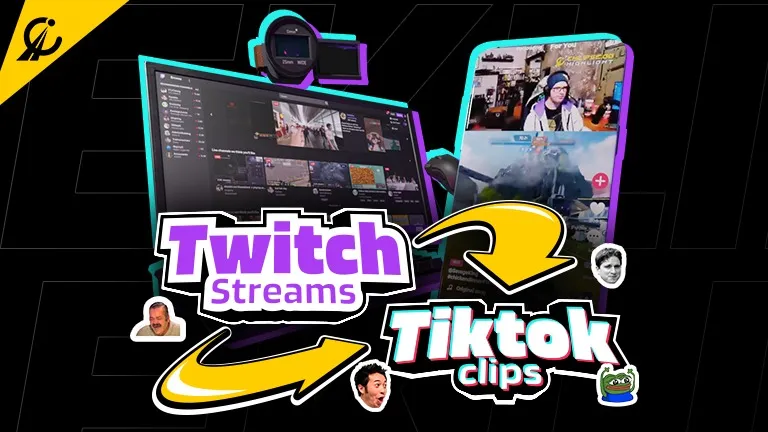
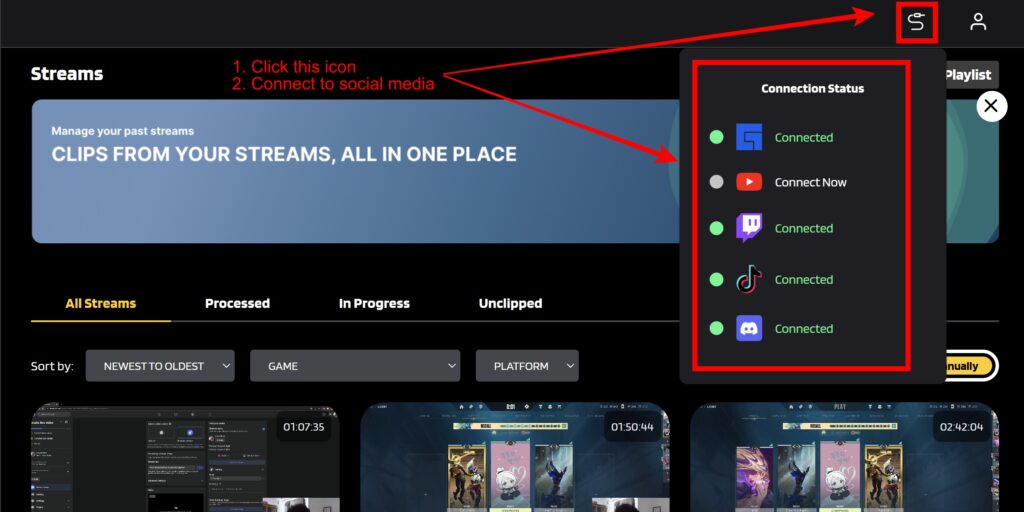
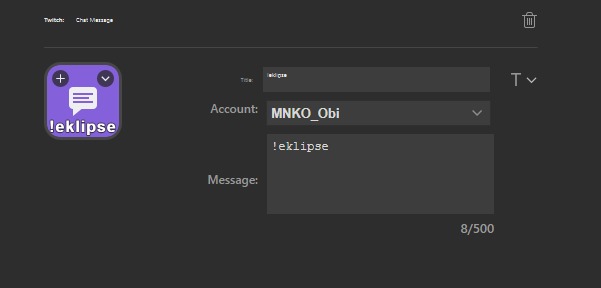
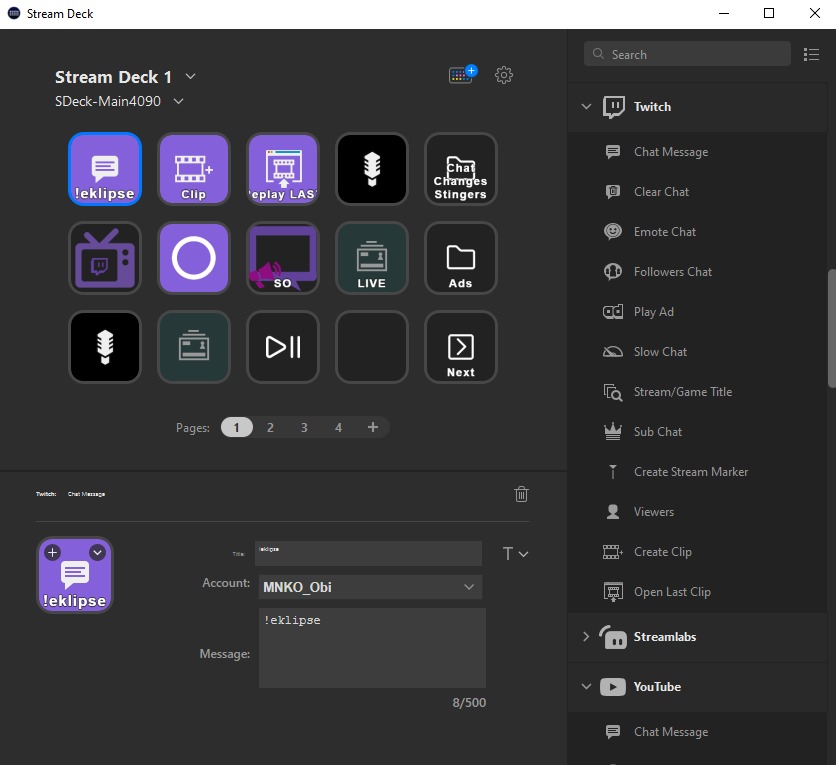
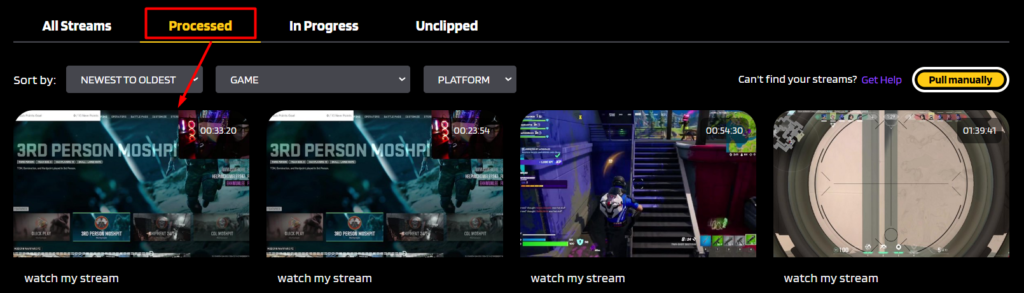
Anyway, if sometimes you go live on Twitch in a regular way and want to create clips from your stream, try Eklipse. This AI-powered software makes it a breeze to capture epic moments from your Twitch streams with just a few clicks. Say goodbye to the tedious task of manually creating clips and let Eklipse do the work for you.