Nightbot is a valuable and entertaining chatbot to add to your Twitch streams. With a plethora of standard commands and the ability to create customized ones, it’s one of the best tools to enhance your channel.
This post will cover some of the most common Nightbot commands, how to make your commands, and some tips and tricks to get the best out of this fantastic tool.
If you’re familiar with Discord bots, bots for streaming platforms like Twitch work similarly.
Except, while Discord bots are created and used to moderate members and simplify tasks in your community, Twitch bots do it for your live streams. Chat moderation and keeping up with your audience’s requests while streaming and playing can be challenging.
Nightbot’s job is to make chat management easy for you so you can enjoy gaming. All you have to do is invite Nightbot to your live stream channel on Twitch and type in command names whenever necessary.
However, Nightbot has a wide array of commands available for the broadcaster themselves, mods, and users. You can also create custom commands for whatever task you want Nightbot to do.
Nightbot User Commands
If you’re viewing somebody else’s stream as a regular user, there are default commands you can use in the chat to access various features. Just type in the command name in the chat, and see the magic happen.
!commands – Lets viewers see a list of commands they can use.
!game – Lets users know the game being displayed on the stream.
!marker – ‘Bookmarks’ a particular timestamp of the stream so you can rewatch it later with ease.
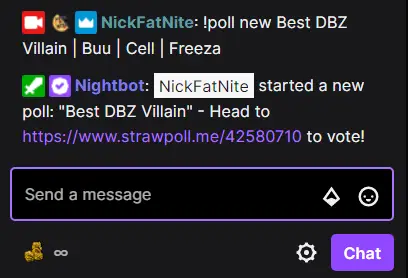
!poll – Allows users see the results of the most recent poll.
!songs – Allows users to make song requests. To request a song, type in !song Youtube or SoundCloud Link / Search Term. The channel owner/mods need to enable this feature first before viewers can use it.
!title – Allows users to see the title of the current Twitch stream.
Nightbot Mod Commands
No one has it harder than stream mods. Besides keeping an eye on the chat, they’ll need to be ready for anything. Title changes, posting polls, adding tags, they’ll do it all, and Nightbot commands will help take some of that weight off their shoulders.
!title – Will post the title of the stream in the chat. Can also be used to change the title
!title New Title – Will change the stream title to whatever you type in for New Title
!marker – Creates a marker in the stream. Makes it easier to go back and clip later
!filters – Gives mods control of the Nightbot spam filters menu.
!songs – Gives you full access to AutoDJ song que. Some additional controls below
!songs current – Displays the current song playing in the chat
!songs list – Gives the link to the full song list for
Creating Custom Commands
One of the best things about Nightbot is the ability to create your own commands.
Whether you want to create a simple command to answer a frequently asked question or something more complex, the possibilities are endless. Here’s a step-by-step guide on how to create your own custom Nightbot commands:
Go to the Nightbot website and log in to your account.
Click on the “Commands” tab.
Click the “New Command” button.
Enter a name for your command.
Add the command response. This can be anything from a simple text response to a more complex custom API request.
Set the userlevel for the command. This determines who can use the command.
Save your new command.
With custom commands, you can make your stream more interactive and engaging for your viewers. Try creating a command that shows your latest follower or a command that plays a sound effect when someone subscribes to your channel.
Conclusion
In conclusion, Nightbot is a powerful tool that can help you manage your Twitch chat and engage with your audience.
Whether you’re a viewer, a moderator, or a streamer, there are plenty of useful commands available that can make your life easier. And with the ability to create your own custom commands, the possibilities are endless.
So why not give Nightbot a try and see how it can enhance your streaming experience?
Maximize your Black Ops 6 rewards—Create highlights from your best gameplay with with Eklipse
Eklipse help streamer improve their social media presence with AI highlights that clip your Twitch / Kick streams automatically & converts them to TikTok / Reels / Shorts
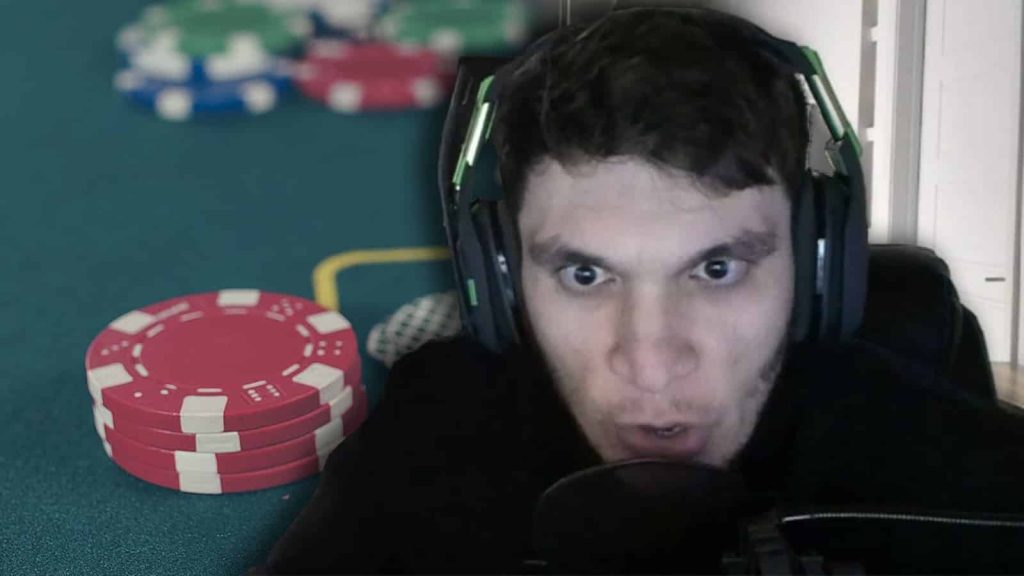
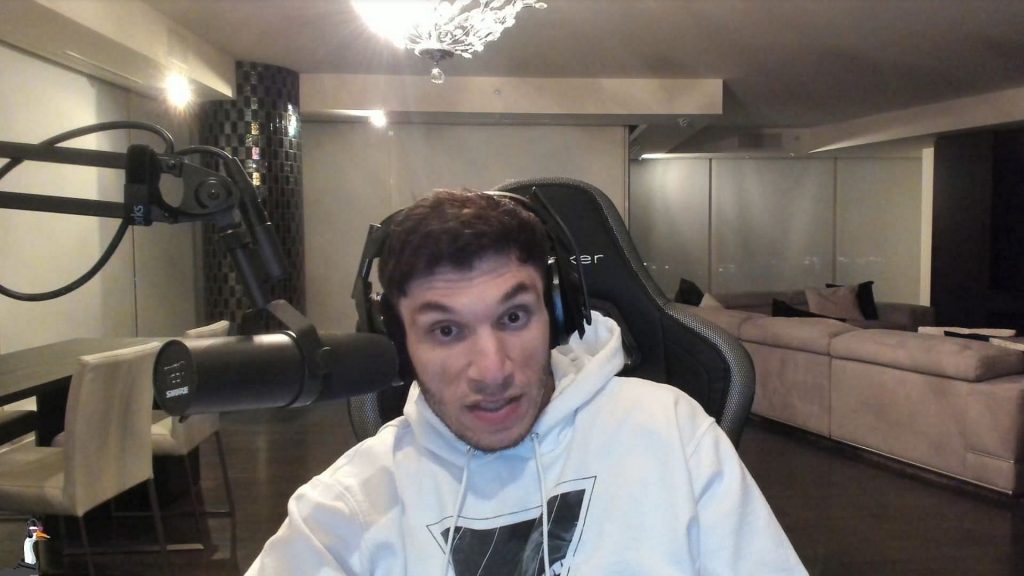
TrainwrecksTV is a popular Twitch streamer with over 1.8 million followers, known for his ‘Just Chatting’ and Slots streams. With a reputation for giving away free money, people are curious about TrainwrecksTV’s actual net worth.
In this article, we will delve into the life, career, and controversies surrounding TrainwrecksTV to uncover his estimated net worth.
Tyler Faraz Niknam, also known as TrainwrecksTV, is an American streamer with Iranian heritage, born on December 20th, 1990.
Growing up in Scottsdale, Arizona, as an only child, he graduated from Arizona State University with a Bachelor of Arts in Analytic Philosophy and a Bachelor of Science in Biochemistry.
TrainwrecksTV started streaming on Twitch in 2015, where he mostly does ‘Just Chatting’ and outdoor IRL streams with other popular Twitch streamers like xQc, NICKMERCS, and Asmongold.
In August 2018, he started his Scuffed Podcast, a place for many Twitch streamers to collaborate with Tyler.
Controversies
Although TrainwrecksTV is proud of his philanthropic work, he is not proud of his Casino streaming on Twitch, which has generated controversy on the internet.
Gambling websites have been reaching out to him for sponsorships and promo ads, but he claims to gamble with his own money and raises awareness about the consequences of gambling.
TrainwrecksTV has also faced criticism for his aggressive character on-stream. He was temporarily banned for making sexist and misogynistic comments against female streamers on Twitch.
TrainwrecksTV Net Worth
TrainwrecksTV’s net worth ranges from $10 million to $15 million.
He earns through various modes, including livestreaming, gaming, sponsorships, brand deals, exclusive contracts, and tips and donations.
His exclusive contract with Twitch restricts him from streaming on other platforms.
With more than 20,000 active paid subscribers, he makes around $77,000 monthly or $840,000 annually.
In addition, his income from ads accumulates up to $6,400 a month, and donations from StreamLabs Prime and Twitch Cheering tips would average $4,000.
TrainwrecksTV’s YouTube channel, which he joined in 2015, has more than 204K subscribers and over 27,645,184 total views.
He earns mainly through ads viewed by people streaming his videos online, making a revenue of $4,000-$6,000 per month.
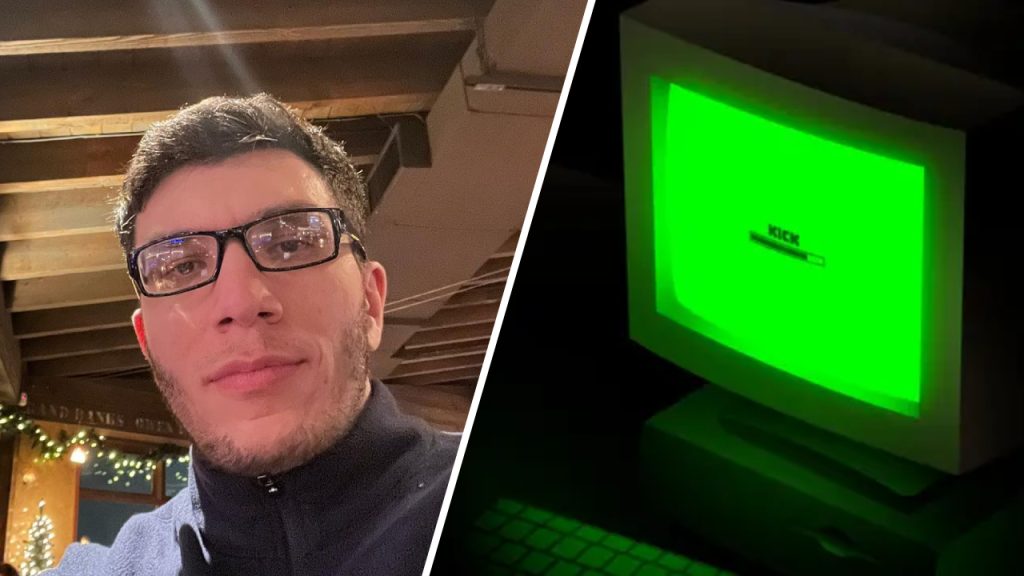
Moving to Kick
In 2022, Niknam announced he would take on an advisory role with Kick, a new streaming website with a 95-5 split of subscriber revenue going toward creators.
His Twitter posts on the subject have generated millions of views, creating widespread discussion among content creators regarding the future of live streaming.
Niknam has become one of the most popular Kick streamers in the first quarter of 2023, with 138,000 followers. He primarily streams Slots & Casino, Just Chatting, and Counter-Strike.
Conclusion
TrainwrecksTV’s net worth is estimated to be between $10 million and $15 million.
He has built his fortune through various modes, including livestreaming, gaming, sponsorships, brand deals, exclusive contracts, and tips and donations.
Despite controversies and bans, he remains one of the most popular Twitch streamers, and his recent involvement with Kick has generated excitement among content creators.
Maximize your Black Ops 6 rewards—Create highlights from your best gameplay with with Eklipse
Eklipse help streamer improve their social media presence with AI highlights that clip your Twitch / Kick streams automatically & converts them to TikTok / Reels / Shorts
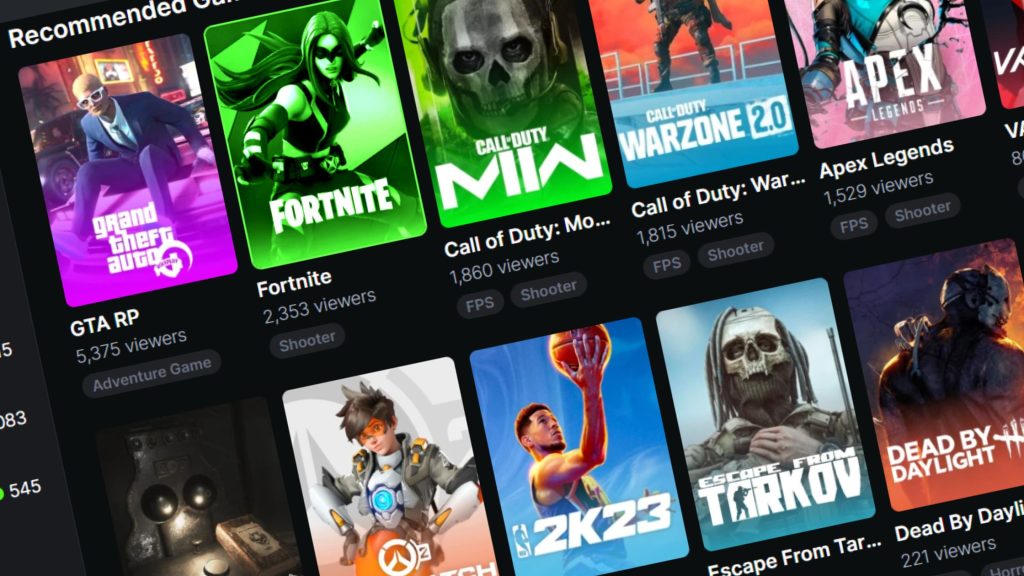
According to Stream Charts, the most popular categories on Kick in Q1 2023 were Slots & Casino and Just Chatting. This isn’t surprising given Kick’s more relaxed rules on gambling-related content.
The Most Popular Game on Kick
The most popular game on Kick statistics in Q1 2023 was Grand Theft Auto V, with most streams coming from RP servers. This trend is in line with the rising popularity of role-playing games in the streaming world.
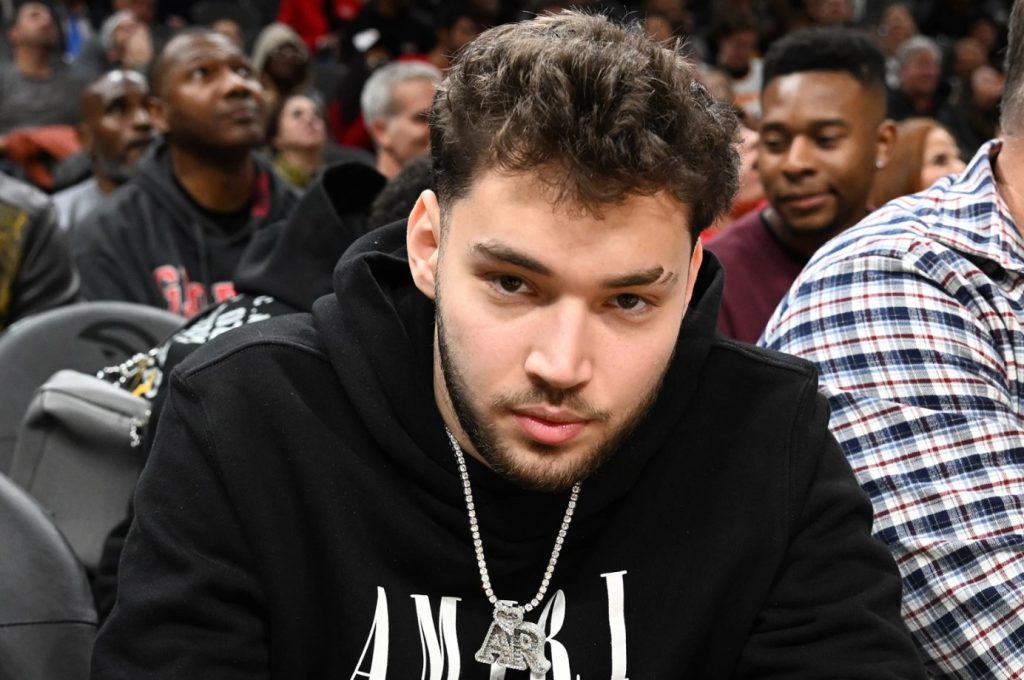
The Top Viewed Channels on Kick
Adin Ross was the most viewed channel on Kick statistics 2023, followed by Roshtein and Trainwreck. Interestingly, no game-focused streamers were in the top 10 most viewed Kick channels. This suggests that Kick’s lenient rules on gambling content may be more attractive to non-game streamers.
Record-Breaking Broadcasts on Kick
Most streamers set their records during broadcasts in the Just Chatting and Slots & Casino categories. This further confirms the popularity of gambling-related content on the platform.
Kick Statistics 2023: Peak Viewership
Adin Ross also held the top spot for peak viewership, with 125.1K viewers watching one of his broadcasts simultaneously. This is a remarkable achievement, considering that Adin Ross has only been on the platform for a few months.
Kick’s Controversial Rules on Gambling and Virtual Casinos
Kick has made a name for itself by allowing streamers to showcase gambling and virtual casinos on their channels – something that Twitch strictly prohibits. This has had a massive impact on Kick’s popularity, especially with streamers who have been banned or suspended from Twitch for similar content.
Should I Stream on Kick in 2023?
As we’ve seen from the Kick statistics 2023, this platform is definitely gaining popularity in the streaming world.
But does that mean you should consider streaming on Kick in 2023?
The answer ultimately depends on your goals and content. If your content revolves around gambling or virtual casinos, then Kick’s more relaxed rules may make it an attractive platform for you.
However, if you’re a game-focused streamer, you may find that Kick’s audience is more geared towards non-game content. It’s also worth noting that Kick is a newer platform that’s still evolving.
While it’s gained popularity quickly, there may be changes or updates to the platform’s rules or features that could impact your content and audience engagement strategies.
With the platform’s rising popularity and more relaxed rules on gambling-related content, it’s definitely worth considering as part of your overall streaming strategy.
Final Thoughts
As Kick continues to grow in popularity, it’s important for streamers to keep an eye on the trends and statistics that are emerging.
While Kick’s more lenient rules on gambling-related content may be a draw for some, it’s important to remember that the platform is still in its infancy and there are sure to be changes and updates in the future.
Regardless, Kick is definitely a platform worth considering for streamers looking to expand their reach and explore new content possibilities.
Are you a streamer looking to grow your audience on Facebook Gaming?
Facebook Gaming has been steadily gaining ground and has built a loyal audience of its own.
In fact, according to a report by Statista, Facebook Gaming accumulated 382 million hours of live streams watched in the third quarter of 2022, showing that there is a significant audience on the platform.
So, if you’re wondering whether Facebook Gaming is a viable option for your streaming career?
Read on to learn more about Facebook Gaming statistics 2023, including the key statistics and demographics, and whether it’s the right choice for you.
As of March 2023, the most popular game watched on Facebook Gaming was PUBG Mobile, with approximately 21.48 million hours of content watched, according to a report by Statista. This means that if you’re a PUBG Mobile streamer, you’re likely to find a receptive audience on Facebook Gaming.
Total Hours of Live Streams Watched
Facebook Gaming has been steadily gaining ground in the streaming market.
In the third quarter of 2022, it accumulated 382 million hours of live streams watched, which is no small feat. However, Twitch still dominates the market, with 5.64 billion hours watched, accounting for 76.7% of the market.
YouTube Gaming trails behind with 1.13 billion hours watched, which amounts to 15.4% of the market.
Facebook Gaming Market Share
Although Twitch remains the undisputed leader in the streaming industry, Facebook Gaming has managed to carve out a niche for itself, accounting for 7.9% of the market share.
This means that there is a significant audience on Facebook Gaming that is eager to watch and engage with streamers.
Demographics
According to Statista, as of January 2023, men between the ages of 25 and 34 years made up Facebook’s largest audience, accounting for 17.6% of global users.
However, there is no specific demographic data available for Facebook Gaming, so it’s difficult to know exactly who your audience will be.
Should I Stream on Facebook Gaming in 2023?
If you’re a streamer looking to expand your reach and find new audiences, then Facebook Gaming could be a viable option for you.
While it may not have the same market share as Twitch, it has been steadily growing and has a loyal user base that is eager to engage with content creators.
However, it’s important to keep in mind that the streaming industry is constantly evolving, and what works for one streamer may not work for another.
Ultimately, the decision to stream on Facebook Gaming (or any other platform) will depend on your individual goals and priorities.
Consider factors such as the type of content you create, the size and demographics of your audience, and your overall growth strategy.
Conclusion
Facebook Gaming, from the statistics-wise in 2023, is a growing player in the streaming industry, with a loyal audience and unique features that set it apart from other platforms.
While Twitch remains the dominant force in the market, Facebook Gaming presents a promising opportunity for streamers looking to expand their reach and engage with new audiences.
As always, it’s important to stay informed of the latest trends and to create engaging and high-quality content that resonates with your audience. Good luck and happy streaming!
Maximize your Black Ops 6 rewards—Create highlights from your best gameplay with with Eklipse
Eklipse help streamer improve their social media presence with AI highlights that clip your Twitch / Kick streams automatically & converts them to TikTok / Reels / Shorts
TikTok, the popular social media platform, has taken the world by storm with its short-form video content and easy-to-use interface.
Since its launch in 2016, the platform has seen an exponential increase in its user base, revenue, and popularity. As we look ahead to 2023, the latest statistics indicate that TikTok is poised for even more growth and expansion.
In this article, we’ll take a closer look at the surprising growth and demographics of TikTok, including its user base, revenue, and the live streaming feature that has become a hit with users.
TikTok has experienced remarkable growth since its inception, and the latest statistics from Social Insider suggest that it will continue to do so.
As of 2023 statistics, TikTok has over 1.53 billion users, with 1.05 billion of them being active on a monthly basis. Additionally, TikTok has been downloaded by over 3 billion people, and it is used by 30.25% of the world’s internet users. By 2023, TikTok is expected to have up to 840 million users worldwide.
Revenue
Source: CanalTech
As TikTok’s user base grows, so does its revenue.
TikTok experienced a significant increase in revenue, generating an estimated $4.6 billion in 2021, which is 142% higher than the previous year.
In Q4 2021, the platform reached 1.2 billion monthly active users, and analysts predict it will hit 1.8 billion by the end of 2022.
Its global reach and dominance are underscored by the fact that in China alone, over 600 million users access TikTok daily.
Demographics
TikTok’s user demographics are equally interesting.
According to Omnicore Agency, roughly 5% of TikTok’s global audience are women between 18 and 24 years old, and around 17% of the platform’s audience are men between 18 and 24 years old. In total, 54% of TikTok users are female, while 46% are male.
The smallest group on TikTok is 55+ year-olds, with only 1.7% of the user base belonging to this age bracket.
TikTok LIVE
Live streaming is also a popular feature on TikTok. A study found that 1 in 5 live streaming users watch TikTok LIVE, and of that group, 62% watch it every day.
Furthermore, TikTok users are 50% more interested in branded LIVE content than non-TikTok users. These findings suggest that TikTok’s live streaming feature has great potential for brands and content creators.
Should I Start Streaming on TikTok in 2023?
Source: Search Engine Journal
TikTok’s impressive user base and revenue growth make it an attractive platform for streamers looking to expand their reach.
With over 1.05 billion monthly active users and 1 in 5 live streaming users watching TikTok LIVE, there is a significant potential audience for streamers to tap into. Additionally, the platform’s diverse demographic breakdown, including a high percentage of users aged 18-24, provides an opportunity for streamers to tailor their content to specific audiences.
However, it is essential to note that the competition on TikTok is fierce, and building a following can be challenging.
The algorithm prioritizes popular and engaging content, so creating high-quality, attention-grabbing content is essential for success.
Additionally, you also can’t straightly live stream on TikTok since you need to have at least 1000 followers first. Furthermore, streamers may need to adapt their content to fit TikTok’s short-form video format, which can be a significant departure from traditional streaming content.
Ultimately, whether or not to start streaming on TikTok in 2023 depends on individual streamer’s goals and willingness to adapt to a new platform.
In conclusion, TikTok’s popularity is on an upward trajectory, with its user base, revenue, and features all experiencing significant growth.
The platform’s demographics indicate that it appeals mostly to younger audiences, but its broad reach means that it has something to offer for everyone. The future of TikTok looks bright, and it will be interesting to see how the platform evolves in the years to come.
Maximize your Black Ops 6 rewards—Create highlights from your best gameplay with with Eklipse
Eklipse help streamer improve their social media presence with AI highlights that clip your Twitch / Kick streams automatically & converts them to TikTok / Reels / Shorts
Source: Eklipse Blog - Can Educational Videos Be Monetized on YouTube?
The world of social media is constantly evolving, and in 2023, YouTube has solidified its place as one of the most popular and influential platforms. With its massive user base and diverse range of content, YouTube has become an essential tool for content creators.
In this article, we’ll take a closer look at YouTube statistics in 2023, including the number of active users, demographics, revenue, and more.
In 2023, YouTube is the second most used social media platform globally, with 2.6 billion global active users.
This number is not surprising given that 52% of internet users worldwide access YouTube at least once a month. Each user spends an average of 23.7 hours per month on the platform, and over 500 hours of video are uploaded to YouTube every minute.
Looking at YouTube viewer demographics, we can see that male users are more prominent than female users, accounting for 54.4% of the YouTube viewing population, while female users account for only 45.6% of visitors.
Furthermore, North America, with only 8% of the total population share, accounts for 27% of YouTube’s total views. India has the most YouTube users in 2023, with about 467 million.
YouTube Revenue in 2023
According to reports, YouTube generated $28.8 billion in revenue in 2021, representing a 46% increase year-on-year. This revenue is primarily generated through advertising and YouTube Premium subscriptions, which have 80 million users worldwide.
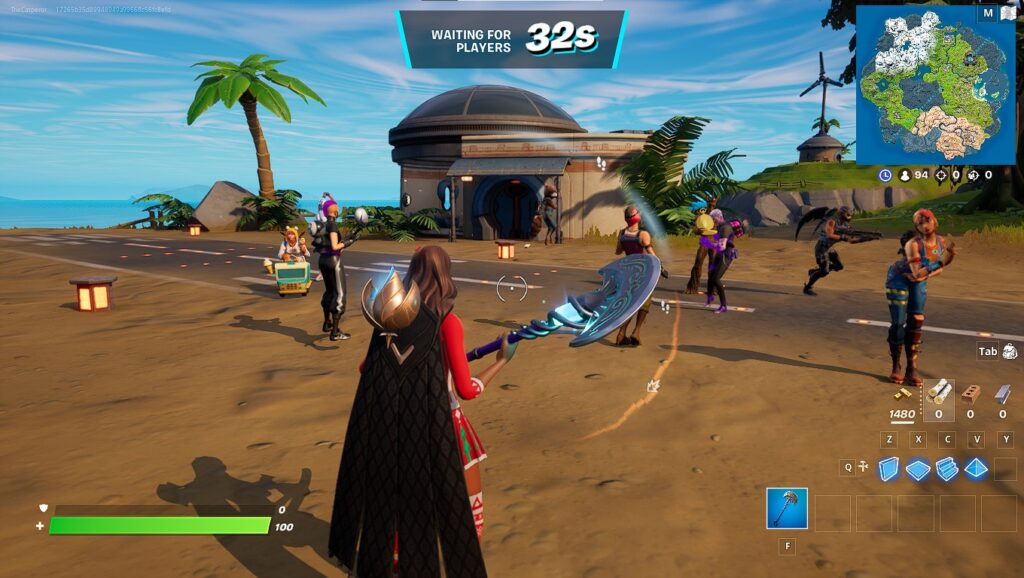
The Most-Streamed Game on YouTube Live in 2019
In June 2019, Fortnite was the most-streamed game on YouTube Live, with 217.5 million watching hours. This statistic shows the potential of gaming content on the platform and the immense popularity of live streaming.
Regarding how much YouTube users watch a live stream, according to a source, around 30% of users view and watch at least one Live stream on YouTube a week.
Should You Start Streaming on YouTube in 2023?
With YouTube’s growing popularity and the increasing demand for live streaming, many content creators or live streamers may be wondering if they should start streaming on the platform.
While there is no one-size-fits-all answer to this question, there are a few things to consider.
First, YouTube’s massive user base offers a significant advantage, providing a vast potential audience for your content.
Additionally, YouTube’s monetization features can provide content creators with an additional source of income.
However, competition on the platform is fierce, with many content creators vying for the same audience.
Therefore, creating unique and engaging content that sets you apart from the crowd is essential. Moreover, consistent streaming and interaction with your audience are crucial to building a loyal following.
In conclusion, YouTube’s statistics in 2023 demonstrate the platform’s continued growth and popularity.
With over 2.6 billion active users, YouTube offers a massive potential audience for businesses and content creators. While competition on the platform is fierce, creating unique and engaging content and interacting with your audience can help you build a loyal following.
As YouTube continues to evolve, it will undoubtedly remain a significant player in the world of social media for years to come.
Posting Twitch clips to Shorts is one of the best ways to enhance your discoverability and enlarge the viewer community. This platform has gained more popularity since it’s first launched several years ago. Additionally, you can use it as a place to share and introduce your streaming video through the clips.
Yes, through a clip. As the name suggests, YouTube Shorts shows shorter videos than regular YouTube. The video must be less than 60 seconds and in a vertical orientation. It’s so much like TikTok or Reel. So if you want to transfer your Twitch clip into YouTube Shorts, make sure the clip has met the requirement.
In today’s article, we’re going to guide you on how to clip twitch stream into Shorts. It may take several steps, but we promise, it won’t be difficult. Without further ado, let’s dive right into the tutorial.
The first thing before sharing your clip video to YouTube shorts, of course, you need to have the clip. Whether from the live streaming or from the saved ones, you have to make some clips ready for posting.
If you want to know how to clip a Twitch stream, you can either use the Twitch clip feature or other Twitch converters. But if you are looking for the best Twitch converter, try Eklipse. Eklipse is basically an AI-generated tool that will help you turn your stream videos into amazing clips in seconds. You can even convert your stream video into TikTok, Reel, or Shorts clip in a snap!
All you need to do is connecting your Twitch account with Eklipse account, and let the AI load your streaming videos. Then, you can simply pick the video you would like to clip and the AI will do its magic. Go to our blog for more tutorial about Eklipse!
On top of that, Eklipse enables you to upload your video directly to Shorts without downloading and posting it manually. As long as your clip has met the Shorts criteria, YouTube will automatically detect it as a Short clip. Want to give it a shot? Just visit eklipse.gg or hit the following button and play around with our features!
Posting The Twitch Clips to Shorts
Since you have the clips, meaning that you’re now ready to post them on YouTube Shorts. It’s quite easy to do it. However, if you haven’t know how just follow our directions below.
First, open YouTube mobile app and log in to your account
Second, tap the ‘+’ sign in the middle of the bottom toolbar
Source: Business Insider
Then, choose to Create a Short
Source: Business Insider
Tap on the gallery icon at the left bottom of the screen
Select the saved clips on your gallery
Adjust the length of your video > tap Add > tap the checkmark icon
After that, you can add sounds, text, filters, or anything
Tap Next
Then, write a caption, set the visibility, and select the audience
Finally, hit Upload Short
Source: Business Insider
It’s worth noting that if you use Eklipse as your clip maker, you won’t need these steps to post your Twitch clips to Shorts since Eklipse will bring you directly to the YouTube app. So, if you feel like saving your time, try Eklipse!
Best Practices for Clipping Twitch Streams to YouTube Shorts
When it comes to clipping Twitch streams to YouTube Shorts, there are some best practices you should keep in mind to ensure that your content is engaging, high-quality, and optimized for social media. Here are some tips to help you get the most out of your Twitch stream clips:
1. Use High-Quality Video and Audio Equipment
The quality of your video and audio can make a big difference in the success of your Shorts. To ensure that your content looks and sounds professional, use high-quality video and audio equipment, such as a good microphone, camera, and lighting setup.
2. Interact with Your Audience
YouTube Shorts is a great platform for building a community and engaging with your audience. To make the most of your content, try to interact with your audience by asking questions, responding to comments, and creating content that encourages discussion and feedback.
3. Promote Your Shorts on Other Social Media Platforms
To increase the reach of your content and build your brand, promote your Shorts on other social media platforms, such as Instagram, Twitter, and TikTok. This can help you reach a wider audience and attract new followers to your channel.
4. Choose the Best Moments to Clip
To create engaging and shareable Shorts, it’s important to choose the best moments from your Twitch streams to clip. Focus on exciting or informative content, highlight your personality or brand, and use editing tools to create visually appealing and engaging Shorts.
5. Use Editing Tools to Create Engaging and Shareable Shorts
To make your Shorts stand out, use editing tools to add text, graphics, and other visual elements to your content. This can help you create more engaging and shareable Shorts that are optimized for social media platforms.
Conclusion
There you have it. Now you have your Twitch clips to Shorts. Isn’t it easy to do? Now is your turn to do it yourself and post the greatest Shorts you can make. Good luck!
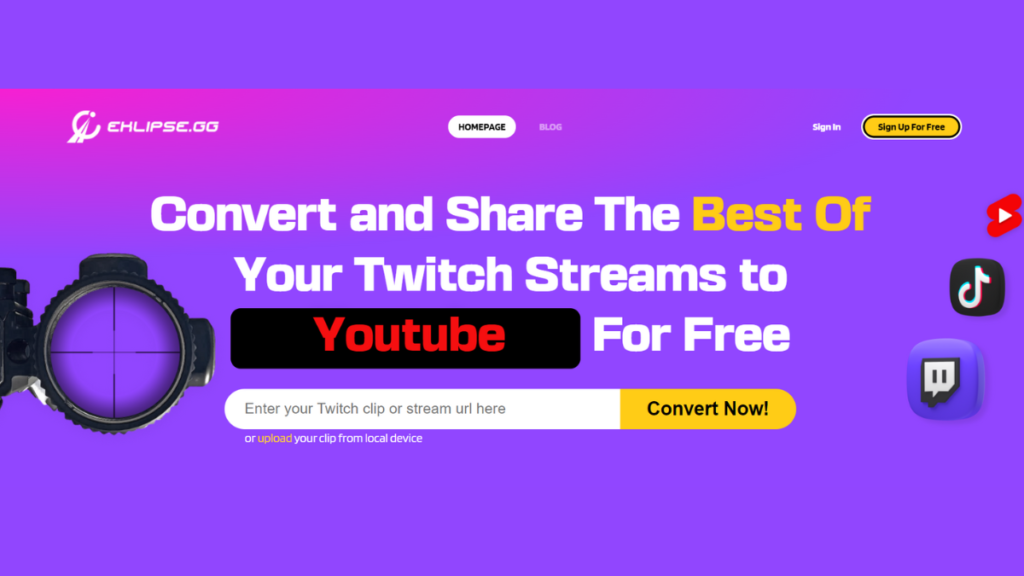
Wondering how to cut and download YouTube videos? Trimming YouTube videos is very easy, even better, without installing additional video editors on your devices. All you need is to visit the Eklipse.gg site!
Eklipse is the best YouTube video cutter online for all streamers and content creators. Unlike regular apps, Eklipse uses AI to minimize your effort, time, and energy in producing content to boost your channels’ growth.
This best online video trimmer is also available for free! In this article, you will learn how to use Eklipse as a YouTube cutter easily. Let’s just begin the tutorial.
How to Cut and Download YouTube Videos with Eklipse?
Source: Eklipse.gg
Using Eklipse as your YouTube trimmer is simple. Before we begin, ensure you have a YouTube account with any live-streaming video and an Eklipse account. Afterward, follow these steps:
Why Use Eklipse To Cut And Download YouTube Videos?
Source: Eklipse.gg
Eklipse is not only seamless and flexible but also offers various benefits for all streamers. Here are some unique features of Eklipse.gg YouTube video cutter app:
User-Friendly Interface: With its straightforward design, users can navigate this cut video online tool to create high-quality content quickly.
Fast and Reliable Performance: Its powerful algorithms ensure smooth and efficient operation, even with large or complex video files.
Support for Various Formats and Resolutions: Eklipse.gg’s software supports various audio tracks, subtitles, video formats, and resolutions, including HD and 4K videos.
That’s how to cut and download YouTube videos instantly with Eklipse. The AI system of this cut YouTube video online app is a great help for beginners and pro users to make various captivating short videos. Sign up at Eklipse.gg now to enjoy its exclusive benefits for free!
Twitch is one of the most popular live streaming platforms in the world.
With millions of users watching and streaming content, it has become a significant source of entertainment and income for many people worldwide. However, have you ever wondered how many streamers are active on Twitch?
In this article, we will explore the different Twitch statistics to answer this question.
According to Statista, Twitch statistics had approximately 7.03 million active streamers in December 2022.
This number represents the total number of people who streamed at least once in the past month. This statistic highlights the popularity of the platform and the vast number of individuals who are using Twitch to broadcast their content.
Total Number of Channels Streaming
Source: Digital TV Europe
TwitchTracker reports that there are over 7.4 million channels streaming on Twitch each month.
This number includes both active and inactive channels, indicating that there are a large number of channels that exist but are not necessarily active.
The high number of channels demonstrates the platform’s versatility, as it provides opportunities for individuals to create content in a wide range of niches and genres.
Active Streamers with Significant Following
StreamScheme reports that there are 127,000 active streamers on Twitch, and only 6,350 channels are averaging above 5 viewers.
This statistic indicates that despite the high number of active streamers, only a small fraction of them have a significant following and can generate substantial revenue.
These statistics highlight the importance of building an engaged community and the challenge of standing out in a crowded field.
Total Number of Twitch Users
BankMyCell reports that Twitch had 31.40 million users in 2021 and is expected to reach 35.60 million users in 2024.
This increase in users implies that the number of active streamers is also likely to increase. The rise in users highlights the potential growth of the platform and the opportunity for more individuals to enter the Twitch ecosystem.
Demographics of Twitch Users
According to a source, Twitch statistics show that in 2021, approximately 41% of adult users in the United States were aged 20 to 29. Furthermore, 67% of users in the country were male.
In 2022, Twitch was dominated by users aged 25 to 34, followed by users between 16 and 24. There are more male users of Twitch, as they account for 79.79% of the entire user base, while females account for 20.21%.
Should You Start Streaming on Twitch in 2023?
The answer to this can be pretty much relative to your expectations towards streaming overall.
But to sum it up, Twitch is an ideal place to live stream your gaming content, especially with the robust support of extensions and third-party apps.
However, if you are looking to make a name for yourself in your community, we cannot say that Twitch is an ideal place.
This is because Twitch is known to have “low discoverability,” which can make it difficult for new streamers to stand out in the already-saturated platform.
Conclusion
In conclusion, Twitch has a massive number of active streamers and channels, indicating the platform’s popularity among content creators.
However, the majority of channels do not have a substantial following and generate minimal revenue. While the total number of active streamers is impressive, it is crucial to understand that only a small percentage of them can make a career out of streaming on Twitch.
Maximize your Black Ops 6 rewards—Create highlights from your best gameplay with with Eklipse
Eklipse help streamer improve their social media presence with AI highlights that clip your Twitch / Kick streams automatically & converts them to TikTok / Reels / Shorts
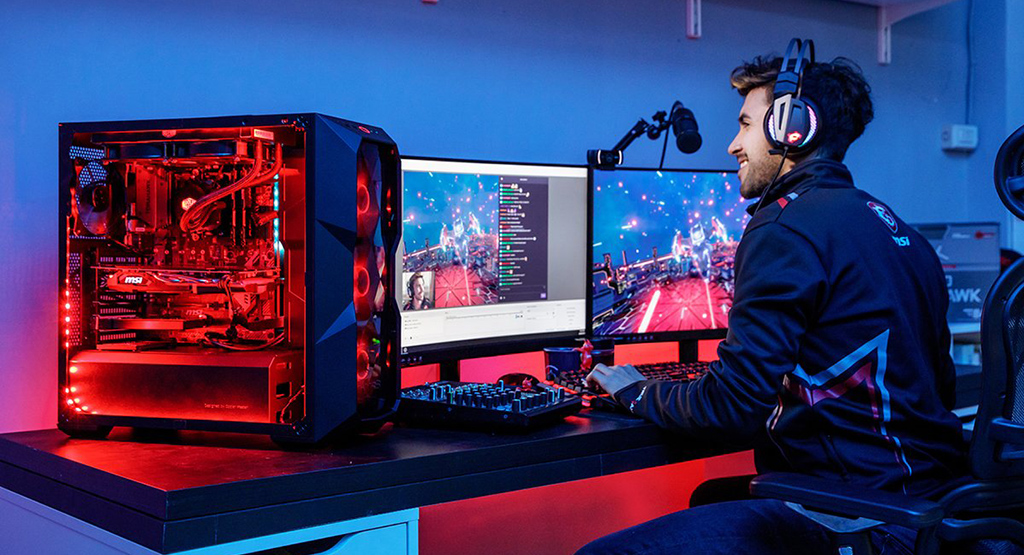
Young gamer celebrating video games championship win on online live stream, feeling happy at desk with neon lights. Female streamer winning shooter gaming tournament on computer.
Are you a gaming creator looking to start your live-streaming career in 2023? With so many options available, it can be challenging to choose the best platform to showcase your skills.
There are staple choices like Twitch and YouTube, but if you’re willing to take a chance, new platforms like Kick.com, Facebook Gaming, or TikTok LIVE can offer great opportunities to grow your name as a gaming creator.
To help you gather some inspiration, we’ve put together a list of the best live-streaming platforms for gamers in 2023.
Check this out, so you can decide where you should start your live-streaming career!
When it comes to choosing the right live-streaming platform for gaming, there are a few factors to consider. Here are some key points to keep in mind:
Audience: Consider the type of audience you want to reach. Different platforms attract different types of viewers, so it’s essential to choose a platform that aligns with your target audience.
Monetization: Monetization options can vary from platform to platform. Consider the different ways you can earn money on each platform, such as through ads, sponsorships, donations, and merchandise sales.
Feature: When thinking about feature consideration you might want to consider the discoverability feature of the platform. Other than that, add-ons like the ability to use extensions, 3rd-party app support, and advanced dashboard access, can be another consideration.
Considering these factors, you can choose a platform that aligns with your goals and helps you reach your target audience.
The Best Live Streaming Platforms for Gamers Compared
Platforms
Discoverability
Competition
Monetization
Kick
⭐⭐
⭐
⭐⭐⭐⭐
Twitch
⭐⭐
⭐⭐⭐⭐
⭐⭐⭐
YouTube
⭐⭐⭐⭐
⭐⭐⭐⭐⭐
⭐⭐⭐
Facebook Gaming
⭐⭐⭐
⭐⭐⭐⭐
⭐⭐⭐
TikTok LIVE
⭐⭐⭐⭐
⭐⭐⭐
⭐⭐
Notes
Discoverability: More stars mean better
Competition: More stars mean harder
Monetization: More stars mean better
1. Kick.com
Pros
The platform is new, making it easier to be discovered and stand out.
Lucrative revenue sharing program with a 90/10 subscription revenue share and 100% donation revenue going to the creator.
The requirements to unlock monetization as an affiliate are relatively easy to meet (75 followers and 5 hours of total stream).
The user interface is highly similar to popular streaming platforms, making it easier to adapt.
Cons
It might be hard to get viewers since the platform is still new and hasn’t reached as many users as other platforms.
Promoting your channel outside the platform might be necessary to grow your audience.
The platform is still in beta, so there might be some bugs and glitches to deal with.
No extension support and minimal 3rd party app support (like chatbot, alert, and more)
Kick.com is a relatively new platform, but it has quickly gained popularity among live streamers and creators.
Backed by popular creator Trainwreck, Kick has been making some noise around the streaming community due to its offering of a substantial revenue share for subscriptions revenue (90% creator 10% Kick) and even giving streamers 100% of the donation revenue.
As the platform is still in beta, there aren’t many features to discuss yet. The Kick interface is highly similar to Twitch, which can make it easier for streamers to adapt if they are coming from that platform.
However, like Twitch, it can also be said that Kick has low discoverability, especially for new creators who are still trying to make a name for themselves in the community.
2. Twitch
Pros
Staple place to stream gaming content.
Diverse monetization options through ad revenue, subscription, and Bits donation.
Robust customization through extension and many 3rd-party app support.
Custom emotes.
Tight-knit community.
Cons
Low discoverability; new live streamers need to promote their content outside the platform.
High competition due to around 8 million active streamers on the platform.
Twitch has been the go-to platform for gaming live streams for years and for a good reason. It has a massive community of gamers, making it easy to connect with others who share your interests.
Twitch also provides a revenue-sharing program that allows gaming creator to monetize their content and connect with their fans through the subscription system and donations via virtual currency named “Bits”.
In terms of features, Twitch is known for its robust customization that can help gaming streamers increase viewer engagement through “extensions” and support for many third-party apps.
Though with that being said, Twitch is also known for its poor discoverability feature, as the platform primarily focuses on pushing live-stream content to viewers.
Even with the “Clip” feature, Twitch tends to prioritize popular content, making it difficult for new streamers and gaming creators to establish their presence and build their audience.
3. YouTube Live
Pros
Strong discoverability aspect as long as you create various types of content like Shorts, long-form pre-recorded videos, or community posts.
Diverse content monetization options through ad revenue, membership, and donations via Super Chat, Super Thanks, and Super Stickers.
Custom emotes and benefits for membership.
Cons
A highly saturated platform, with live-streamers needing to compete with other forms of content.
Limited chatbot and extension options.
Monetization requirements need a dedicated effort of time and energy (1000 subscribers and 4000 total watch hours or 10M public Shorts views).
As the largest video-sharing platform in the world, YouTube Live is an excellent choice for gamers looking to reach a wide audience. YouTube Live has a built-in audience that you can tap into, making it easy to grow your channel.
It also provides a revenue-sharing program that allows you to monetize your content through ad revenue. Also, you can receive revenue and connect with your fan through “Membership”, and the donation system via a feature named “Super Chat”, and “Super Thanks”.
The best thing about YouTube is that it offers an all-in-one content ecosystem, including short-form vertical “Shorts” and long-form pre-recorded videos, that make it easier for creators to be discovered.
In fact, it is even possible to build a name in the community by only live streaming and creating content on YouTube, thanks to its wide range of content options that you can push on the platform.
Though with all the benefits in terms of content, extensions and third-party apps are not the strongest aspect of YouTube. While you can still have a chatbot and some extensions, the options are quite limited.
4. Facebook Gaming
Pros
Strong discoverability aspect through Reels (vertical short-form content), long-form pre-recorded videos, and social platforms like Facebook Groups and Facebook Communities.
“Level Up” program is relatively easy to achieve with the requirement of 100 page likes and 4 hours total stream duration on different days within 14 days.
Cons
Content monetization options are limited to ad revenue, subscription, and donation through “Stars”.
The platform may not be the most optimized for promoting live stream content since Facebook is primarily a social conversation platform.
Limited chatbot and extension options available.
Facebook Gaming is also can be considered as a “newer platform” among YouTube or Twitch. But, it has a built-in audience of Facebook social media itself that you can tap into, making it easy to grow your channel.
As for monetization, Facebook Gaming offers a “Level Up” program that allows gaming live streamers to earn money through ad revenue. Additionally, there is community engagement monetization through subscriptions and donations using “Stars” currency.
Growing your live-streaming career on Facebook Gaming is relatively easy since you have all the tools to promote your channel and content on Facebook. In addition to creating content like Reels or long-form pre-recorded videos, Facebook also has social platforms like Facebook Groups and Facebook Communities.
However, like other platforms, the choice of extensions and third-party apps on Facebook Gaming is limited.
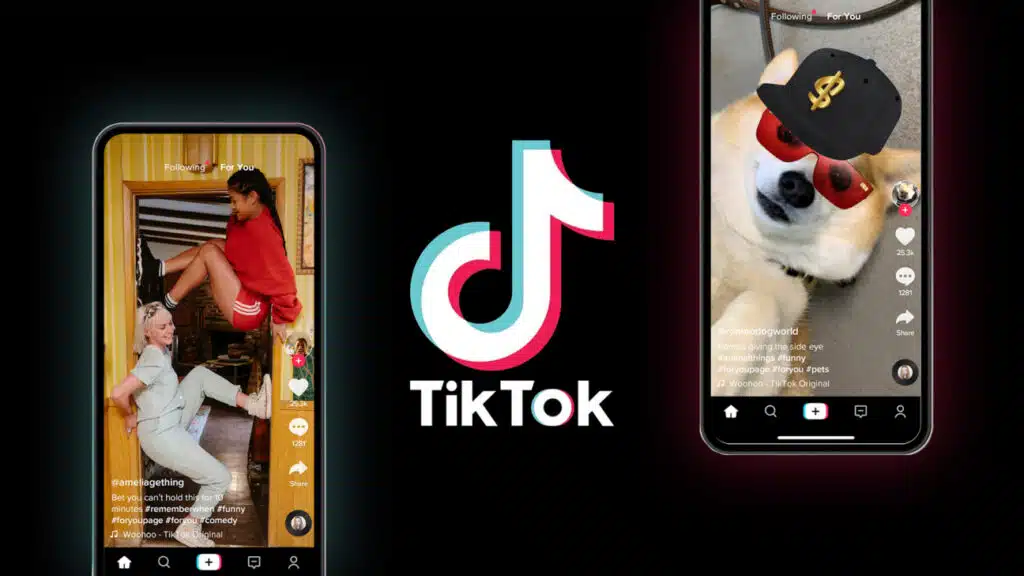
5. TikTok LIVE
Pros
Strong discoverability aspect, especially with the “For You” Page algorithm that can lead to surprising success
Monetization options available through subscriptions and virtual currency donations
Cons
Limited chatbot and extension options
Requires 1000 followers to start live streaming on TikTok LIVE
Limited to vertical format content, which may require extra effort to adjust your layout.
TikTok is a short vertical format video platform that has become increasingly popular among Gen Z gamers. It has a built-in community of young and engaged users, making it easy to connect with others who share your interests.
With the rising demand for live streaming content, TikTok now also allows creators to live stream on its platform. TikTok LIVE allows monetization through the fan engagement system like donations using virtual currency (like Rose or Lion), and a subscription program that gives viewers extra perks.
In terms of discoverability, TikTok itself is known for the “overnight success” that can happen to you as long as you consistently create engaging content.
However, live streaming is not the primary objective of the platform. To begin your live stream journey on TikTok LIVE, you need to first become a TikTok creator with at least 1,000 followers.
Conclusion
In conclusion, when it comes to choosing the best live-streaming platform for gamers in 2023, there are many factors to consider. Each platform offers unique features, customization options, and monetization opportunities.
No matter which platform you choose, remember to engage with your viewers and create content that is unique and engaging. By doing so, you’ll be well on your way to building a loyal audience and growing your channel. Happy streaming!